

Are you fond of collecting clay pots? Are you interested in pottery and creating your own masterpieces? If yes, it is essential to know how to repair broken clay pottery.
Repairing broken clay pottery is a rewarding process that allows you to restore cherished items to their former glory, extending their life and preserving their history. Whether it’s a family heirloom or a treasured piece of art, understanding the appropriate techniques will ensure a seamless fix.
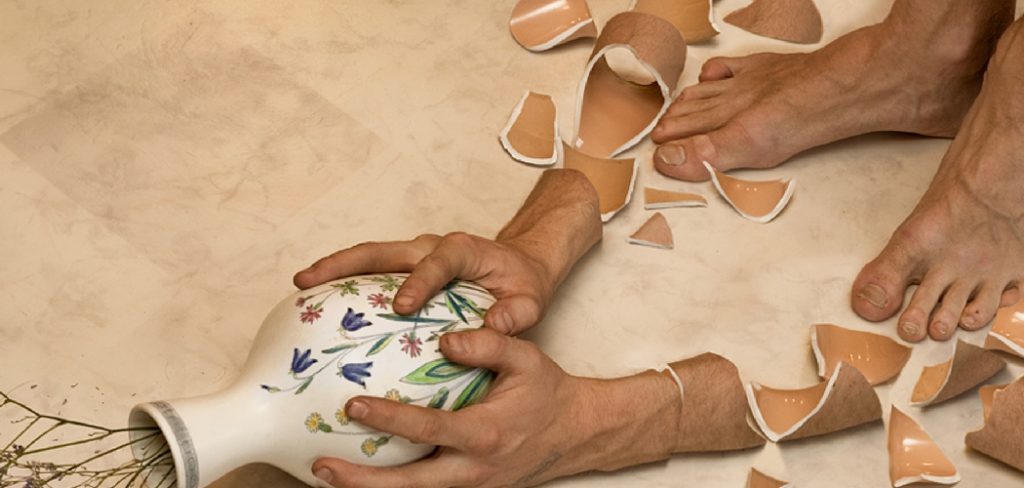
This guide will walk you through the essential steps and tools required for repairing clay pottery, from identifying the type of damage to selecting the right adhesive and reassembling the broken pieces.
With patience and attention to detail, you can achieve nearly imperceptible repairs that maintain your pottery’s aesthetic and functional qualities.
What Will You Need?
Before getting started, gathering all the necessary tools and materials is essential. These include:
- Broken clay pottery piece(s)
- Clean cloth or paper towels
- Disposable gloves (optional)
- Safety glasses (optional but recommended)
- Dust mask (optional but recommended for sanding)
- Sandpaper or emery cloth
- Fine-tipped brush
- Adhesive (e.g., epoxy, super glue, hot glue gun)
- Masking tape or rubber bands
Once you have all the necessary items, you can repair your broken clay pottery.
10 Easy Steps on How to Repair Broken Clay Pottery
Step 1: Assess the Damage
Before you begin the repair process, it’s crucial to carefully examine the broken pottery to understand the extent of the damage. Lay out all the broken pieces on a clean, flat surface and try to piece them together like a puzzle. This will help you identify any missing fragments and determine whether the break is clean or if there are jagged edges that might require additional attention.
Check for hairline cracks that may expand during the repair process; these might need special consideration, such as reinforcing with extra adhesive. Assessing the damage thoroughly ensures that you approach the repair with a clear strategy, increasing the likelihood of a successful restoration.
Step 2: Clean the Pieces
Once you have assessed the damage, cleaning all the broken pieces thoroughly is the next step. Use a clean cloth or paper towel to gently wipe away any dirt, dust, or debris from the surface of the pottery. Cleaning is crucial as it ensures the adhesive will bond effectively to the clay.
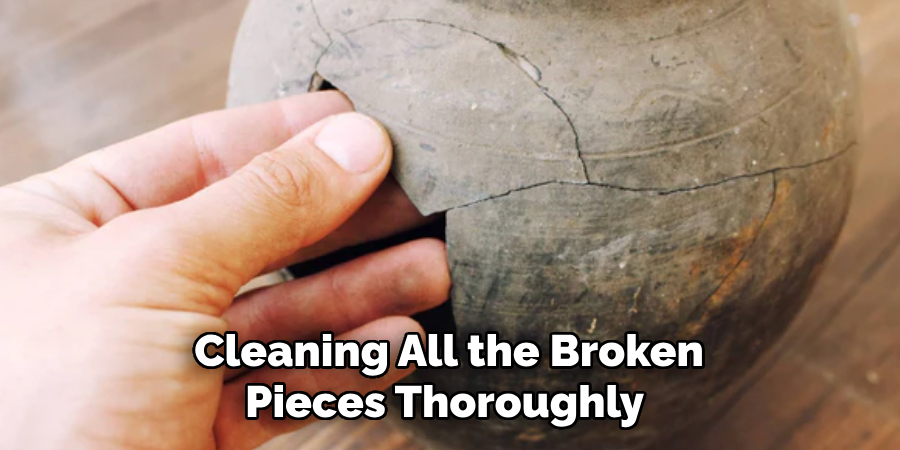
For stubborn residues, a slightly damp cloth can be used; however, make sure that each piece is arid before moving to the next step. Wearing disposable gloves during this process can help prevent oils from your hands from transferring to the pottery, which could affect the adhesive’s performance.
Step 3: Prepare the Adhesive
With the pieces clean, the next step is to prepare the adhesive that will be used to bond the pottery. Choose an adhesive suitable for your specific type of clay pottery, whether epoxy, super glue, or a hot glue gun. Carefully read the instructions on your chosen adhesive product; some may require mixing or have a limited working time.
Use a fine-tipped brush to apply a thin layer of adhesive to each edge that will be joined. Be cautious not to apply too much to prevent excess adhesive from oozing out during bonding. Proper adhesive preparation ensures strong and effective repairs, making this step critical to the restoration process.
Step 4: Assemble the Pieces
With the adhesive prepared, it’s time to align and assemble the broken pieces of your pottery carefully. Begin with the most significant pieces, gradually moving toward the smaller fragments. Apply gentle but firm pressure to each joint to ensure a snug fit as the adhesive begins to set.
Utilize masking tape or rubber bands to hold the pieces in place while the adhesive cures, helping to maintain stability. During this process, periodically check that each seam aligns correctly, adjusting as necessary. Patience and precision in assembling these pieces are crucial, as they form the foundation for a seamless repair.
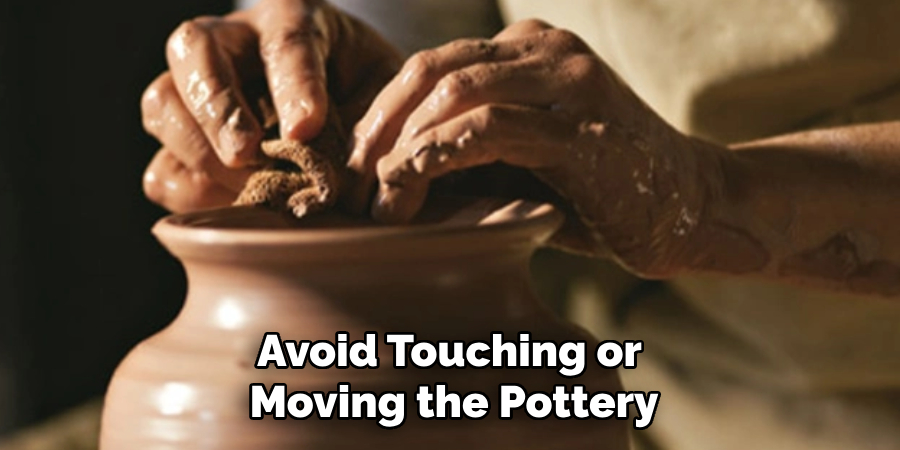
Step 5: Allow Adhesive to Cure
After assembling the pieces, it’s essential to let the adhesive fully cure according to the manufacturer’s instructions. The curing time can vary based on the adhesive you choose, ranging from several minutes to several hours. During this period, ensure the pottery is left undisturbed in a stable position.
Avoid touching or moving the pottery to prevent compromising the bond strength. Patience here is key, as proper curing ensures that the repaired seams will hold under stress and use, contributing to a durable and long-lasting repair.
Step 6: Sand the Seams
Once the adhesive has fully cured, the next step involves sanding the seams to achieve a smooth and even finish. Gently sand the joined edges using fine-grit sandpaper or emery cloth, being careful not to apply too much pressure as this could damage the repaired pottery.
Sanding helps to remove any excess adhesive and ensures that the pottery maintains its original shape and appearance. Pay special attention to areas where the pieces join to blend them seamlessly. If dust is created during this process, wearing a dust mask is advisable. This step is vital for restoring the pottery’s aesthetic while prepping it for any further polishing or finishing touches.
Step 7: Paint or Touch Up
After sanding the seams, the next step is to paint or touch up any visible repairs to match the original look of the pottery. Select a paint similar to your pottery’s original color and texture. Using a fine-tipped brush, apply a thin layer of paint over the repaired areas, blending carefully to create a seamless appearance. Use small, precise strokes to replicate these details for pottery with intricate designs or patterns.
Allow the paint to dry completely before handling the pottery, and consider sealing it with a clear finish if additional durability is desired. This step not only enhances the aesthetic appeal of your repaired piece but also helps to conceal any evidence of the break.
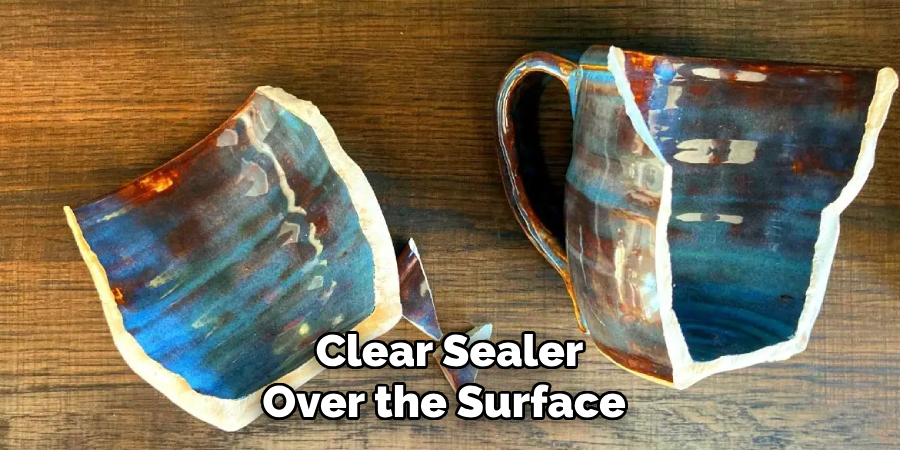
Step 8: Apply a Clear Sealer
Once the touch-up paint has dried completely, it’s beneficial to apply a clear sealer over the surface of the pottery to protect the repairs and enhance durability.
Choose a sealer suitable for clay pottery, such as a water-based polyurethane or acrylic sealer, and apply it using a clean, fine-tipped brush. Cover the entire surface of the pottery with a thin, even layer, ensuring the repaired seams are well coated. This protective coating not only safeguards the repair work but also provides the pottery with a uniform finish, highlighting its restored beauty.
Step 9: Maintain the Restored Pottery
To ensure the longevity of your repaired pottery, it’s essential to practice proper maintenance. Handle the piece with care, avoiding sudden temperature changes and rough handling that could stress the repaired joints. Regularly dust the pottery with a soft cloth to prevent dirt accumulation, and store it in a stable environment away from excessive humidity or direct sunlight.
If the pottery serves a functional purpose, such as holding items, avoid overloading it to prevent strain on the repaired areas. By adhering to these maintenance guidelines, you can enjoy restored pottery for many years to come, preserving its function and beauty.
Step 10: Display Your Restored Pottery
With your pottery fully restored and protected, it’s time to proudly display it in your home or collection. Choose a suitable location that highlights the piece’s aesthetic and allows it to be appreciated by viewers. Consider placing it in a well-lit area to accentuate its colors and details, but be cautious of direct sunlight, which can cause fading over time.
If your pottery is part of a themed collection, group it with similar items to create a cohesive display. Ensure the display area is stable and secure to prevent accidents, providing a safe and visually appealing environment for showcasing your restored treasure.
Following these steps, you can successfully repair and restore your broken pottery to its former glory.
5 Things You Should Avoid
- Using the Wrong Adhesive: Not all adhesives are suitable for clay pottery. Avoid using superglue or adhesives not designed for ceramics, as they may not bond properly and could further damage the pottery.
- Skipping Surface Preparation: Failing to clean the broken pieces thoroughly can prevent the adhesive from adhering correctly. Permanently remove dust, dirt, and old adhesive before attempting any repairs.
- Applying Too Much Pressure: Excessive force during the alignment of pieces can lead to additional cracking. Carefully align the pieces and apply gentle, even pressure to ensure a snug fit without causing further harm.
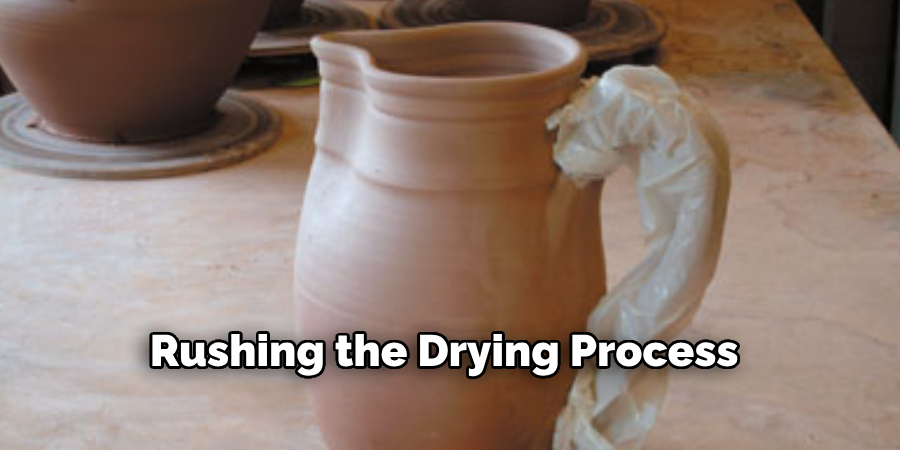
- Ignoring Drying Times: Rushing the drying process by handling the pottery before the fully cured adhesive can undo your repairs. Always follow the adhesive manufacturer’s recommended drying times for optimal results.
- Neglecting Filler Materials: Appropriate filler materials should address Missing chips or gaps. Overlooking this step can result in weak spots in the repair, leading to future breakage. Always use suitable fillers to ensure a seamless restoration.
Conclusion
How to repair broken clay pottery requires attention to detail, patience, and the use of correct materials and techniques.
You can achieve a seamless and durable repair by avoiding common mistakes such as using incorrect adhesives, failing to prepare surfaces, applying too much pressure, ignoring drying times, and neglecting filler materials. The key is to take the time to understand your pottery’s specific needs, follow the guidelines for each step carefully, and pay attention to the curing process.
With the right approach, you can restore your cherished clay pottery to its former glory, preserving its beauty and functionality for years.
Professional Focus
Toby Rede, a professional potter, combines artistic expression with functionality in his ceramic creations. His work blends natural textures, modern forms, and sustainable materials, making him a standout voice in the pottery world focused on intentional craftsmanship.
About the Author
Toby Rede, a dedicated potter and blogger, shares his insights on functional and artistic ceramics, drawing inspiration from sustainable gardening and nature. Based in his studio, he blends craftsmanship with everyday life, encouraging others to incorporate handmade pottery into their homes for both beauty and utility.
Education History
University: Alfred University
Degree: Associate Degree in Ceramic Technology
Toby’s education laid the foundation for his technical expertise, equipping him with the skills necessary to create pottery that merges functionality and aesthetic appeal.
Expertise:
- Pottery Creation
- Ceramic Techniques (Texture, Glazing, Sustainable Materials)
- Functional Art and Design
- Craftsmanship Philosophy
- Blogging on Handmade Pottery and Everyday Life