Alcohol ink has gained popularity as a medium for decorating ceramics thanks to its vibrant colors and captivating fluid patterns. This unique art form transforms ordinary ceramic pieces into striking works of art, whether creating abstract designs or intricate patterns. However, without proper sealing, alcohol ink designs are prone to fading, smearing, and degrading, especially when exposed to moisture or handling.

Sealing is therefore crucial to protect these creations and ensure their longevity. This article serves as a comprehensive guide on how to seal alcohol ink on ceramic, offering step-by-step instructions and tips for achieving durable finishes on both functional and decorative items. Whether you’re enhancing a vase, mug, or tile, this guide will help you preserve the beauty and integrity of your alcohol ink masterpiece.
Materials Needed
When embarking on a project to seal alcohol ink on ceramic, gathering the appropriate materials is essential for success. Here’s a breakdown of what you’ll need:
Ceramic Surface
Begin by selecting the ceramic items you wish to enhance with alcohol ink. Options are plentiful and can include mugs, plates, tiles, and vases. Each piece offers a unique canvas for your creativity, allowing you to choose functional items like mugs and plates or purely decorative ones like vases and tiles.
Alcohol Ink
Alcohol ink is renowned for its quick-drying, vibrant, and fluid properties. These inks come in a range of colors, providing endless possibilities for creative expression. They are perfect for achieving seamless blends and intricate details on ceramic surfaces.
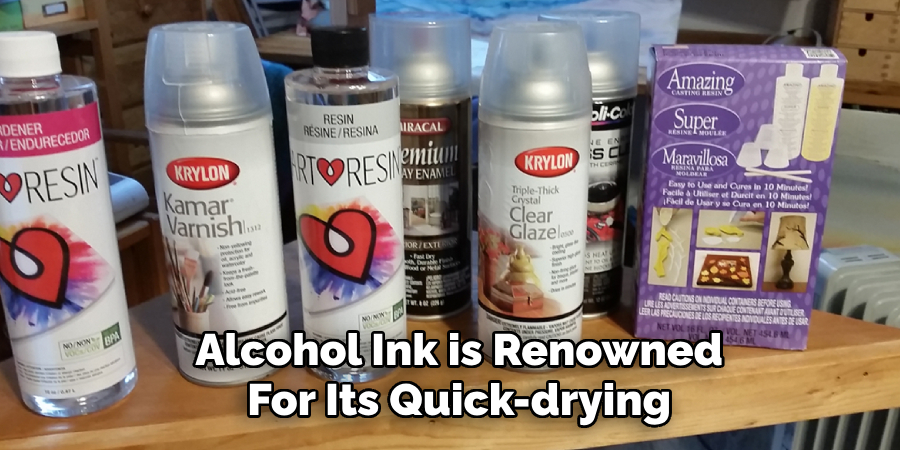
Brush-on or Spray Sealant
Choosing the right sealant is crucial for protecting your artwork. Clear acrylic spray is ideal for decorative pieces, offering a simple application method. Epoxy resin provides a durable, food-safe finish for functional items, while polyurethane is suitable for both types, delivering a glossy and long-lasting result.
Optional: UV Protectant
Consider using a UV-protectant sealant to prevent the vibrant colors of alcohol ink from fading over time, particularly for items exposed to sunlight. This step ensures your art remains vivid and eye-catching.
Cleaning Supplies
Before applying alcohol ink, it’s important to prepare the ceramic surface. Essential cleaning tools include rubbing alcohol, paper towels, and gloves. These supplies help remove any dirt or oils, ensuring the ink adheres properly and results in a superior finish.
Preparing the Ceramic Surface
Properly preparing the ceramic surface is crucial for achieving the best results with alcohol ink decoration. Follow these steps to ensure an optimal groundwork for your creative process:
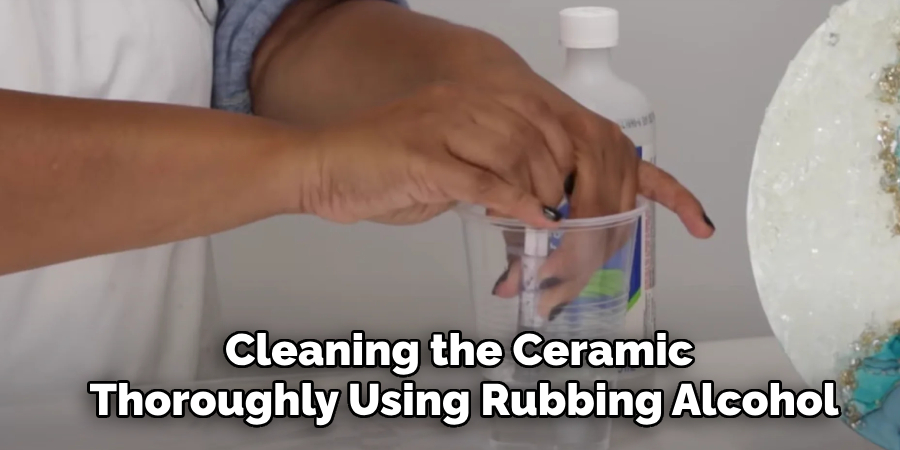
Step 1: Clean the Surface
Begin by cleaning the ceramic thoroughly using rubbing alcohol. This step is essential to remove any dirt, oils, or dust that might interfere with ink adhesion. Use a paper towel or a soft cloth soaked in rubbing alcohol to gently wipe the entire surface. Make sure to focus on corners and edges where debris might accumulate. After cleaning, allow the ceramic to dry completely. No moisture must remain, as this can prevent the ink from adhering properly and may lead to smearing or uneven application.
Step 2: Test the Surface
Before committing to your full design, it’s advisable to test a small, inconspicuous area with alcohol ink. This test will help determine if the surface is conducive to proper ink bonding. Apply a small amount of ink and observe if it spreads effortlessly and dries evenly.
If the ceramic is particularly glossy, it might be challenging for the ink to adhere adequately. In such cases, consider using a piece of fine-grit sandpaper to lightly sand the glossy surface. This process roughens up the ceramic just enough to create a suitable texture for the ink to better grip, leading to more vibrant and lasting results.
Step 3: Work in a Well-Ventilated Area
Using alcohol ink emits strong fumes that can be overpowering and potentially harmful if inhaled in excess. Therefore, it’s essential to work in a well-ventilated area. Open windows, use fans, or consider working outdoors to ensure proper airflow. Adequate ventilation becomes increasingly important when you reach the sealing stage, as sealants can also release strong odors. Ensuring a safe and pleasant working environment will enhance your focus and creativity while protecting your health.
How to Seal Alcohol Ink on Ceramic: Applying Alcohol Ink to Ceramic
An essential part of creating unique and vibrant ceramic pieces with alcohol ink involves applying the ink skillfully. Follow these steps to ensure a smooth and rewarding creative process.
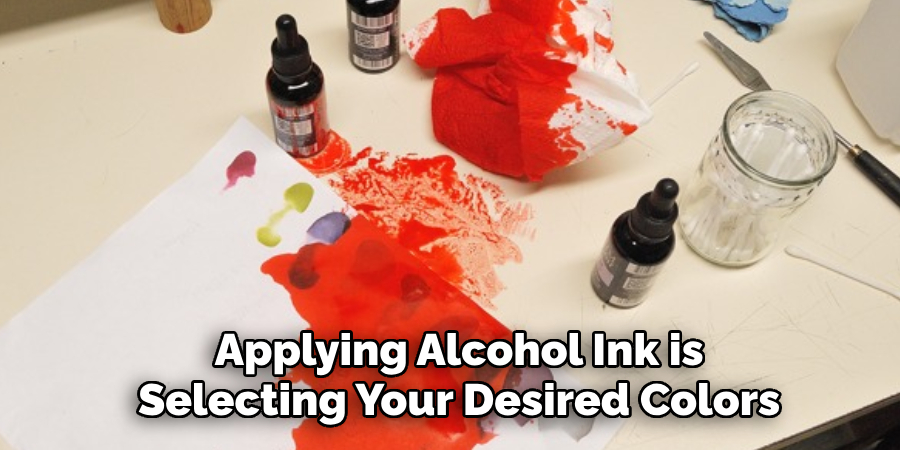
Step 1: Choose and Mix Colors
The first step in applying alcohol ink is selecting your desired colors. Consider the overall look you want to achieve and choose colors that complement each other. Some ink sets come with pre-mixed colors, while others allow you to blend your shades. To create custom shades, pour a few drops of your chosen colors into a palette or separate containers and mix them using a small stick or brush.
Experimenting with different color combinations can yield unexpected and delightful results—remember that the alcohol base allows for seamless blending on the ceramic surface.
Step 2: Use Different Techniques for Unique Designs
Blowing Technique
.For a fluid, abstract design, use a straw or air blower. Drop alcohol ink onto the ceramic surface, and carefully use a straw to blow the ink across the piece. This technique creates beautifully flowing, organic shapes as the ink spreads and blends. Adjust angles and pressure to control the flow and direction of the ink for varied effects.
Brush Application
If your vision includes detailed designs or intricate patterns, applying ink with a paintbrush might be your preferred technique. Dip the brush into the ink and paint your design onto the ceramic. Brushes allow for precision and control, letting you craft unique motifs or repeating patterns.
Dropping and Blotting
For marbled or layered looks, use the dropping and blotting technique. Drop small amounts of alcohol ink onto the ceramic, then dilute and manipulate the design with a few drops of rubbing alcohol. Use a clean paper towel or a soft cloth to blot gently, creating a soft, diffused appearance. This method can add texture and complexity to your work.
Step 3: Allow the Ink to Dry
Alcohol ink dries relatively quickly, often within a few minutes. Nevertheless, patience is crucial to prevent disturbances to your design. Allow the ink to cure and settle for at least 24 hours before proceeding to the sealing stage. This ensures the ink has fully bonded to the ceramic and will not smear or rub off during subsequent steps.
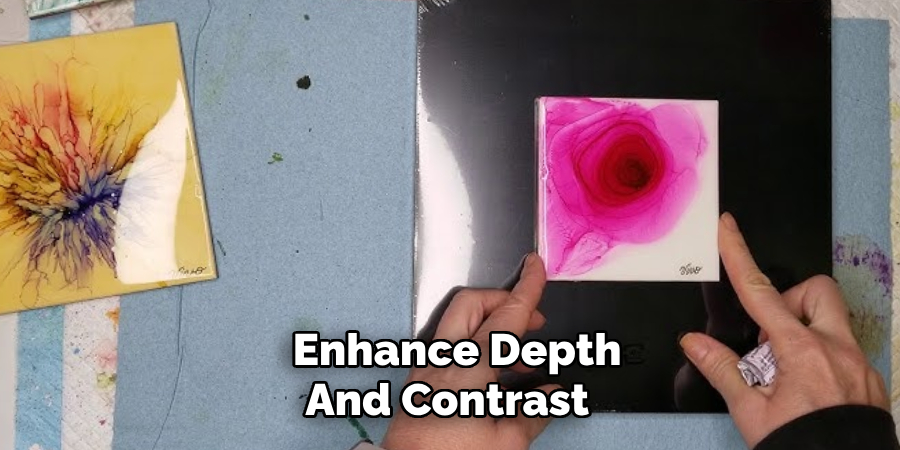
Step 4: Optional: Layering Ink for Depth
To enhance depth and contrast, apply multiple layers of alcohol ink. After ensuring the initial layer is dry, introduce additional colors and details on top. Layering inks can create a rich tapestry of colors and patterns, amplifying your piece’s visual complexity. Allow each layer to dry completely before applying the next, ensuring crisp lines, rich hues, and dynamic overlaps that draw the eye and inspire admiration.
How to Seal Alcohol Ink on Ceramic: Sealing Alcohol Ink on Ceramic
Sealing your alcohol ink on ceramic is an important step to ensure durability and preserve the vibrancy of your design. Different types of sealants cater to various needs, depending on whether your ceramic is for decorative or functional use.
Step 1: Choose the Right Sealant for Your Project
Choosing the appropriate sealant depends significantly on the intended use of your ceramic item. Here are some common types:
- Acrylic Spray Sealant: This is an excellent choice for decorative items such as vases or tiles. It provides a quick-drying, clear protective layer that enhances the colors without altering the original look. However, it is not suitable for items that will come into frequent contact with food or liquids.
- Epoxy Resin: Known for its durability, epoxy resin is ideal for functional pieces like mugs or plates. When fully cured, it provides a strong, glossy, food-safe finish. It can take several days to completely cure, so patience is key, but the result is well worth the wait for items that require robustness.
- Polyurethane: This versatile sealant can be used for both decorative and functional ceramics. It offers a glossy, durable finish and is available in spray or brush form. Polyurethane adds a protective layer that resists scratches and daily wear, making it suitable for pieces frequently handled or used.
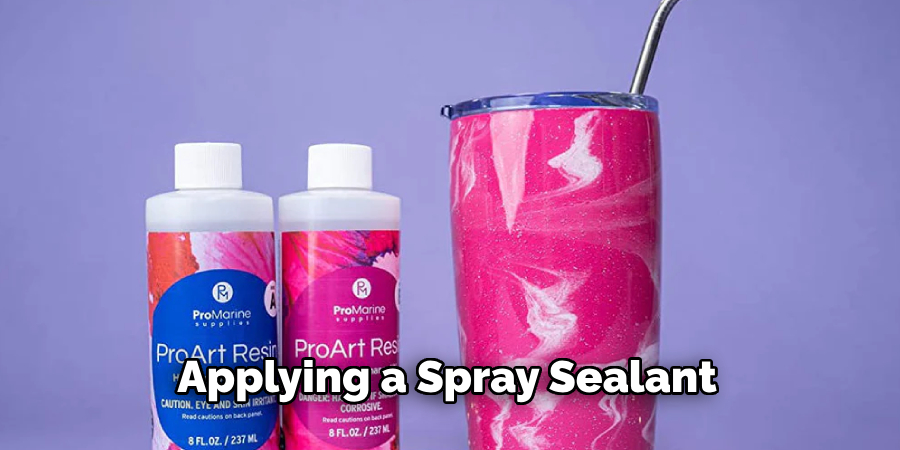
Step 2: Apply the Sealant (Spray or Brush-On)
Spray Sealant:
When applying a spray sealant, hold the can about 6-8 inches away from the ceramic. Ensure the piece is on a flat surface and in a well-ventilated area. Apply thin, even coats by moving the spray can in a sweeping motion to cover the whole surface without causing drips. Allow each coat to dry before applying the next.
Brush-On Sealant:
For brush-on applications, use a soft, clean brush to spread the sealant in thin layers, following the natural contours of the ceramic. Apply with smooth, even strokes, taking care to avoid bubbles. A brush-on sealant allows for more control in application, ideal for finely detailed designs.
Step 3: Let the Sealant Dry Between Coats
Each layer of the sealant must be thoroughly dry before a new coat is applied. This usually requires 1-2 hours of drying time. Applying multiple coats, typically at least 2-3, builds up a protective barrier, significantly enhancing the longevity and durability of the ceramic piece. The added layers will help resist wear, scratches, and environmental factors.
Step 4: Cure the Sealant
The curing process is vital to achieving a hardened, resilient seal. Curing times vary depending on the sealant:
- Acrylic Spray: Requires 24-48 hours for full curing.
- Epoxy Resin: This can take from 72 hours up to a week, depending on the layer’s thickness and the environmental conditions.
During curing, it is crucial to keep your ceramic piece in a dust-free area. This prevents dust or debris from embedding into the sealant, affecting the finish’s quality and appearance. Patience during this stage ensures your design remains pristine and vibrant for years to come.
Optional: Adding a UV Protectant
Step 1: Why Use a UV Protectant?
Exposure to ultraviolet (UV) light is a primary cause of fading in alcohol ink designs, especially for items placed outdoors or in well-lit areas. UV rays break down the colors over time, diminishing their vibrancy and altering their appearance. To combat this, UV-protectant sprays or varnishes are an excellent addition to your sealing process.
These specialized coatings act like sunscreen for your artwork, shielding it from the harmful effects of sunlight and preserving the design’s brilliance for longer. They are particularly beneficial for decorative pieces that adorn sunlit spaces, keeping colors sharp and vivid despite constant exposure.
Step 2: Apply UV-Protectant Spray
Once the final sealant coat has completely cured, you can apply a UV-protectant spray as an additional safeguard. Begin by ensuring your ceramic piece is free of dust or debris to avoid imperfections. In a well-ventilated area, hold the UV-protectant spray can about 6-8 inches from the surface. Using a sweeping motion, apply a light and even coat, similar to how you applied the previous sealant.
Wait for each layer to dry completely before applying additional coats, usually requiring about 1-2 hours of drying time between applications. This method ensures a comprehensive layer of protection while maintaining the integrity and beauty of your ceramic artwork.
Troubleshooting Common Issues
Issue 1: Ink Fades or Smears After Sealing
Alcohol ink may fade or smear if it isn’t fully dry before sealing. This often happens when the ink hasn’t been allowed enough time to cure, leading to movement under the sealant. To prevent this, make sure your design cures for at least 24 hours before applying a sealant. When sealing, apply very light coats, which helps avoid disturbing the ink. Building up the sealant in thin layers ensures a stable and lasting finish.
Issue 2: Bubbles in the Sealant
Bubbles can form if the sealant is applied too thickly or if there’s air trapped in the brush strokes. To avoid bubbles, apply the sealant in thin layers. Use a soft, clean brush for brush-on applications, focusing on smooth, even strokes. If small bubbles appear, try to pop them with a toothpick before the sealant dries completely. This will help maintain a smooth, clear finish on your ceramic pieces.
Issue 3: Yellowing of the Sealant
Over time, some sealants, particularly epoxy or polyurethane, may become yellow, affecting the appearance of the ceramic. To combat this, use high-quality, non-yellowing sealants. It’s also important to adhere to proper curing times, as inadequate curing can contribute to yellowing. These steps ensure your ceramic retains its original clarity and color.
Final Tips for Long-Lasting Results
Tip 1: Handle Decorative Items with Care
When displaying or storing sealed alcohol ink ceramics, ensure they are placed in low-traffic areas where they are less likely to be bumped or scratched. Utilize soft cloths or pads underneath each item to prevent inadvertent wear to the sealant.
Tip 2: Avoid Harsh Cleaners
For functional items such as mugs or plates, use only mild soap and water for cleaning. Harsh or abrasive cleaners can degrade the sealant over time, so take care to wash gently using a soft sponge or cloth.
Tip 3: Reapply Sealant Over Time
To maintain protection, consider reapplying a sealant every year or so, particularly on pieces that are frequently handled or exposed to outdoor elements. This refreshes the protective layer, extending the life and vibrancy of your artwork.
Conclusion
In conclusion, mastering how to seal alcohol ink on ceramic involves several important steps. First, clean the ceramic surface thoroughly before applying the ink. Once your design is complete and cured, apply a protective topcoat, such as an acrylic or epoxy sealant, to preserve the artwork’s vibrancy.
When selecting a sealant, consider the project type to ensure long-lasting results. Don’t hesitate to experiment with diverse colors, techniques, and sealants to craft unique, enduring ceramics. By following these guidelines and tips, your personalized ceramic art will remain brilliant and beautiful for years to come.
Professional Focus
Harry Ciotti is a highly skilled kiln operator with a sharp eye for detail and an in-depth understanding of the firing process. His expertise ensures that each ceramic piece reaches its full potential, perfectly balancing strength and beauty. Harry takes pride in overseeing the final stage of pottery creation, transforming raw clay into durable and stunning works of art.
About the Author
Harry Ciotti is a dedicated kiln operator and ceramic artist who brings passion and precision to every piece he fires. With a deep commitment to craftsmanship, Harry ensures that every ceramic creation is fired to perfection, from delicate vases to robust sculptures. He not only operates the kiln, but understands the unique needs of each piece, ensuring it reaches its full artistic potential. Through his work, Harry blends precision with artistry, making every firing a story of transformation.
Education History
University: California College of the Arts
Degree: Master of Fine Arts in Ceramics
Harry’s advanced education in ceramics has refined his technical skills, particularly in kiln operation, firing processes, and ceramic artistry. His educational background equips him to produce top-quality ceramic pieces that reflect both technical excellence and artistic expression.
Expertise:
- Kiln Operation and Firing Techniques
- Ceramics Creation (Functional and Artistic)
- Precision Craftsmanship
- Glazing and Texture Techniques
- Ceramic Artistry and Storytelling