Ceramic bowls are a staple in many homes, prized for their durability and aesthetic appeal. However, these beloved kitchen items can occasionally suffer from common issues like cracks, chips, or breaks due to accidental drops or bumps. Such damage affects the bowl’s functionality and detracts from its visual charm. Repairing ceramic bowls is crucial to restoring their usability, ensuring they can hold food and liquids safely.
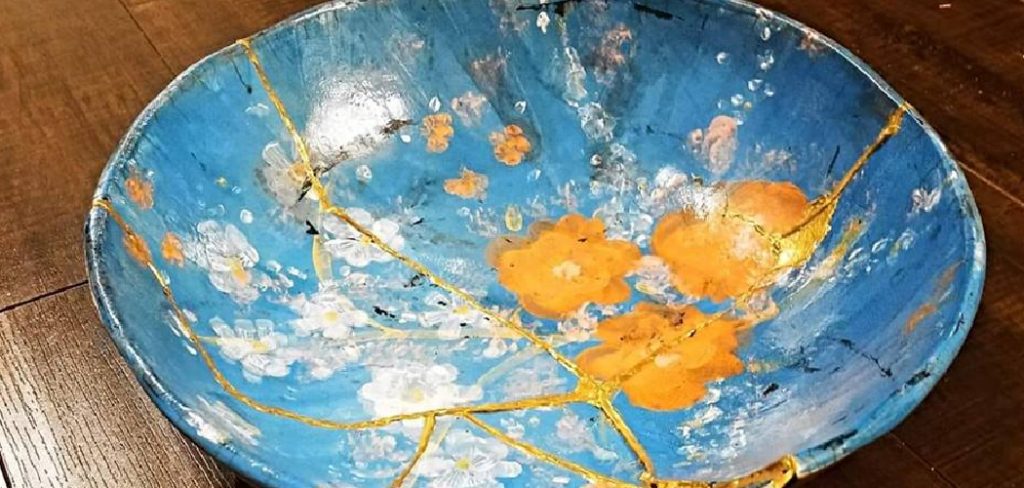
Additionally, a well-repaired ceramic bowl can maintain or enhance its aesthetic value, avoiding costly replacements. This article aims to provide readers with comprehensive guidance on how to repair ceramic bowls effectively. Whether dealing with a minor chip or a more severe break, understanding the right techniques and materials can extend the life of these cherished items, making them a lasting part of any household.
Assessing the Damage
Types of Damage
Ceramic bowls can be subjected to various types of damage, including cracks, chips, breaks, or missing pieces. Cracks usually appear as fine lines that run across the surface, sometimes not compromising the bowl’s functionality immediately but posing a risk of further deterioration.
Chips often result in small sections coming off the edges, potentially affecting the bowl’s usability and safety with sharp edges. Breaks involve larger pieces of the bowl being separated while missing pieces mean parts of the ceramic material are absent entirely. Assessing the extent of the damage involves carefully inspecting the bowl to determine whether it remains functional or if a more advanced repair method is necessary to ensure safety and restore full utility.
Tools and Materials Needed
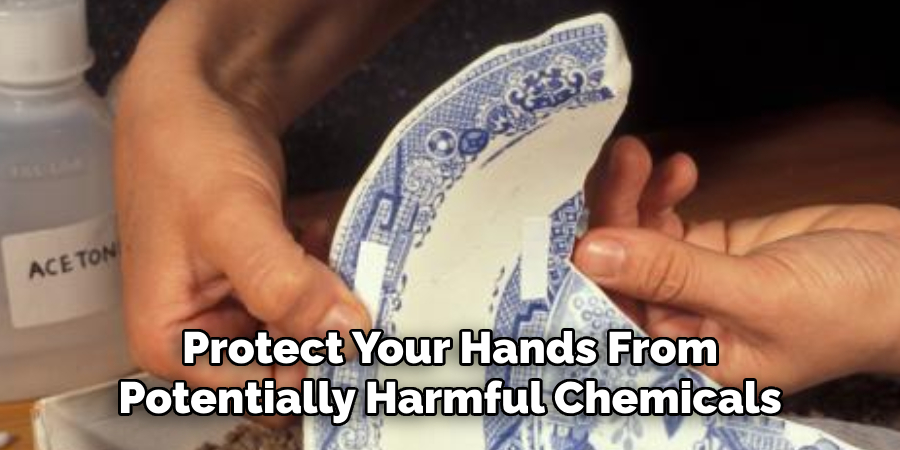
To effectively repair a ceramic bowl, gathering some basic tools and materials is essential. Key items include a high-quality ceramic adhesive or epoxy resin for bonding cracks and breaks. Fine-grit sandpaper is handy for smoothing out repaired surfaces, while a putty knife assists in applying adhesive smoothly.
Gloves should be worn to protect your hands from potentially harmful chemicals. When selecting repair materials, consider the specific type of damage and the intended use of the bowl. For instance, food-safe epoxy is recommended if the bowl serves food, ensuring that the repair restores functionality and maintains health and safety standards.
Preparing the Bowl for Repair
Cleaning the Damaged Area
Thoroughly cleaning the damaged area of a ceramic bowl is a crucial first step in the repair process. Begin by gently washing the bowl with warm, soapy water to remove any surface dust, dirt, or grease. Use a soft sponge to avoid inflicting additional damage.
Rinse the bowl thoroughly and then dry it completely, either with a lint-free cloth or by leaving it to air dry. Moisture can hinder the effectiveness of adhesives, so it is essential to ensure the bowl is completely dry before starting the repair. This will improve the adhesive’s ability to bond materials effectively, resulting in a more durable repair.
Surface Preparation
Proper surface preparation is vital for a successful ceramic bowl repair. To enhance the adhesive’s grip, gently roughen the edges of the cracks or chips using fine-grit sandpaper. This creates a textured surface, allowing the bonding material to adhere securely to the ceramic.
Handle the bowl carefully throughout this process to prevent further damage, as additional stress could lead to new cracks or the expansion of existing ones. Taking care of this step reduces the risk of exacerbating the damage and sets a strong foundation for subsequent repair efforts.
How to Repair Ceramic Bowl: Repairing Cracks in Ceramic Bowls
Using Epoxy or Ceramic Adhesive
To effectively repair cracks in ceramic bowls using epoxy resin or ceramic adhesive, it’s crucial to first prepare a well-ventilated workspace and gather your materials. Mix the epoxy resin according to the manufacturer’s instructions, ensuring an even and thorough blend of the components for optimal bonding strength. Once mixed, promptly apply the epoxy to the crack using a small brush or putty knife, ensuring it penetrates deeply to seal the crack.
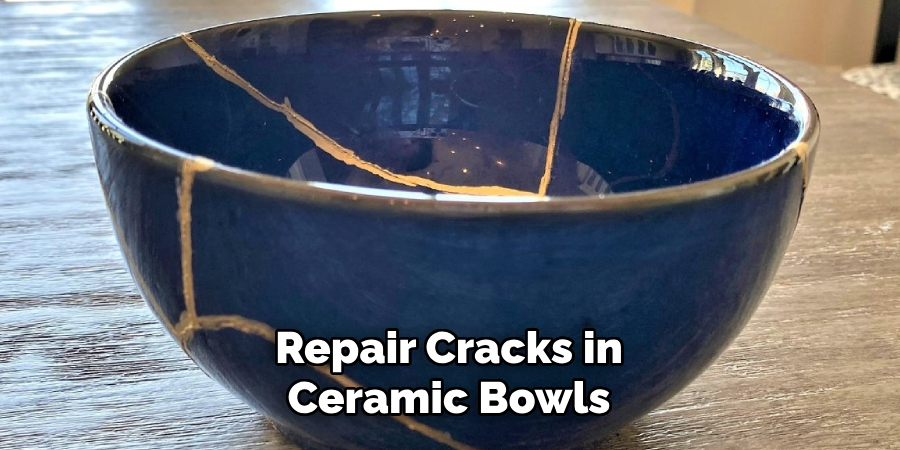
After applying the adhesive, gently press the cracked edges of the bowl together to align them properly. Apply consistent pressure for a few minutes to allow the adhesive to set slightly. Wipe away any excess adhesive with a damp cloth before it dries. Follow the manufacturer’s recommended drying time to ensure a complete bond.
Clamping the Crack
To secure a strong bond while the adhesive cures, carefully clamp the cracked areas without exerting excessive force. Select appropriate clamps that can hold the ceramic pieces together gently yet firmly. Position the clamps along the crack, ensuring even pressure distribution to avoid any additional stress. A padded clamp or soft material between the clamp and the ceramic surface is recommended to prevent new damage or impressions on the bowl.
Check the alignment of the ceramic pieces after clamping to ensure they remain aligned correctly. Avoid over-tightening the clamps, as excessive pressure can inadvertently cause new cracks or worsen existing ones. Allow the adhesive to cure fully as per the manufacturer’s guidelines before removing the clamps, ensuring the repair holds effectively.
How to Repair Ceramic Bowl: Fixing Chips or Missing Pieces
Filling Chips with Epoxy or Ceramic Filler
Epoxy or ceramic filler is ideal for achieving seamless repair and filling in chips or gaps in a ceramic bowl. Begin by selecting a high-quality filler suitable for ceramics, ensuring it has a quick-setting feature for ease of use. Clean the chipped area thoroughly, as previously described, to ensure proper adhesion. Apply the filler into the chip using a small spatula or putty knife, pressing it firmly to fill the space completely.
While the filler is still pliable, use a damp finger or smoothing tool to match the contour of the bowl’s original surface. Smooth and shape the filler carefully to ensure it blends naturally with the rest of the ceramic. Allow the filler to set as per the manufacturer’s instructions before further handling or finishing.

Restoring Missing Pieces
For larger gaps or missing pieces, ceramic putty or clay offers a practical solution to restore the bowl’s original form. Begin by mixing the ceramic putty as directed, and then mold it into the approximate shape of the missing piece. Attach the molded piece to the gap, pressing it gently but firmly into place to achieve good adhesion.
Smooth the edges where the new piece meets the existing ceramic using a damp sponge or fine-grit sandpaper, ensuring a seamless transition. Shape the surface to match the surrounding area and maintain the bowl’s natural appearance. Allow the putty to dry completely before handling, and finish by painting or glazing the repaired area to match the rest of the bowl, if necessary. This method preserves both the functionality and aesthetic integrity of the ceramic piece.
Sanding and Smoothing the Repair
Drying Time and Checking the Bond
After applying the adhesive or filler, it’s crucial to allow the repair to dry completely before proceeding to the sanding stage, typically for around 24 hours. This ensures the bond is adequately cured and secure.
To verify the bond’s integrity, gently tap or press the repaired area with your fingers. It should feel solid and well-adhered, without any movement or instability. If the repair feels loose or incomplete, it may be necessary to reapply the adhesive or allow more drying time for optimal results.
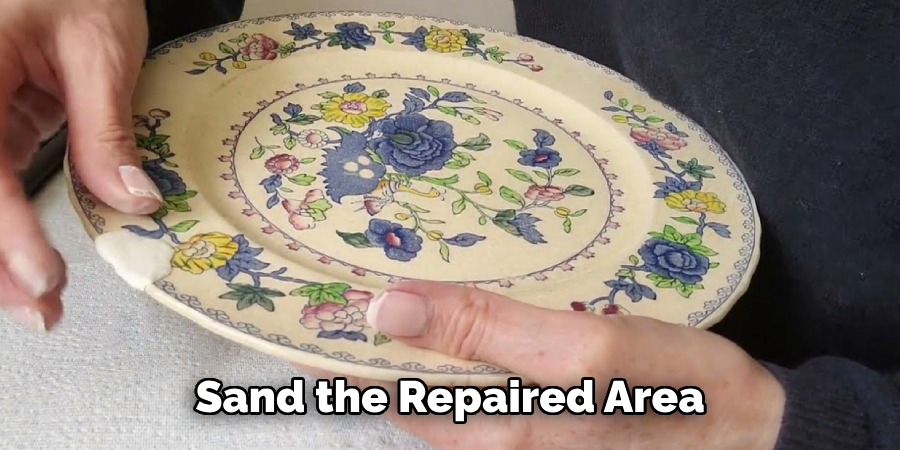
Sanding the Repaired Area
Once the repair is fully dried and the bond has been checked, proceed to sand the repaired area to achieve a smooth finish. Use fine-grit sandpaper for this delicate task, as it effectively blends the repaired section with the rest of the bowl without causing damage. Sand gently and evenly, applying light pressure to avoid scratching the surrounding ceramic surface.
It’s essential to frequently check your progress to ensure the repair matches the bowl’s original texture and appearance. Take care around the edges and contours of the bowl to maintain its natural shape and avoid over-sanding, which could lead to thinning or altering the ceramic structure.
Sealing and Finishing the Repair
Applying a Clear Coat
After the repair is completed, applying a clear coat or glaze is an essential step to enhance durability and aesthetics. Begin by selecting an appropriate clear ceramic glaze or finishing coat designed for ceramic surfaces. Use a soft-bristle brush or spray applicator to apply the clear coat evenly over the repaired area, ensuring complete coverage.
This protective layer helps to seal the repair, preventing moisture from penetrating and potentially causing further damage. Let the glaze dry thoroughly as recommended by the product instructions, which will provide a polished finish and contribute to the long-term resilience of the repair.
Restoring the Original Shine
To restore the bowl’s original luster, employ techniques such as applying ceramic glaze or a high-quality polishing compound. Start by gently buffing the repaired area with a soft cloth and polishing compound, working in small, circular motions. Alternatively, apply a ceramic glaze if deeper shine and protection are desired.
This step should be carefully executed to ensure that the repaired section blends seamlessly with the rest of the ceramic surface. Finish by giving the entire bowl a final polish to unify the texture and appearance, ensuring the repair is virtually indistinguishable from the original surface.
Testing the Bowl After Repair
Checking for Stability
To test the repaired bowl for cracks or weak spots, gently press or tap the repaired area with your fingers, listening for unusual sounds or feelings for movement. Apply slight but firm pressure across different sections to ensure the repair holds under pressure, confirming that the bowl is stable and safe to use.
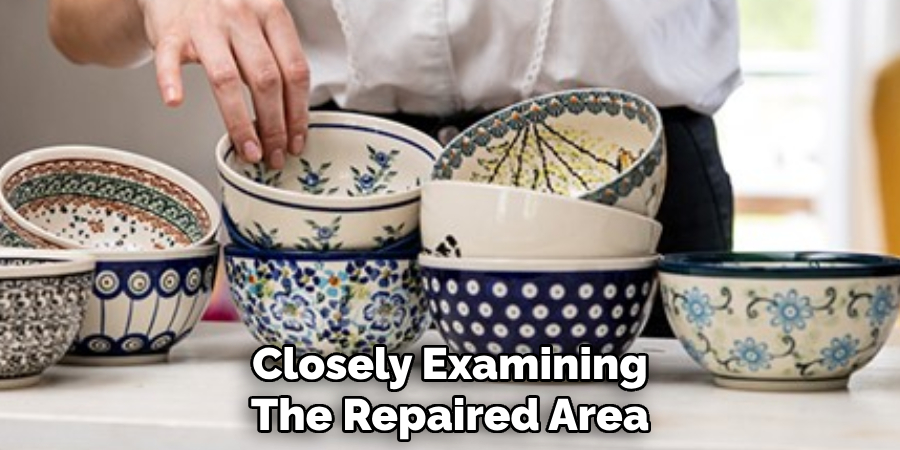
Visual Inspection
Inspect the bowl for imperfections by closely examining the repaired area under good lighting. Look for uneven surfaces or missed spots that may need additional smoothing or sealing. Spotting these early ensures the repair’s effectiveness and the bowl’s durability.
Conclusion
In conclusion, learning how to repair ceramic bowl involves a series of precise steps, from cleaning and filling chips to sanding and sealing the finished repair. Patience and attention to detail are essential to ensure the bowl’s longevity and visual appeal.
By opting to repair rather than discard, you can preserve sentimental or valuable pieces that hold personal significance. Proper care and maintenance of the completed repair will keep the bowl functional for long-term use while maintaining its original charm and integrity. Repairing is a sustainable choice that respects both the item and the environment.
Professional Focus
Harry Ciotti is a highly skilled kiln operator with a sharp eye for detail and an in-depth understanding of the firing process. His expertise ensures that each ceramic piece reaches its full potential, perfectly balancing strength and beauty. Harry takes pride in overseeing the final stage of pottery creation, transforming raw clay into durable and stunning works of art.
About the Author
Harry Ciotti is a dedicated kiln operator and ceramic artist who brings passion and precision to every piece he fires. With a deep commitment to craftsmanship, Harry ensures that every ceramic creation is fired to perfection, from delicate vases to robust sculptures. He not only operates the kiln, but understands the unique needs of each piece, ensuring it reaches its full artistic potential. Through his work, Harry blends precision with artistry, making every firing a story of transformation.
Education History
University: California College of the Arts
Degree: Master of Fine Arts in Ceramics
Harry’s advanced education in ceramics has refined his technical skills, particularly in kiln operation, firing processes, and ceramic artistry. His educational background equips him to produce top-quality ceramic pieces that reflect both technical excellence and artistic expression.
Expertise:
- Kiln Operation and Firing Techniques
- Ceramics Creation (Functional and Artistic)
- Precision Craftsmanship
- Glazing and Texture Techniques
- Ceramic Artistry and Storytelling