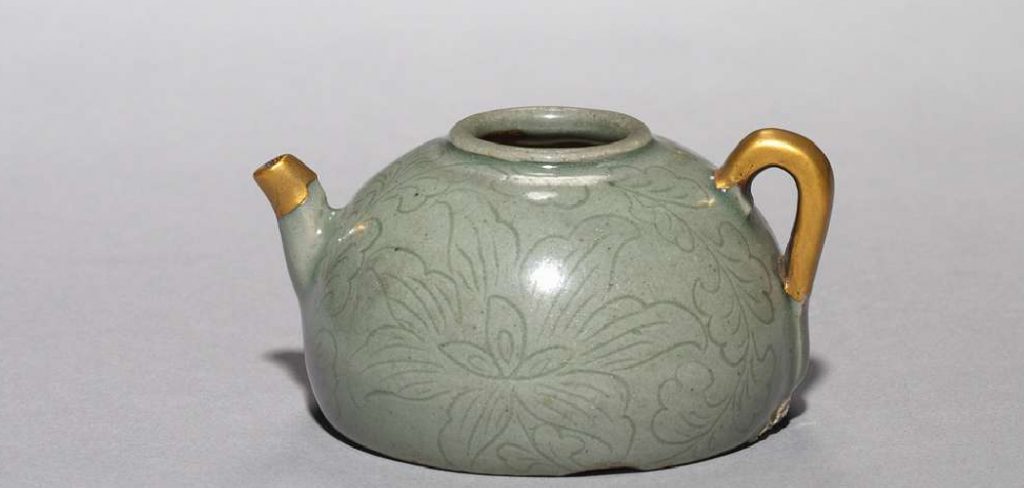
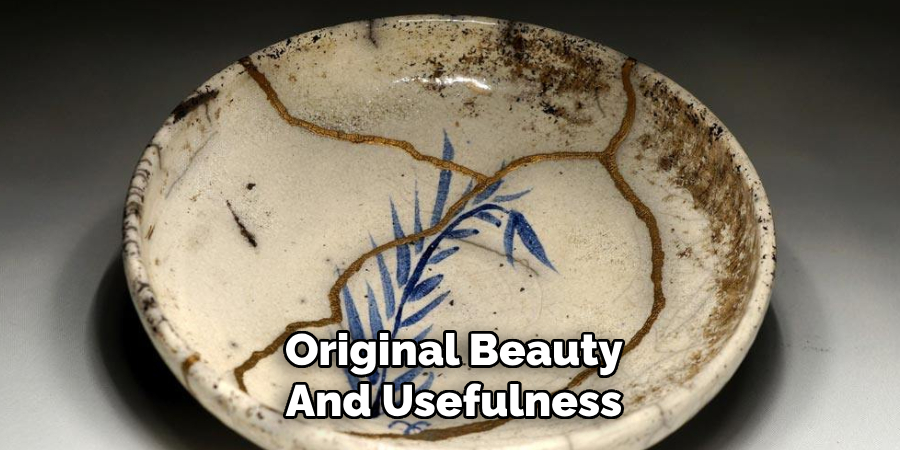
Broken ceramic items, whether they are cherished decorations or everyday functional pieces, don’t have to be discarded when they break. With the right tools, adhesives, and techniques, many broken ceramics can be restored to their original beauty and usefulness. Learning how to repair broken ceramic not only allows you to save objects with sentimental value but also helps reduce waste and can be far more cost-effective than replacing them.
This article aims to provide a clear, step-by-step guide on how to repair broken ceramic, using various methods to ensure a strong and nearly flawless fix. Whether you’re fixing a family heirloom or a simple kitchen dish, this guide will help you breathe new life into your ceramic treasures.
Assessing the Damage
Before beginning a ceramic repair project, assessing the damage and understanding the type of break you’re dealing with is crucial. Different types of breaks require different approaches, and taking this initial step ensures that you choose the right method and tools for the job.
Determining the Type of Break
- Clean Break: This is characterized by two or more large pieces that fit back together easily. These are often the easiest to repair, resulting in a seamless fix with the right adhesive.
- Shattered Ceramic: When ceramic breaks into multiple small fragments, extra care and patience are needed to reassemble the pieces correctly. This type of damage may also require more advanced techniques, such as using a filler to fill gaps.
- Chipped Edges: If the ceramic has small missing parts, you may need to use a specialized filler or putty to rebuild the edges and restore the original shape.
Checking for Missing Pieces
Lay out all the fragments on a flat, clean surface to evaluate what you have to work with. Inspect carefully for any missing chips or fragments. If small pieces cannot be recovered, consider using epoxy putty or a similar material to fill in the gaps and maintain the object’s structural integrity. Proper assessment will set the foundation for an effective and lasting repair.
Gathering Materials and Tools
The right materials and tools are essential for a successful repair, ensuring stability and aesthetic appeal. Below is a list of recommended adhesives, tools, and optional supplies to help you confidently proceed.
Adhesives
- Super glue (cyanoacrylate): Ideal for quick fixes and small, clean breaks.
- Epoxy Resin: Provides a stronger, more durable bond, suitable for heavier or more complex repairs.
Tools Needed
- Toothpicks or a small brush: For precise glue application to small areas.
- Clamps, rubber bands, or masking tape: Useful for holding fragments securely in place while the adhesive sets.
- Acetone or rubbing alcohol: Effective for cleaning surfaces before applying adhesive to ensure a better bond.
- Fine sandpaper: Helps smooth and prepare edges for a seamless fit.
Optional Finishing Supplies
- Paint and glaze: For color matching and restoring the appearance of the repaired object.
- Clear sealant: Adds an extra layer of protection and durability to your repair.
Gathering these materials in advance will help streamline the repair process, allowing you to focus on precision and quality as you work to restore your item.
Cleaning and Preparing the Broken Edges
Proper preparation is crucial for achieving a strong and seamless repair. Follow these steps to clean and prepare the broken edges of your item effectively:
Step 1: Cleaning the Pieces
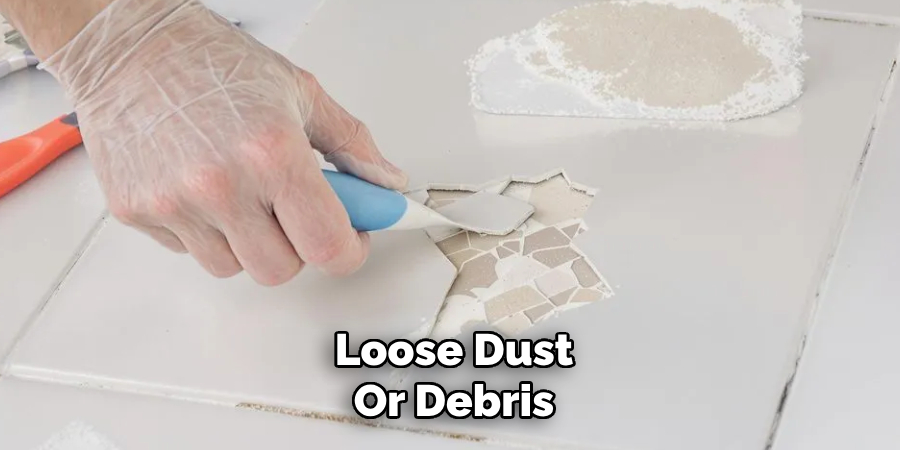
Begin by wiping the broken edges with a damp cloth to remove any loose dust or debris. This initial cleaning step ensures surface particles do not interfere with bonding. Once dust is removed, use a cotton pad or a soft cloth dipped in acetone or rubbing alcohol to clean the edges thoroughly.
These substances work to eliminate oils, grease, or other residues that may weaken adhesive bonds. Allow the cleaned edges to air dry completely to avoid trapping moisture during the repair.
Step 2: Dry-Fitting the Pieces
Before applying any adhesive, it is essential to dry-fit the broken pieces to assess their alignment and overall fit. Carefully arrange the pieces together correctly, testing the assembly to ensure that all edges align smoothly. This step helps you visualize the final outcome and identify gaps or areas that require additional attention during gluing.
Review the correct order for reassembling the fragments, and make any necessary adjustments to ensure a proper fit. By dry-fitting, you can prevent mistakes and improve precision when the adhesive is applied later.
Preparing the pieces with care builds a solid foundation for your repair project, ultimately resulting in a stronger and longer-lasting fix.
How to Repair Broken Ceramic: Gluing the Ceramic Pieces Together
Step 1: Applying the Adhesive
For super glue, carefully apply a thin, consistent layer to one of the broken edges of the ceramic piece. Ensure you do not use excessive amounts, as this can create messy overflows when the pieces are pressed together. If you are using epoxy, follow the manufacturer’s instructions to mix the components thoroughly. Use a small applicator or brush to evenly spread the epoxy onto the broken edge for optimal bonding.
Step 2: Pressing the Pieces Together
Once the adhesive is applied, align the broken edges meticulously, ensuring they match up as closely as possible. Precision at this stage is critical for a seamless and strong repair. Apply firm, even pressure to the joined pieces, holding them in place for 30 to 60 seconds or following the specific recommendations outlined by the adhesive manufacturer. This step sets the bond initially and prevents the pieces from shifting.
Step 3: Securing the Bond
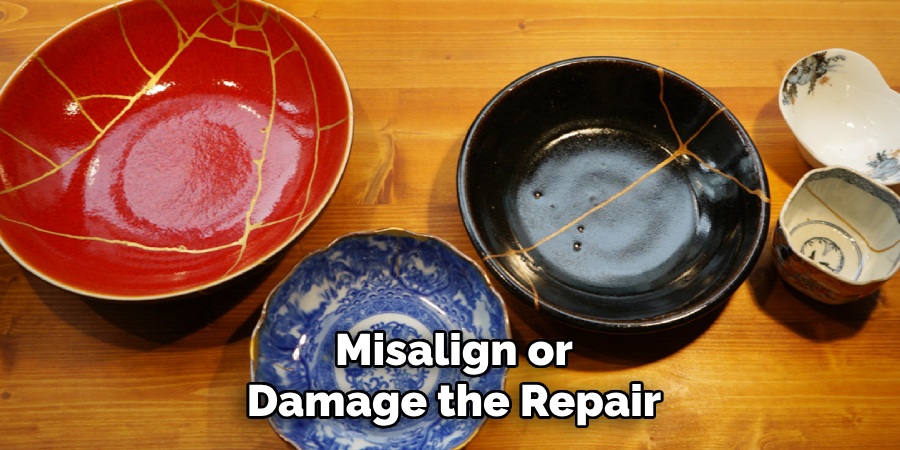
To maintain the alignment of the ceramic pieces and ensure the adhesive cures properly, use tools like clamps, rubber bands, or strips of masking tape. These will help secure the pieces in place while the adhesive dries. Be gentle to avoid applying excessive force, which could misalign or damage the repair.
Check the curing time provided in the adhesive’s instructions, ranging from 15 minutes to 24 hours. Allow the adhesive to fully cure before handling the item to ensure maximum strength and durability.
Filling Gaps and Missing Pieces
Epoxy putty is an ideal solution when dealing with ceramics with gaps or missing pieces due to its strong bonding and moldability. Begin by selecting an epoxy putty that is suitable for ceramics. Cut or break off a small portion of the putty and mix it thoroughly as per the manufacturer’s instructions until the color is uniform.
Once mixed, mold the epoxy putty into the desired shape, carefully filling in the gaps or reconstructing missing sections. Use tools like sculpting knives or your fingers (wearing gloves) to shape the putty to match the ceramic’s contours as closely as possible.
After the epoxy putty has dried completely, which may take several hours, it’s time to refine the surface. Use fine-grit sandpaper to gently sand down excess putty, ensuring a smooth finish that blends seamlessly with the surrounding ceramic.
Take care during sanding to preserve the shape you’ve created and avoid scratching the ceramic’s intact portions. If necessary, the repaired area can be painted to match the original ceramic, further enhancing its appearance. By patiently filling gaps and sanding for a smooth finish, you can restore your ceramic to a functional and aesthetically pleasing state.
Painting and Sealing the Repair
Once the repair area has been smoothed and prepped, the next step is painting and sealing to ensure a flawless finish.
Matching the Original Color
To recreate the original look of the ceramic, use acrylic or ceramic paint for color touch-ups. Select a shade that closely matches the rest of the piece, and be sure to test the color on a small, inconspicuous area beforehand.
Apply the paint in thin, even layers, using a fine brush for precision. Allow each layer to dry completely before adding additional coats if needed. Blending the edges carefully will help ensure the repair harmonizes seamlessly with the original ceramic.
Applying a Protective Sealant
To protect your carefully restored piece, apply a clear ceramic glaze or sealant over the repaired area. This step not only safeguards the repair but also recreates the glossy or matte finish of the original ceramic.
Use a soft applicator or brush, coating the area evenly, and do not leave bubbles or streaks. Allow the sealant to dry thoroughly according to the manufacturer’s instructions, typically for at least 24 hours, before handling or using the item. Proper sealing will enhance durability and ensure the repair withstands time and use.
Preventing Future Breakage
Taking preventive measures can help preserve your ceramics and avoid future damage.
Proper Handling Tips
Always use two hands to ensure stability and avoid unnecessary strain on weak spots when handling ceramics. Place soft pads or liners on shelves to cushion items and minimize the risk of chipping or cracking. Ensure fragile pieces are stored in secure locations, away from high-traffic areas or unstable surfaces where they might fall.
Reinforcing Weak Spots
For ceramic objects that are prone to breakage, consider adding felt pads or rubber bumpers underneath to reduce the impact from accidental knocks or pressure. This small adjustment can prevent stress on vulnerable areas, extending the life of your cherished items.
When to Replace Instead of Repair
If your ceramic piece is severely compromised, with extensive cracks or missing sections that make it unsafe or unstable for use, it may be time to consider replacing it. While repairs can restore aesthetics, structural integrity is crucial, especially for functional objects.

Conclusion
Repairing broken ceramic items can be a rewarding process if approached with care. You can achieve a nearly invisible repair by following the key steps—cleaning the pieces thoroughly, gluing them securely, filling any gaps, painting the repaired surface, and sealing it for durability.
Patience and precision are essential in this endeavor, as rushing may compromise the final result. Instead of discarding sentimental items, take the opportunity to breathe new life into them. Learning “how to repair broken ceramic” preserves cherished objects and promotes sustainability by reducing waste and creating lasting memories.
Professional Focus
Harry Ciotti is a highly skilled kiln operator with a sharp eye for detail and an in-depth understanding of the firing process. His expertise ensures that each ceramic piece reaches its full potential, perfectly balancing strength and beauty. Harry takes pride in overseeing the final stage of pottery creation, transforming raw clay into durable and stunning works of art.
About the Author
Harry Ciotti is a dedicated kiln operator and ceramic artist who brings passion and precision to every piece he fires. With a deep commitment to craftsmanship, Harry ensures that every ceramic creation is fired to perfection, from delicate vases to robust sculptures. He not only operates the kiln, but understands the unique needs of each piece, ensuring it reaches its full artistic potential. Through his work, Harry blends precision with artistry, making every firing a story of transformation.
Education History
University: California College of the Arts
Degree: Master of Fine Arts in Ceramics
Harry’s advanced education in ceramics has refined his technical skills, particularly in kiln operation, firing processes, and ceramic artistry. His educational background equips him to produce top-quality ceramic pieces that reflect both technical excellence and artistic expression.
Expertise:
- Kiln Operation and Firing Techniques
- Ceramics Creation (Functional and Artistic)
- Precision Craftsmanship
- Glazing and Texture Techniques
- Ceramic Artistry and Storytelling