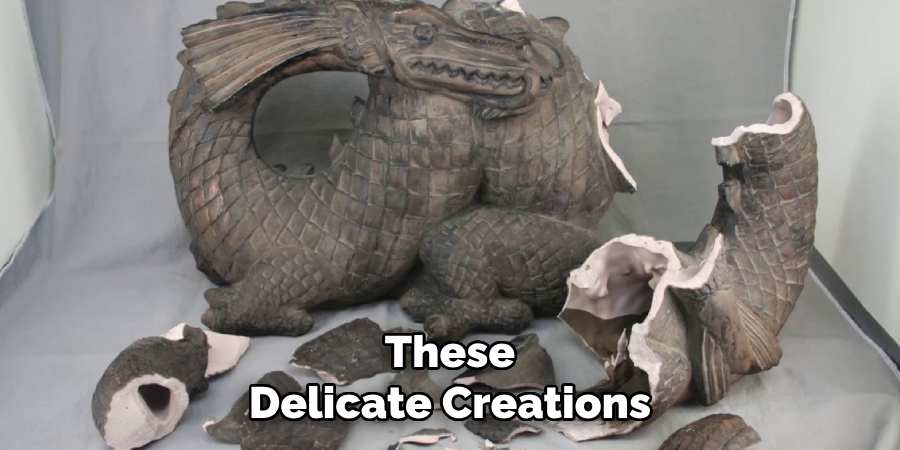
Ceramic statues are cherished for their elegance, craftsmanship, and the unique charm they bring to various settings. Whether used in home decor, collected as valuable keepsakes, or revered as religious artifacts, their popularity spans cultures and generations. However, these delicate creations are often damaged due to accidental drops, cracks, chips, or even missing pieces.
Such damage not only mars their appearance but can also diminish their sentimental and functional value. Proper repair is crucial to restoring their aesthetics, sentimental significance, and structural integrity. For many, learning how to repair a ceramic statue can bring new life into these treasured items, ensuring they continue enriching their surroundings for years to come.
This guide provides a step-by-step approach, equipping you with the right materials and techniques to repair your ceramic statue successfully.
Assessing the Damage Before Repair
Before beginning the repair process, it is essential to thoroughly assess the extent of the damage to your ceramic statue. Each type of damage requires a unique approach, and understanding the nature of the problem is crucial to achieving successful restoration.
Types of Damage
Ceramic statues can experience various forms of damage:
- Small cracks and hairline fractures: These are often superficial and easier to repair with minimal tools and materials.
- Chipped or missing pieces: When parts of the statue are chipped off or entirely missing, additional work is necessary to fill gaps or reconstruct the missing sections.
- Complete breaks with multiple shattered parts: This is the most severe type of damage, requiring meticulous effort to reassemble and repair each shard.
Evaluating the Complexity of the Repair
It is also essential to gauge the complexity of the repair process:
- Simple fixes like mending a small crack can often be managed at home with basic supplies and patience.
- Extensive restorations involving many broken pieces or intricate details may require professional restoration to ensure quality results.
Knowing when to handle the repair and consult an expert can save time and frustration.
Organizing Broken Pieces
To streamline the repair:
- Gather and align all broken pieces to confirm that you have every fragment. This will help you understand the full scope of the damage.
- Label or number the fragments to keep them organized during the reassembly process. This system will aid in fitting the pieces together accurately, reducing the possibility of errors during repair.
Essential Tools and Materials for Repair
Having the right tools and materials is crucial for ensuring a successful repair. Below is a guide to some of the key items you will need:
Adhesives
Choosing the correct adhesive depends on the nature of the damage. Epoxy glue, particularly a two-part epoxy, provides more substantial, more permanent bonds, making it ideal for heavier or high-stress repairs.
On the other hand, cyanoacrylate (super glue) works better for small cracks or lightweight pieces due to its quick-drying properties and ease of use. Assess the damage carefully to select the appropriate adhesive for your needs.
Filling Materials
For repairs involving missing chunks or gaps, ceramic filler or epoxy putty can help restore the original shape and integrity. These materials are malleable and effective for recreating missing sections. Once the gap is filled, sandpaper can smooth the repaired surface, ensuring a seamless finish.
Painting and Finishing Supplies
To restore the item’s original appearance, acrylic paint or ceramic paint can be used for detailed touch-ups. For added protection and shine, apply a clear sealant or varnish once the paint has dried, preserving your repair work for the long term.
Safety Gear
Always prioritize safety when repairing items. Wear gloves to protect your hands from exposure to adhesives and chemicals. Ensure your workspace is well-ventilated, mainly with strong adhesives or finishes, to minimize fumes and maintain a safe environment.
How to Repair a Ceramic Statue: Step-by-Step Guide
Step 1: Cleaning the Area
Begin by thoroughly cleaning the damaged area to remove any dirt, dust, or old adhesive remnants. Use warm water and a soft brush to gently scrub the surface, ensuring that no debris is left behind. Once clean, ensure the ceramic is completely dry before proceeding to the next step, as moisture can compromise the effectiveness of the adhesive.
Step 2: Applying the Adhesive
Using a high-quality adhesive, such as super glue or epoxy, apply a thin and even layer directly onto the crack or fracture. Take care to avoid overapplication as it could lead to unsightly excess glue. Gently press the pieces together until they align perfectly, and use clamps or your hands to hold them steady for a few minutes to ensure the adhesive begins bonding securely.
Step 3: Wiping Excess Glue
Before the adhesive dries, carefully wipe away any excess glue with a damp cloth. This step is critical for maintaining the aesthetics of the ceramic object as smudges or glue buildup could detract from the item’s restored appearance. Be gentle to avoid disrupting the adhesive while it is still setting.
Step 4: Drying and Curing
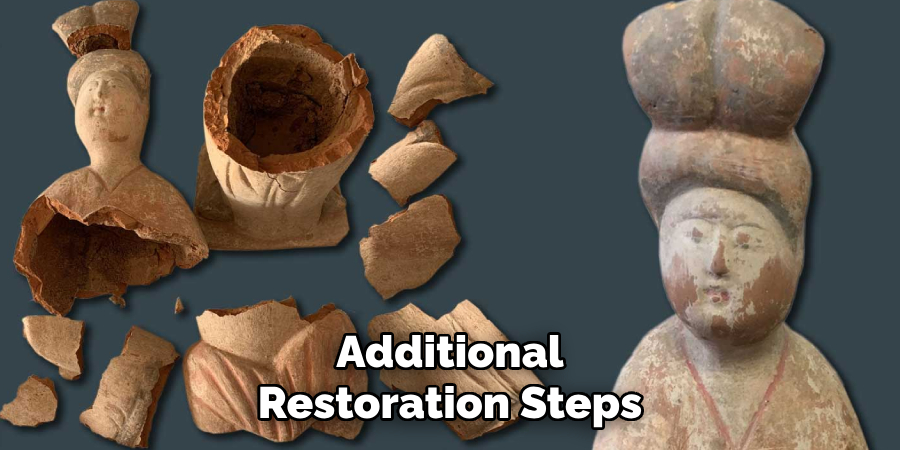
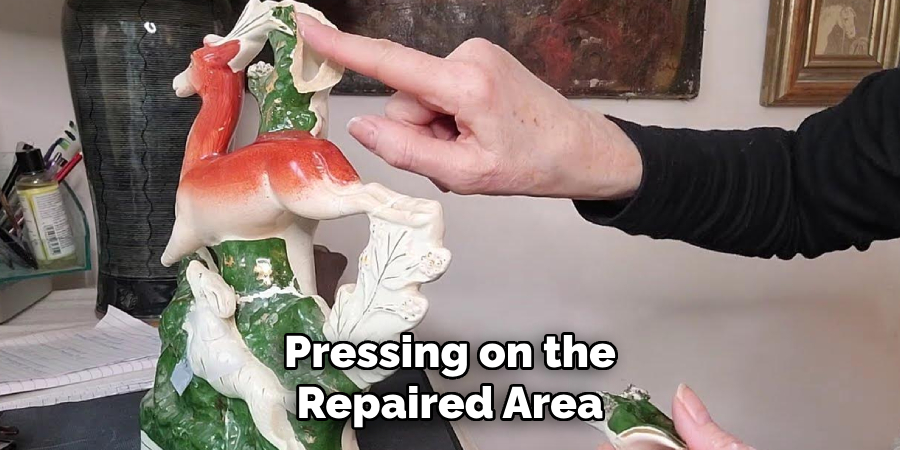
Allow the item to sit undisturbed for the adhesive’s recommended curing time. For epoxy, this usually means at least 24 hours. Once the adhesive has fully cured, test the strength of the bond by lightly pressing on the repaired area. If the repair holds strong, you can proceed with additional restoration steps, such as painting or sealing, to complete your project.
Fixing Chipped or Missing Pieces
Step 1: Filling the Missing Area
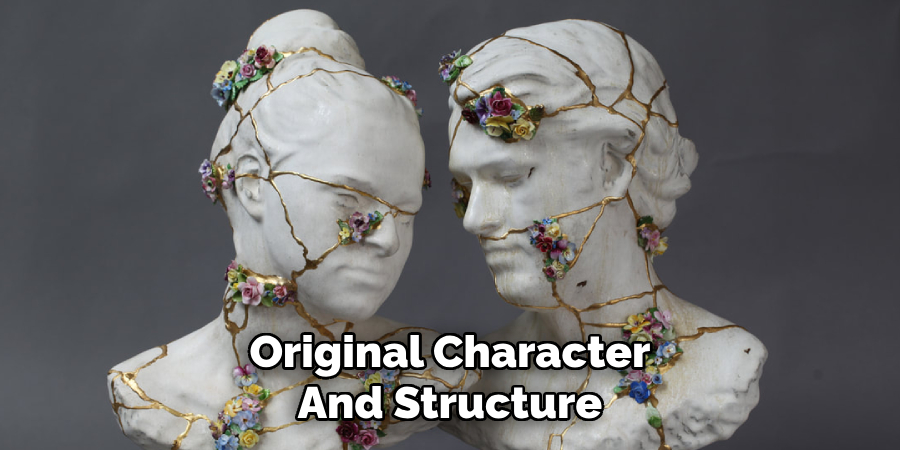
To restore chipped or missing pieces, use ceramic filler, epoxy putty, or sculpting clay to recreate the lost portion. Carefully apply the filler, shaping it to match the original design of the item as accurately as possible. This step requires patience and a keen eye for detail to ensure the repaired area retains the piece’s original character and structure.
Step 2: Smoothing the Surface
Once the filler has fully dried or cured, the next step is to sand the area. Use fine-grit sandpaper to blend the repaired section seamlessly with the surrounding ceramic. Work gently to achieve a smooth, even surface, as this will be critical for ensuring a natural and professional appearance in the finished repair.
Step 3: Painting the Repaired Section
To match the repaired area with the original item, mix acrylic or ceramic paint to replicate the item’s color. This can involve combining multiple shades to achieve an exact match. Apply the paint in thin, even layers, allowing each coat to dry before applying the next. Multiple layers may be necessary to create a natural and cohesive look.
Step 4: Sealing the Repair
Once painting is complete and fully dry, finish the repair by applying a clear sealant or varnish. This step not only protects the paint but also restores the original shine of the ceramic. Allow the sealant to dry completely before handling the item to ensure a durable, long-lasting finish.
Reassembling a Broken Statue
Step 1: Dry-Fitting the Pieces
Begin by carefully arranging the broken parts of the statue without using any glue. This step is essential to ensure that all pieces fit together correctly and that the statue’s overall structure appears seamless. Adjust any rough edges or uneven spots using fine sandpaper to improve the alignment and fit.
Step 2: Applying Glue to Each Section
Work methodically by gluing one piece at a time, starting with the largest fragments. Apply a suitable adhesive or epoxy to the edges, ensuring even coverage for a secure bond. Hold each section in place until the adhesive sets, or use clamps if necessary. Avoid rushing this process to ensure stability before moving on to the next piece.
Step 3: Reinforcing Weak Points
For additional durability, apply a small amount of extra adhesive or epoxy inside the joints where the pieces connect. If there are any small gaps or missing fragments, fill them with a high-quality putty or filler. Smooth out the filled areas to match the statue’s surface.
Step 4: Final Touches
Once the statue is fully assembled and the adhesive has dried, gently sand any visible seams for a clean, polished look. Finally, paint over the repaired areas to match the original design and apply a protective sealant or varnish to complete the restoration.
Advanced Restoration Techniques for Detailed Statues
Restoring detailed statues requires specialized techniques to recreate fine features and maintain authenticity. Intricate details, such as facial features or ornamental designs, can be restored using sculpting clay or epoxy. By carefully sculpting and shaping these materials, restorers can replicate even the most delicate elements with precision.
Techniques like gold leaf application or kintsugi, a traditional Japanese method of repairing cracks with gold, can be used for a decorative approach. Kintsugi restores the statue and accentuates its cracks, creating a unique aesthetic that celebrates its history.
Airbrushing is another advanced method for achieving a professional finish. This technique allows for seamless blending of colors, ensuring the restored areas perfectly match the original design. Using an airbrush requires patience and skill but can result in smooth, even coatings that enhance the overall appearance of the statue while preserving its intricate artistry.
Conclusion
Repairing ceramic statues with proper techniques is essential to preserve their sentimental or artistic value while honoring their original craftsmanship. Learning how to repair a ceramic statue allows individuals to breathe new life into cherished items instead of discarding them.
The process requires patience, precision, and attention to detail, but the results are gratifying. To ensure lasting repairs, it is crucial to handle restored pieces carefully and avoid placing them in high-risk locations. Regular cleaning with gentle methods and proper storage can also prevent future damage. By dedicating time and care, you can protect these treasures for years to come.
Professional Focus
Harry Ciotti is a highly skilled kiln operator with a sharp eye for detail and an in-depth understanding of the firing process. His expertise ensures that each ceramic piece reaches its full potential, perfectly balancing strength and beauty. Harry takes pride in overseeing the final stage of pottery creation, transforming raw clay into durable and stunning works of art.
About the Author
Harry Ciotti is a dedicated kiln operator and ceramic artist who brings passion and precision to every piece he fires. With a deep commitment to craftsmanship, Harry ensures that every ceramic creation is fired to perfection, from delicate vases to robust sculptures. He not only operates the kiln, but understands the unique needs of each piece, ensuring it reaches its full artistic potential. Through his work, Harry blends precision with artistry, making every firing a story of transformation.
Education History
University: California College of the Arts
Degree: Master of Fine Arts in Ceramics
Harry’s advanced education in ceramics has refined his technical skills, particularly in kiln operation, firing processes, and ceramic artistry. His educational background equips him to produce top-quality ceramic pieces that reflect both technical excellence and artistic expression.
Expertise:
- Kiln Operation and Firing Techniques
- Ceramics Creation (Functional and Artistic)
- Precision Craftsmanship
- Glazing and Texture Techniques
- Ceramic Artistry and Storytelling