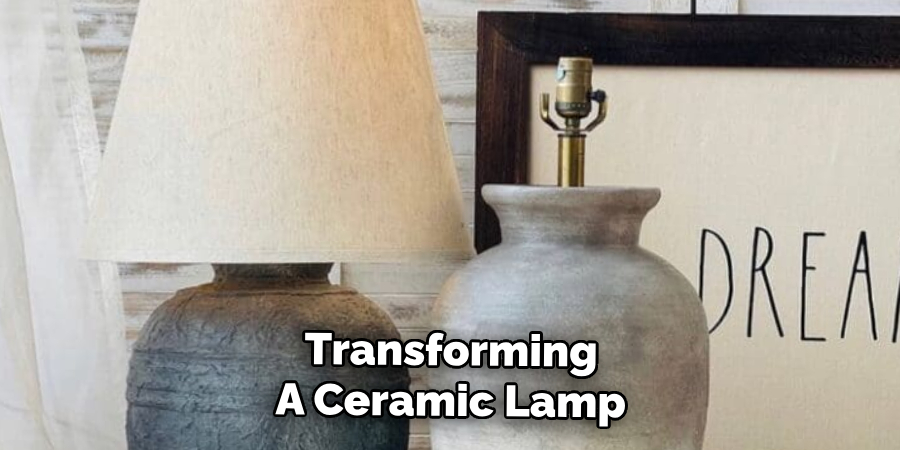
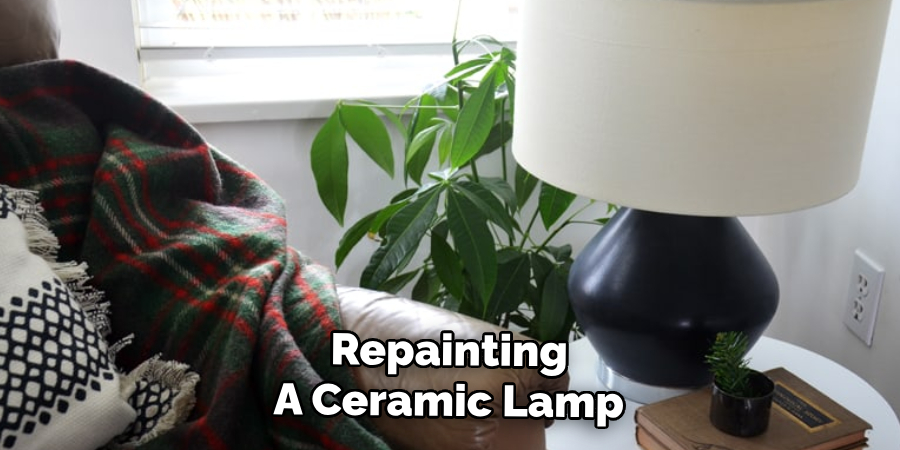
Repainting a ceramic lamp is a simple and creative way to give it a fresh new look without the expense of purchasing a replacement. Whether you want to match the lamp to your current home décor, refresh an outdated or faded piece, or add a personalized touch, this DIY project offers versatility and affordability.
Customizing a lamp allows you to explore different colors, finishes, and styles, making it uniquely yours and perfectly suited to your living space. Additionally, refurbishing an old lamp instead of discarding it is both eco-friendly and budget-conscious. The purpose of this article is to provide you with a comprehensive, step-by-step guide on how to repaint a ceramic lamp.
With the right materials, techniques, and preparation, you’ll achieve a smooth, durable, and professional-looking finish that will rejuvenate your lamp and enhance its appeal.
Materials and Tools Needed
Essential Materials
- Ceramic-friendly paint – Opt for acrylic, chalk, or spray paint depending on your preferred finish.
- Primer – Ensure it is suitable for ceramic surfaces to provide a solid base for the paint.
- Clear sealer – This final coat adds durability and protects the lamp from wear and tear.
Tools Required
- Sandpaper (220–400 grit) – Used to smooth the ceramic surface for better paint adherence.
- Painter’s tape – Essential for covering areas such as the lamp’s socket, cord, or any part you do not wish to paint.
- Soft cloth and mild cleaner – To clean and prepare the lamp surface by removing dust, grease, or grime.
- Brushes or spray paint – Select the appropriate tools for even application depending on your chosen painting method.
- Protective gloves and mask – Crucial when using spray paint or working with aerosol products to ensure safety.
Having the right materials and tools will set the foundation for a smooth and professional painting process, ensuring that your ceramic lamp transformation is both efficient and successful.
Preparing the Lamp for Painting
Transforming a ceramic lamp starts with thorough preparation to ensure a flawless and long-lasting finish. Follow these steps to ready your lamp for painting:
Step 1: Unplug and Disassemble
Before starting, unplug the lamp from its power source for safety. Carefully remove the light bulb, lampshade, and any detachable parts. Set these aside in a safe location to avoid damage or disruption.
Step 2: Cleaning the Ceramic Surface
To achieve an even coat of paint, the surface must be clean. Use a damp cloth with mild detergent to carefully wipe away dust, grease, and grime from the ceramic. Take special care in crevices or detailed areas to remove buildup. Once cleaned, allow the lamp to dry completely before moving on to the next step.
Step 3: Sanding for Better Adhesion
For optimal paint adhesion, lightly sand the ceramic surface using fine-grit sandpaper. Focus on creating a slightly roughened texture without damaging the lamp. This step ensures both the primer and paint will bond effectively to the surface. After sanding, use a clean cloth to wipe away any dust or residues caused by the sanding process.
Step 4: Masking Off Areas
Use painter’s tape to protect areas of the lamp you don’t want painted, such as the socket, cord, or other functional components. Carefully apply the tape to create clean and precise lines, ensuring no paint seeps into protected sections or electrical components.
By following these steps, your lamp will be properly prepared for its transformation, setting the stage for a smooth application and professional-quality results.
Applying Primer to the Ceramic Surface
Step 1: Choosing the Right Primer
Selecting the appropriate primer is crucial for ensuring long-lasting and professional results. Use a high-quality bonding primer specifically designed for ceramic or glossy surfaces. This type of primer adheres better, creating a strong foundation for the paint to bond effectively. Check product labels to confirm compatibility with ceramic materials, and opt for a primer that best suits your project’s intended finish, whether matte, satin, or glossy.
Step 2: Applying the Primer
Once the correct primer has been selected, apply it to the ceramic surface using your preferred method, such as a spray can or a paintbrush. For even coverage, spray or brush on a thin, consistent coat, addressing all visible areas while avoiding thick drips or pooling. Work in a well-ventilated space, and keep a steady hand to achieve a smooth application.
After applying the first coat, allow the primer to dry completely. Most primers require at least 1-2 hours to dry, but always follow the manufacturer’s guidelines for the best results.

Step 3: Lightly Sanding Between Coats (If Needed)
For surfaces that require a perfectly smooth base, lightly sand the primed area using fine-grit sandpaper (such as 320-grit). This step helps eliminate minor imperfections and improves the surface for subsequent coats.
After sanding, thoroughly wipe away any dust or residue with a clean, damp cloth to prevent particles from interfering with the next layer. If necessary, repeat the priming and sanding process for additional coats, ensuring each layer is even and smooth before moving on to the painting stage.
How to Repaint a Ceramic Lamp: Painting the Ceramic Lamp
Step 1: Choosing the Right Paint
To achieve a durable and professional-looking finish, selecting the appropriate type of paint is crucial. Acrylic, chalk, or spray paint formulated explicitly for ceramics are excellent choices. Each option adheres well to the primed surface and provides a long-lasting result. Consider the desired finish—whether matte, glossy, or textured—and select a paint that aligns with your vision for the lamp.
Step 2: Applying the First Coat
Begin by applying the first coat of paint with smooth, even strokes if using a brush, or maintain a steady hand while spraying from a distance of 8–12 inches. This ensures an even application and prevents drips or uneven texture. Work in a well-ventilated area to promote proper drying and minimize inhalation of fumes, particularly if using spray paint. Take your time to achieve uniform coverage across the entire surface of the lamp.
Step 3: Adding Additional Coats
For the best results, apply at least two coats of paint. Allow each coat to dry completely, following the manufacturer’s recommended drying time, before applying the next. Multiple layers not only enhance the vibrancy of the chosen color but also improve the lamp’s durability and resistance to wear over time. Make sure each coat is evenly spread, and inspect for any missed spots or uneven areas before moving on.
Step 4: Creating a Decorative Effect (Optional)
If you wish to add a decorative touch, now is the perfect time to explore creative techniques. Dry brushing can add texture, distressing can create a vintage or weathered look, and stenciling can introduce patterns or intricate designs. These effects allow for a personalized and unique lamp design that suits your style and enhances the room’s aesthetic. Take care to apply these effects with precision and a steady hand for the best outcome.
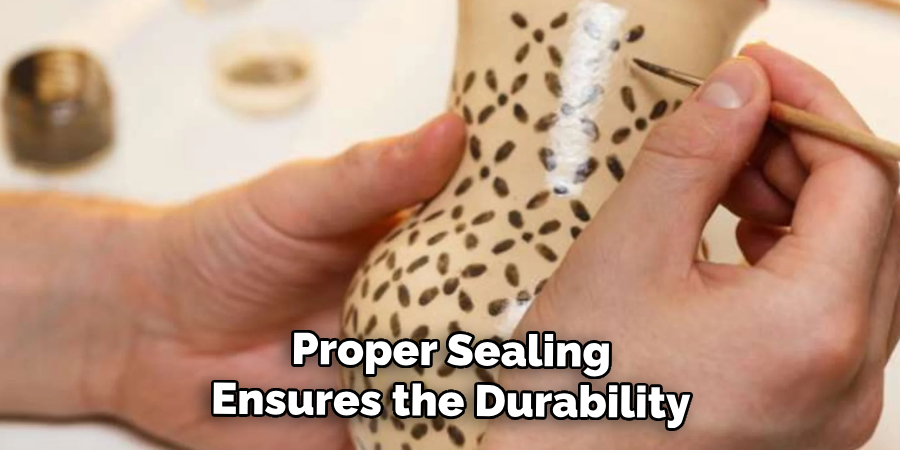
Sealing and Finishing Touches
Proper sealing ensures the durability of your lamp’s finish and helps protect it from wear and tear. Follow these steps to complete the process:
Step 1: Choosing a Sealer
Select a clear spray sealer or brush-on polyurethane to safeguard your painted surface. Both options provide a protective layer that adds a polished look and prevents chipping or fading. Choose a finish that complements your design—matte, satin, or glossy.
Step 2: Applying the Sealant
Carefully spray or brush on a thin, even layer of the sealant. Ensure you cover all painted areas without over-applying, as excess sealant can lead to drips or an uneven texture. Work in a well-ventilated area to avoid inhaling fumes. Allow the sealant to dry fully per the manufacturer’s instructions, typically a few hours, before touching the lamp. Curing the piece ensures lasting protection.
Step 3: Reassembling the Lamp
Remove the painter’s tape once the sealant has dried and cured. Reattach any hardware such as the light bulb and lamp shade, and verify that everything is secure. Your revitalized lamp is now ready to take its place as a refreshed and stylish décor element in your home!
Troubleshooting Common Issues
Paint Not Sticking
If the paint isn’t adhering to the surface, the preparation steps were likely insufficient. Ensure the lamp was thoroughly cleaned to remove dust, grease, or grime, and sanded lightly to create a smooth and receptive surface before applying paint. Proper preparation is key to achieving a lasting finish.
Uneven Paint or Drips
Uneven paint or noticeable drips typically result from applying thick layers. To avoid this problem, always use light, even coats and allow each layer to dry completely before adding the next. Taking your time with this process will ensure a smooth and professional-looking finish.
Chipping or Peeling Paint
If the paint starts to chip or peel after drying, it might be due to skipping the primer or sealant steps. Always apply a quality primer before painting and finish the project with a sealant to protect the surface and extend the durability of your work.
Conclusion
Repainting a ceramic lamp is a simple yet effective way to give it a fresh, updated look. You can achieve a durable and professional-quality finish by following the key steps of cleaning, sanding, priming, painting, and sealing. Taking your time with each layer is crucial to avoid drips and ensure even coverage.
Whether you are revitalizing an old lamp or customizing a new one, understanding how to repaint a ceramic lamp will allow you to transform it into a personal and stylish statement piece. With proper preparation and patience, your lamp will look stunning for years to come!
Professional Focus
Harry Ciotti is a highly skilled kiln operator with a sharp eye for detail and an in-depth understanding of the firing process. His expertise ensures that each ceramic piece reaches its full potential, perfectly balancing strength and beauty. Harry takes pride in overseeing the final stage of pottery creation, transforming raw clay into durable and stunning works of art.
About the Author
Harry Ciotti is a dedicated kiln operator and ceramic artist who brings passion and precision to every piece he fires. With a deep commitment to craftsmanship, Harry ensures that every ceramic creation is fired to perfection, from delicate vases to robust sculptures. He not only operates the kiln, but understands the unique needs of each piece, ensuring it reaches its full artistic potential. Through his work, Harry blends precision with artistry, making every firing a story of transformation.
Education History
University: California College of the Arts
Degree: Master of Fine Arts in Ceramics
Harry’s advanced education in ceramics has refined his technical skills, particularly in kiln operation, firing processes, and ceramic artistry. His educational background equips him to produce top-quality ceramic pieces that reflect both technical excellence and artistic expression.
Expertise:
- Kiln Operation and Firing Techniques
- Ceramics Creation (Functional and Artistic)
- Precision Craftsmanship
- Glazing and Texture Techniques
- Ceramic Artistry and Storytelling