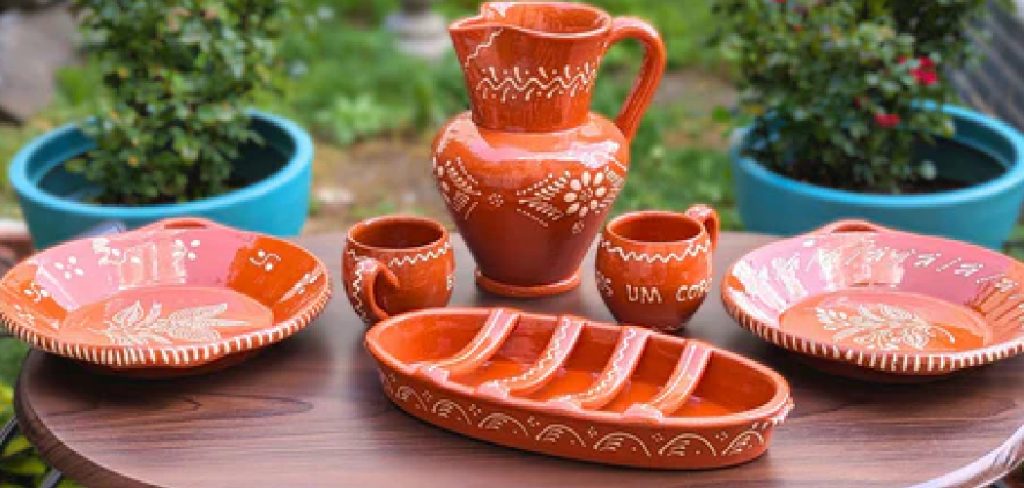
Are you tired of throwing out dry and cracked clay projects? Want to know the secret to rehydrating ceramic clay? Look no further!
How to rehydrate ceramic clay is an essential skill for any potter or sculptor, as it allows for the revival of clay that has become too dry and hard to work with. Over time, clay that is exposed to air can lose its moisture content, leading to a brittle and challenging texture.
Fortunately, with a few simple steps, this dried-out clay can be rejuvenated and returned to a workable state. This process helps conserve resources by minimizing waste and ensures that you can make the most of your clay supplies for ongoing, creative projects.
Whether you are an experienced artist or a novice working on your first pottery piece, learning to rehydrate clay is a valuable technique that will enhance your craft.
What Will You Need?
To rehydrate ceramic clay, you will need:
- A small amount of water
- A container with a lid or plastic bag
- Your dried-out clay
Once you have gathered these materials, you are ready to begin the rehydration process.
10 Easy Steps on How to Rehydrate Ceramic Clay
Step 1: Prepare Your Clay
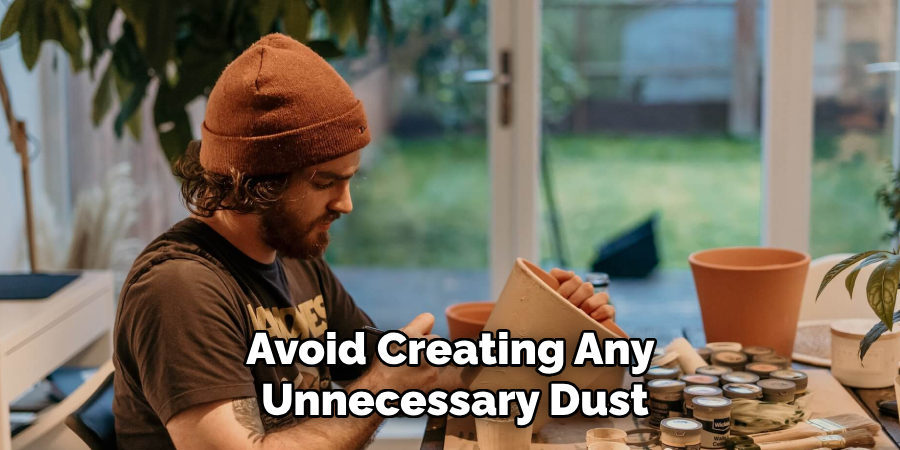
Start by breaking the dried-out clay into smaller, manageable pieces. This increases the surface area that can contact water, speeding up rehydration. Use your hands or a clay cutter to break the clay into chunks, ensuring that no pieces are too large, as this might hinder moisture absorption.
Handling the clay gently is crucial to avoid creating any unnecessary dust, which could make the work area messy and potentially irritate respiratory conditions. Once divided, place the clay pieces into the chosen container for the rehydration process. A large enough container will allow the pieces to spread out and absorb water more evenly, making the subsequent steps more effective.
Step 2: Add Water
Slowly pour a small amount of water into the container with the clay pieces. Be cautious to add only a little water, as this could lead to an overly sticky texture that is hard to correct. It’s better to start with a bit of water and gradually increase if needed. The goal is to begin moistening the clay without saturating it entirely.
Ensure the water is evenly distributed over the clay pieces; if desired, you may use a spray bottle for a more controlled application. This initial soaking is crucial for allowing the clay to absorb the moisture needed to become pliable again.
Step 3: Seal the Container
After adding the water, tightly seal the container with the lid or use a plastic bag to create an airtight environment. This helps to trap the moisture within the container, allowing the water to be gradually absorbed by the clay. Ensure there are no gaps or openings where air could enter, or moisture could escape, as this will significantly affect the rehydration process.
Leave the sealed container undisturbed for several hours or even overnight, depending on how dry the clay was to begin with. This time allows the clay pieces to slowly and evenly rehydrate, ensuring a consistent texture throughout. Patience at this stage can lead to better results, making your clay much more workable when you move on to the next steps.
Step 4: Check the Clay
After letting the clay sit for several hours or overnight, open the container and check the moisture level. Assess whether the clay has absorbed enough water by gently pressing on the surface with your fingers. The clay should feel soft and pliable but not overly sticky or wet.
If you find the clay is still too dry, gradually add a bit more water and reseal the container, allowing more time for absorption. Conversely, if the clay feels too wet, leave the container open for a short period to let excess moisture evaporate. This step ensures the clay reaches the ideal consistency for your sculpting or pottery projects, balancing moisture evenly for optimal workability.
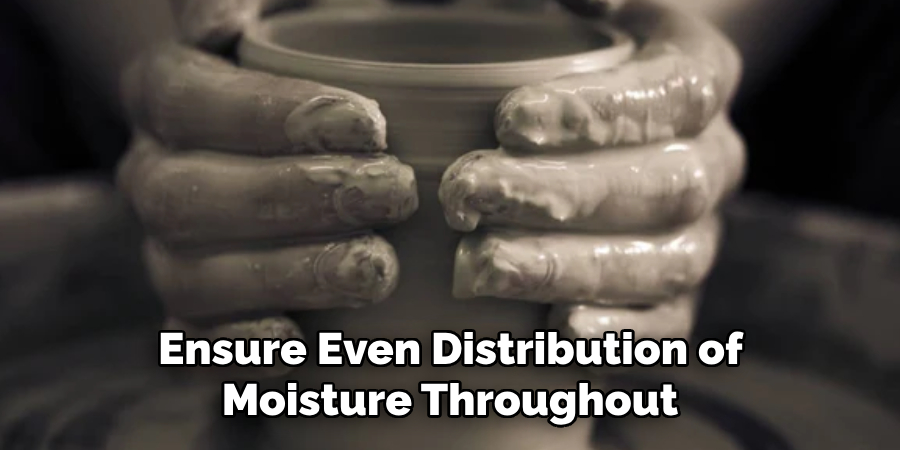
Step 5: Knead the Clay
Once the clay has reached an acceptable moisture level, remove it from the container. Begin kneading the clay thoroughly to ensure even distribution of moisture throughout. Kneading involves folding and pressing the clay repeatedly, which not only helps to eliminate air bubbles but also ensures that all areas of the clay are uniformly hydrated.
This process is critical for achieving a smooth and homogeneous texture, making the clay ready for sculpting or pottery work. If the clay feels inconsistent, continue kneading until it achieves a uniform consistency. This step transforms the rehydrated chunks back into a workable mass, ready for your next creative endeavor.
Step 6: Test Workability
After kneading the clay to ensure even moisture distribution, it’s essential to test its workability. Try shaping a small piece of the clay or begin a simple project to assess its consistency. The clay should mold easily without cracking or sticking excessively to your hands. If it still feels too dry and is forming cracks, add a bit more water and knead again.
Conversely, if it is too sticky, let it dry slightly in the air before continuing. Testing the workability ensures that the clay has achieved the right moisture balance, making it suitable for more detailed crafting or sculpting activities. This final assessment prepares you for effectively using the rehydrated clay in your artistic projects.
Step 7: Store the Clay
Once you have achieved the desired workability for your clay, it’s essential to store it properly to maintain its moisture content until you are ready to use it. Wrap the clay tightly in plastic wrap or store it in an airtight container to prevent it from drying out again.
If possible, place the wrapped clay in a plastic bag and seal it with minimal air inside to conserve its moisture further. Proper storage keeps your clay in optimal condition for future use and prolongs its shelf life so it remains ready for your next creative project. Remember to check periodically if the clay needs additional moisture to stay pliable.
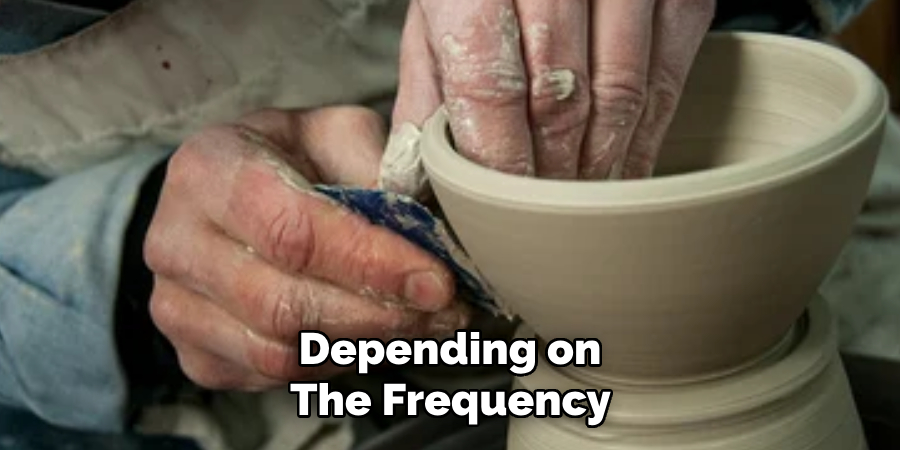
Step 8: Rehydrate as Needed
Depending on the frequency of use and environmental conditions, the clay may dry out over time, even if stored correctly. Before each use, it’s essential to check the moisture level and rehydrate if necessary. Repeat the previous steps of adding water and resealing the container until you reach the desired consistency.
Regular checks ensure that your clay remains workable and ready for use, reducing preparation time before each session and preventing any interruptions in your creative process. Consistent monitoring and rehydration will keep your clay in perfect condition, ensuring your artistic endeavors can continue smoothly.
Step 9: Clean Up Workspace
After working with clay, cleaning up your workspace to maintain a tidy and efficient environment is essential. Start by wiping down surfaces with a damp cloth to remove any clay residue, as dried clay can be challenging to clean if left for too long. Ensure tools and equipment used in the sculpting process are thoroughly washed and dried to prevent rust or buildup.
Organize your workspace by putting tools back in their proper places, ensuring everything is ready for your next creative session. A clean and organized area enhances your work efficiency and preserves the quality of your materials and tools.
Step 10: Enjoy Your Creative Process
Having properly prepared and stored your clay, you can delve into your creative process with renewed energy and enthusiasm. Whether you are working on a complex sculpture or a simple pottery piece, take the time to experiment with different techniques and let your creativity flow.
Enjoy the tactile experience of shaping the clay, and don’t hesitate to explore new ideas or push your boundaries. Embrace imperfections as part of the artistic journey, knowing that each piece is a unique expression of your creativity. Most importantly, savor the joy and satisfaction that comes with creating something with your own hands, allowing your artistic passion to come to life through the medium of clay.
By following these steps, you can successfully revitalize your dry clay and turn it into a workable material for your creative projects.
5 Things You Should Avoid
- Using Excessive Water: Avoid adding too much water all at once, as this can make the clay too soft and unworkable. It’s better to add water until the desired consistency is achieved gradually.
- Ignoring the Condition of the Clay: Before starting the rehydration process, it’s important to recognize the current state of your clay. Different levels of dryness require different approaches. Assess the clay’s condition to tailor the method accordingly.
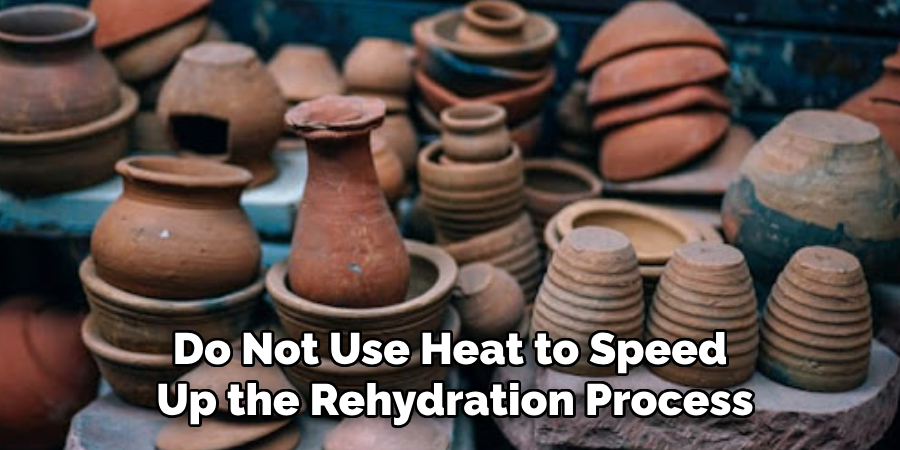
- Applying Heat: Do not use heat to speed up the rehydration process. Heat can cause the clay to dry out further, leading to cracking or altering its properties unfavorably.
- Neglecting Rest Time: Never rush to use the clay immediately after rehydrating. Allow the clay to rest for some time, enabling the moisture to be fully absorbed and ensuring uniform texture and flexibility.
- Using Chemical Substances: Some may suggest using additives like dish soap or vinegar to help rehydrate clay, but these can affect the final product and should be avoided. Stick to using water only for best results.
Conclusion
How to rehydrate ceramic clay is a crucial process for maintaining its quality and usability in creative projects.
Following the outlined steps, you can effectively transform dry and unusable clay into a workable medium ready for artistic endeavors. Essential practices such as proper kneading, testing workability, and adequate storage ensure that your clay maintains the appropriate moisture balance, extending its life and facilitating a smooth creative process.
By avoiding common mistakes, such as using excessive water or heat, you preserve the integrity of the clay and enhance your crafting experience.
Through diligent care and regular monitoring, your revitalized clay will continue to inspire and support your creative pursuits.
Professional Focus
Harry Ciotti is a highly skilled kiln operator with a sharp eye for detail and an in-depth understanding of the firing process. His expertise ensures that each ceramic piece reaches its full potential, perfectly balancing strength and beauty. Harry takes pride in overseeing the final stage of pottery creation, transforming raw clay into durable and stunning works of art.
About the Author
Harry Ciotti is a dedicated kiln operator and ceramic artist who brings passion and precision to every piece he fires. With a deep commitment to craftsmanship, Harry ensures that every ceramic creation is fired to perfection, from delicate vases to robust sculptures. He not only operates the kiln, but understands the unique needs of each piece, ensuring it reaches its full artistic potential. Through his work, Harry blends precision with artistry, making every firing a story of transformation.
Education History
University: California College of the Arts
Degree: Master of Fine Arts in Ceramics
Harry’s advanced education in ceramics has refined his technical skills, particularly in kiln operation, firing processes, and ceramic artistry. His educational background equips him to produce top-quality ceramic pieces that reflect both technical excellence and artistic expression.
Expertise:
- Kiln Operation and Firing Techniques
- Ceramics Creation (Functional and Artistic)
- Precision Craftsmanship
- Glazing and Texture Techniques
- Ceramic Artistry and Storytelling