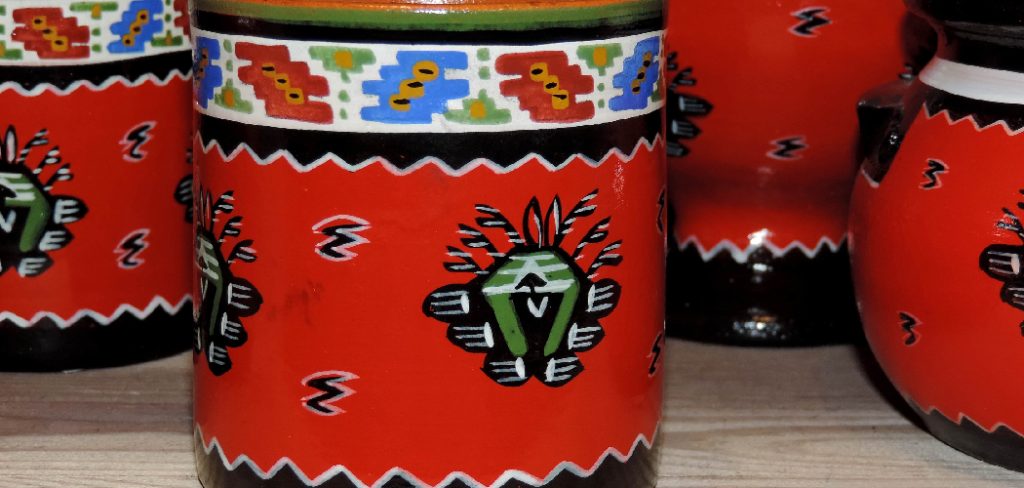
Ceramic pots are a popular choice for both gardening enthusiasts and interior decorators due to their versatility, durability, and timeless appeal. Ceramic pots can complement various decor styles, whether used to house vibrant plants or as standalone decorative pieces. However, customizing these pots through painting enhances their aesthetic value and allows for a personal touch that reflects your unique style. Painting ceramic pots is also practical, as it protects them from weathering and wear over time.
This article aims to provide a comprehensive guide on how to paint ceramic pots, catering to beginners and seasoned crafters alike. You’ll learn about the essential materials, step-by-step techniques, and expert tips to achieve a professional-looking finish. Whether you’re looking to personalize your garden or add a creative touch to your home decor, this guide will help you transform ordinary ceramic pots into stunning works of art.
Choosing the Right Ceramic Pot
When selecting a ceramic pot for your painting project, it’s important to consider the variety of types available. Ceramic pots come in a range of shapes and sizes, from small indoor pots ideal for desks and windowsills to large outdoor planters designed for gardens. The choice of pot should match both the space you have and the plants you intend to pot. For instance, smaller pots are suitable for succulents or herbs, while larger pots can accommodate shrubs or small trees. Think about the style and purpose of your project as well—whether it’s a functional piece or a decorative centerpiece.
Preparing the Pot for Painting
To ensure your artwork lasts, preparation is key. Unglazed ceramic pots are the best choice for a painting project since they allow paint to adhere more effectively. Before beginning, inspect the pot for any cracks, chips, or imperfections that could interfere with the final design. These should be fixed using an appropriate sealant or filler. Additionally, clean the pot thoroughly to remove any dust, dirt, or residue that might prevent the paint from sticking evenly. Proper preparation makes the painting process smoother and enhances the durability and overall finish of your painted ceramic pot.
Materials You’ll Need
Gathering the right materials is an essential first step to create beautifully painted ceramic pots. Below, we’ve outlined the different paint types and other tools you’ll need to achieve the best results:
Paint Types
- Acrylic Paint: Perfect for indoor pots, acrylic paint is easy to work with and comes in a vast range of colors to suit any design.
- Spray Paint: Ideal for achieving a smooth, even finish, this type of paint is a great choice for outdoor pots due to its durability.
- Chalk Paint: Known for its matte, vintage-style finish, chalk paint is particularly well-suited for rustic or shabby-chic designs.
Other Materials
- Primer: Essential for glazed pots, primer ensures the paint adheres well and provides a solid base for your design.
- Paintbrushes or Sponges: Select brushes of different sizes and shapes to accommodate various patterns and intricate designs. Sponges are great for blending or creating textures.
- Protective Sealer: Apply this after painting to enhance durability and protect your design from wear and tear.
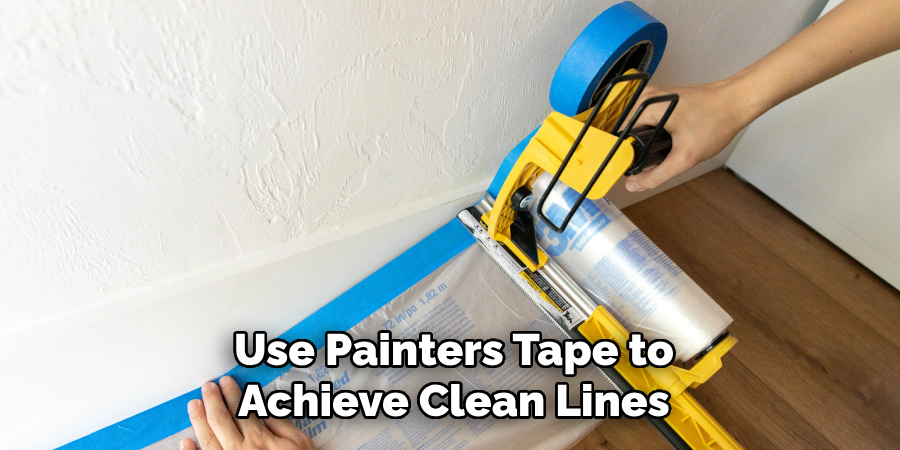
- Painter’s Tape: Use this to achieve clean lines and geometric patterns on your pot.
- Water and Rags: These are necessary for cleaning the pot before you start painting and wiping away any mistakes.
These materials will ensure your ceramic pot painting experience is smooth, fun, and allows for professional-looking results.
Preparing the Pot for Painting
Before beginning the painting process, it’s essential to properly prepare your ceramic pot to ensure that the paint adheres well and the final design looks polished and professional.
Cleaning the Pot
Start by thoroughly cleaning your ceramic pot to remove any dirt, dust, or remnants of soil. Use a damp cloth or sponge to gently wipe the entire surface of the pot, paying attention to grooves or other textured areas where debris may collect. If the pot is filthy, use mild soap and water, but rinse thoroughly to remove any soap residue. Once the pot is clean, allow it to dry completely. Proper cleaning creates a smooth and consistent base to which your paint can adhere.
Sanding (If Necessary)
For some pots, especially those with a shiny or glazed finish, lightly sanding the surface is a helpful step. Use fine-grit sandpaper to gently roughen the surface, allowing the paint to grip better. This step is crucial for glazed pots since the slick surface can make it difficult for paint to stay in place. Be sure to wipe away any dust from sanding with a damp cloth, then dry the pot completely before moving forward.
Priming the Pot
Priming the ceramic pot is crucial, especially for those with a shiny or glazed surface. Apply a coat of primer evenly across the pot using a brush, ensuring full coverage. This helps create a sturdy base layer that enhances the paint’s adherence and durability. Once the primer is applied, allow it to dry completely according to the manufacturer’s instructions before proceeding to paint. A well-primed pot will ensure vibrant, long-lasting results for your artistic design.
How to Paint Ceramic Pots Painting Process
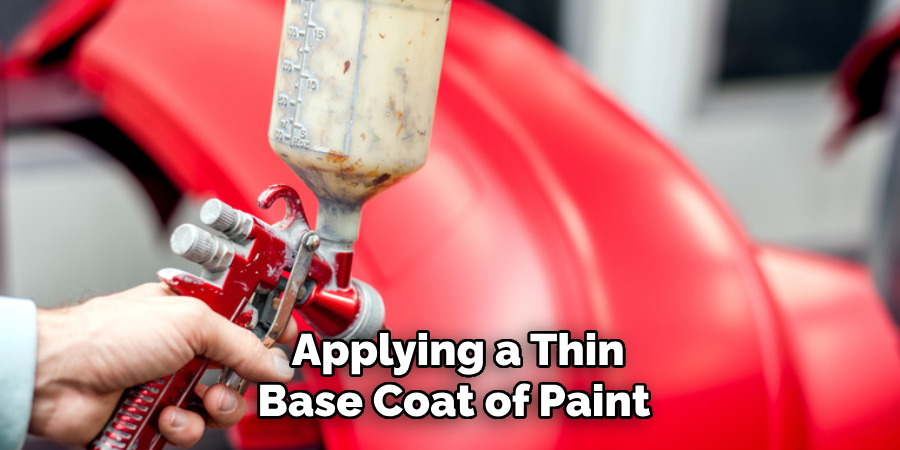
Applying the Base Coat
Start by applying a thin base coat of paint to the ceramic pot. Choose a brush or a sponge suitable for your paint type, and ensure you cover the pot with smooth, even strokes or dabs. Using a small amount of paint at a time can help avoid drips and ensure a uniform layer. A sponge can create a subtle, unique finish if you want to add texture. Once the base coat is applied, allow it to dry thoroughly as per the manufacturer’s instructions—this is an essential step to prevent the layers from mixing or peeling later.
Adding Color and Designs
To create a unique and vibrant design, consider using multiple colors. You can layer paint strategically for dimension or opt for bold, color-blocked sections. For more structured designs, painter’s tape is an excellent tool to create clean, straight lines. Additionally, stencils can help you achieve intricate patterns such as stripes, polka dots, or even floral motifs. If you feel confident, freehand designs allow for creativity—abstract shapes, geometric patterns, or detailed florals are popular options. For extra precision, use fine-tipped brushes for details or outlines.
Experiment with themes and colors to make your ceramic pot truly your own. The possibilities are endless, whether you achieve a sleek, modern look with minimalist shapes or a whimsical, colorful effect.
Drying Time
Proper drying time is crucial to the success of your project. Be sure to allow each layer of paint to dry completely before applying additional coats or starting intricate designs. Not doing so may cause smudging or uneven texture. Different types of paint have varying drying times—acrylic paint generally dries quickly, often within an hour, while spray paints may take longer, depending on the thickness of the layer applied. Patience at this stage ensures durability and professional-looking results, so resist the urge to rush.
Adding Special Effects
Texturing the Paint
Creating a textured finish can add a unique character to your ceramic pot. To achieve this, use tools such as sponges, brushes with stiff bristles, or mix a textured medium with your paint. For a rustic or antique look, dab the sponge gently onto the surface after applying a base coat to create an irregular pattern. Alternatively, a stippling technique with a brush can produce a soft, modern texture. Experiment with layering multiple colors or finishes for added depth, ensuring each layer dries fully before applying the next.
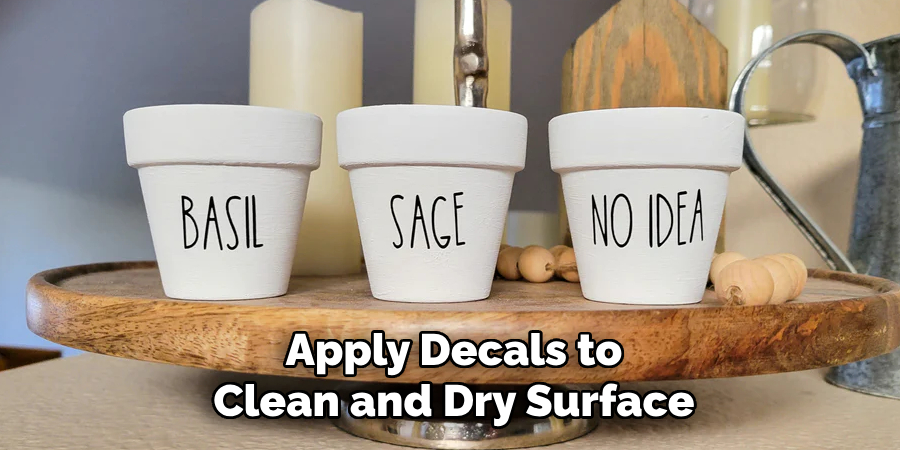
Decals and Embellishments
Decals or stickers are an excellent option for intricate designs without the challenges of freehand painting. Apply them carefully to a clean, dry surface, ensuring no air bubbles form. Once in place, seal the decals with a clear varnish for durability. To elevate the look further, embellishments such as ribbons, beads, or small stones can be attached using strong adhesive. These additions bring dimension and a touch of artistry to your pot.
Creating a Distressed Look
To give your ceramic pot a vintage or distressed appearance, consider lightly sanding areas of the painted surface once dry. Use fine-grit sandpaper to expose bits of the base color beneath, creating a timeworn effect. Alternatively, rubbing the paint with a damp cloth or a light abrasive can achieve a similar aesthetic. Seal the finished piece with matte varnish to complete the aged look.
Sealing and Protecting the Painted Pot
Why Sealing Is Important
Sealing your painted ceramic pot is crucial in preserving its beauty and ensuring its longevity. A good sealer protects the paint from weather, moisture, and scratches, which is especially important if the pot will be used outdoors. Without proper sealing, exposure to the elements could cause the paint to fade, chip, or deteriorate over time, diminishing the pot’s appeal and durability.
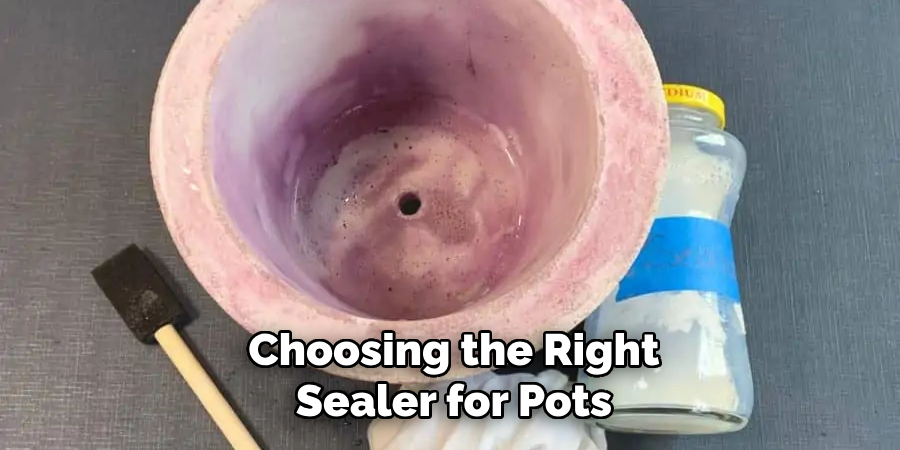
Choosing the Right Sealer
When selecting a sealer, consider the finish that aligns with your desired aesthetic. Matte sealers provide a subtle, smooth surface that doesn’t reflect light, ideal for a rustic or vintage effect. On the other hand, gloss sealers enhance vibrancy by creating a shiny and polished look, perfect for modern or bold designs. Additionally, you can choose between spray sealers and brush-on sealers, each offering distinct benefits. Spray sealers are quick and convenient, providing an even coat with minimal effort. Brush-on sealers, while requiring more precision, allow for greater control in application.
Applying the Sealer
To apply the sealer evenly, use light, consistent coats, regardless of whether it’s sprayed or brushed on. Avoid overloading to prevent clumps or streaks. Allow adequate drying time between layers as outlined in the product instructions. Once the final coat is applied, ensure the sealer cures completely before using the pot. This step ensures the protective coating is durable and long-lasting, keeping your decorative pot in pristine condition for years to come.
Common Mistakes to Avoid
Skipping the Priming Step
Skipping the primer might save time initially, but it can lead to long-term issues such as paint chipping or peeling. Primer creates a stable base for the paint to adhere to, ensuring better durability and a smooth finish. Without it, the paint is more susceptible to wear and environmental damage.
Overloading with Paint
Applying too much paint in one coat can lead to uneven finishes, unsightly drips, or clumps that are difficult to fix. Using thin, even layers allows the paint to spread smoothly and dry properly, resulting in a professional and polished look.
Not Allowing Enough Drying Time
Patience is critical during the painting process. Rushing and not allowing sufficient drying time between coats can lead to smudging or damaging the finish. Taking the time to let each layer dry fully ensures a stronger, longer-lasting design.
Not Sealing the Pot
Failing to seal the pot, particularly for outdoor ceramic creations, can reduce its lifespan. The paint is vulnerable to moisture, UV rays, and wear without a protective sealer. A good sealer ensures your decorative pot remains vibrant and protected against the elements.
Conclusion
Learning how to paint ceramic pots is a rewarding and creative process. It begins with choosing the right materials, such as quality paint and brushes, and preparing the pot by cleaning and priming it. Applying thin, even coats of paint and allowing adequate drying time between layers ensures a smooth, professional finish. To protect your work, sealing the pot adds durability and safeguards the colors against wear and weather. For lasting results, use these techniques while exploring various designs and color schemes to add a personal touch to your space. The possibilities are endless, so get creative today!
Professional Focus
Harry Ciotti is a highly skilled kiln operator with a sharp eye for detail and an in-depth understanding of the firing process. His expertise ensures that each ceramic piece reaches its full potential, perfectly balancing strength and beauty. Harry takes pride in overseeing the final stage of pottery creation, transforming raw clay into durable and stunning works of art.
About the Author
Harry Ciotti is a dedicated kiln operator and ceramic artist who brings passion and precision to every piece he fires. With a deep commitment to craftsmanship, Harry ensures that every ceramic creation is fired to perfection, from delicate vases to robust sculptures. He not only operates the kiln, but understands the unique needs of each piece, ensuring it reaches its full artistic potential. Through his work, Harry blends precision with artistry, making every firing a story of transformation.
Education History
University: California College of the Arts
Degree: Master of Fine Arts in Ceramics
Harry’s advanced education in ceramics has refined his technical skills, particularly in kiln operation, firing processes, and ceramic artistry. His educational background equips him to produce top-quality ceramic pieces that reflect both technical excellence and artistic expression.
Expertise:
- Kiln Operation and Firing Techniques
- Ceramics Creation (Functional and Artistic)
- Precision Craftsmanship
- Glazing and Texture Techniques
- Ceramic Artistry and Storytelling