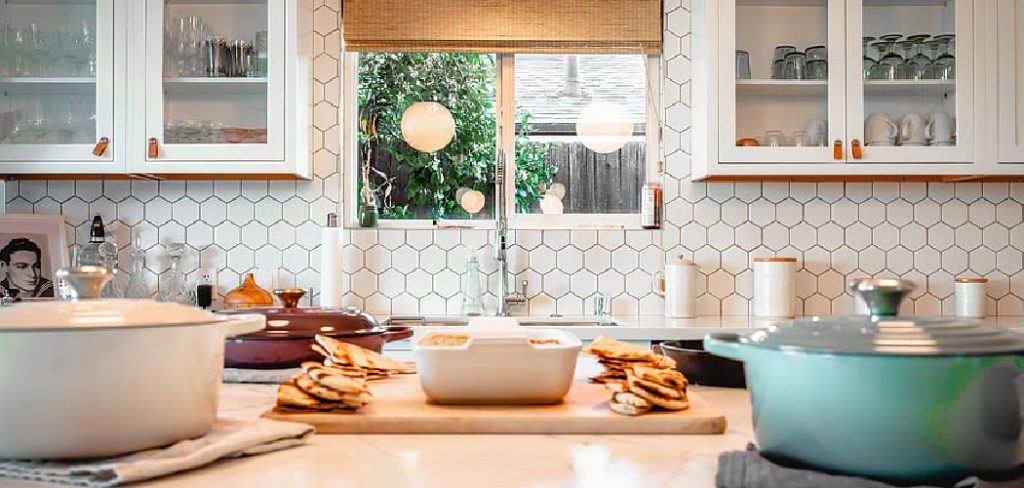
Painting a ceramic tile backsplash is an affordable and effective way to refresh your kitchen’s appearance without committing to a full tile replacement. This process allows you to modernize your kitchen design, add a splash of color, or create a clean, updated aesthetic with minimal costs.
One of the main benefits of painting a backsplash is the significant cost savings compared to installing new tiles. Additionally, the process is relatively simple and allows you the creative freedom to customize the look of your kitchen to match your personal style.
This article will provide a step-by-step guide on how to paint a ceramic tile backsplash, ensuring a smooth, professional-looking, and long-lasting finish. With the right preparation, technique, and materials, painting your backsplash can be a rewarding DIY project that transforms your kitchen quickly and affordably.
Materials and Tools Needed
Essential Materials
Gathering the right materials is crucial to ensure a professional and long-lasting finish before starting your project. The essential materials you will need include:
- Ceramic Tile Primer (Bonding Primer): This ensures proper paint adhesion to the tiles.
- High-quality Tile Paint: Preferably use epoxy-based or enamel paint for durability and a smoother surface.
- Painter’s Tape: For masking off edges and protecting surfaces where you don’t want paint.
- Drop Cloth or Plastic Sheeting: To safeguard your countertops, floors, and surrounding areas from paint splatters.
- Paint Rollers and Brushes: Use a combination of rollers for larger areas and brushes for detailed or precise application.
- Sandpaper or Sanding Block: This is used to roughen the tiles’ surface lightly, improving paint adhesion.
- Cleaning Supplies: Soap, water, and a scrub brush to thoroughly clean the tiles beforehand.
Optional Tools
While not required, these optional tools can enhance the overall process:
- Painter’s caulk: To seal the edges and fill in any gaps for a seamless look.
- Small paint tray: Makes paint application easier and minimizes mess during the process.
Preparing these materials and tools will set the stage for a smooth and efficient backsplash transformation.
Preparing the Ceramic Tiles
Proper preparation is key to achieving a flawless and long-lasting painted backsplash. Follow these steps to ensure the tiles are ready for the transformation:
Step 1: Clean the Tiles Thoroughly
Start by removing grease, grime, and any residues on the tiles. Use a mild soap and water cleaning solution or vinegar and water. This ensures a pristine surface for the paint to bond effectively. Scrub the tiles with a brush, paying close attention to grout lines where dirt often accumulates. Rinse thoroughly and allow the tiles to dry completely before moving to the next step.
Step 2: Sand the Tile Surface
Lightly sand the surface once the tiles are clean and dry to create a slightly rough texture. This step is essential for improving the adhesion of the primer and paint to the naturally smooth ceramic surface. Use fine-grit sandpaper, applying gentle, even pressure to avoid damaging the tiles. After sanding, wipe down the tiles with a damp cloth to remove any dust created during sanding.
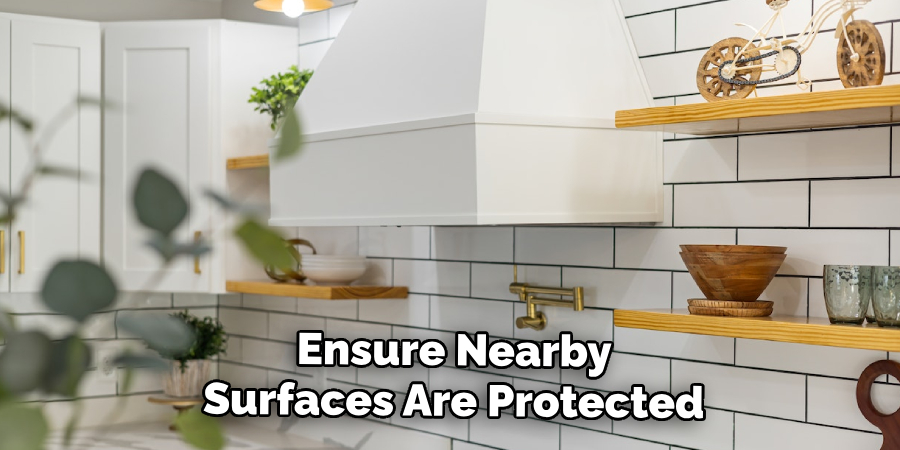
Step 3: Protect Surrounding Areas
Before painting, ensure nearby surfaces are protected from accidental spills or drips. Use plastic sheeting or drop cloths to cover countertops, cabinets, and floors. Secure everything in place with painter’s tape, and apply the tape carefully along edges, including the borders of countertops and cabinets. This will create clean, straight lines and prevent paint from reaching unwanted areas.
By following these steps, you’ll establish a solid foundation for your backsplash makeover.
Priming the Ceramic Tiles
Once the preparation work is complete, the next step is to prime the ceramic tiles. Proper priming ensures that the paint adheres effectively to the tiles and lasts over time. Follow these steps to prime your tiles successfully:
Step 1: Apply Bonding Primer
Using a small brush or roller, apply a thin, even layer of ceramic tile bonding primer to the surface of the tiles. Pay close attention to ensure consistent coverage, including over the grout lines for a uniform base. Working in small sections can help you maintain control and precision during application.
Step 2: Let the Primer Dry
After applying the primer, allow it to dry completely. Refer to the manufacturer’s instructions for the recommended drying time, which is typically between 1-2 hours. During this period, avoid disturbing the surface to ensure a smooth finish.
Step 3: Check for Smoothness
Once the primer has dried, inspect the surface for any rough areas or imperfections. Gently sand the surface with fine-grit sandpaper to remove any inconsistencies, ensuring a smooth and clean foundation for the paint. After sanding, wipe down the tiles with a clean, damp cloth to eliminate any dust particles that could interfere with paint adhesion.
By completing these steps, you’ll create a primed surface that is ready for painting, ensuring a professional and long-lasting finish for your backsplash makeover.
How to Paint a Ceramic Tile Backsplash: Painting Process
Now that your backsplash is prepared correctly, it’s time to move on to the exciting part—painting! Follow these steps carefully to achieve a stunning and long-lasting finish.
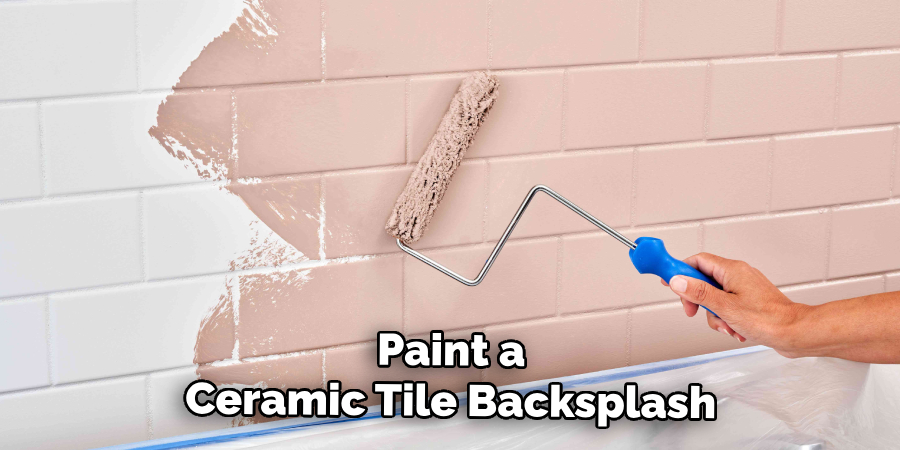
Step 1: Apply the First Coat of Paint
Begin by selecting a high-quality tile paint, preferably one that is epoxy-based or enamel, as these types are durable and water-resistant. Using a small roller, apply the first coat of paint in smooth, even strokes. This will ensure consistent coverage across the flat surface of the tiles. Use a high-quality paintbrush to get into these smaller spaces for more intricate areas such as grout lines, edges, and corners. Take your time to ensure a thorough application without overloading the paint.
Step 2: Let the First Coat Dry
Once the first coat has been applied evenly, giving it time to dry completely is important. Typically, this process takes about 4-6 hours, but referring to the paint manufacturer’s guidelines for exact drying times is essential. Avoid touching or disturbing the surface during this stage, as the paint needs to cure to ensure proper adhesion.
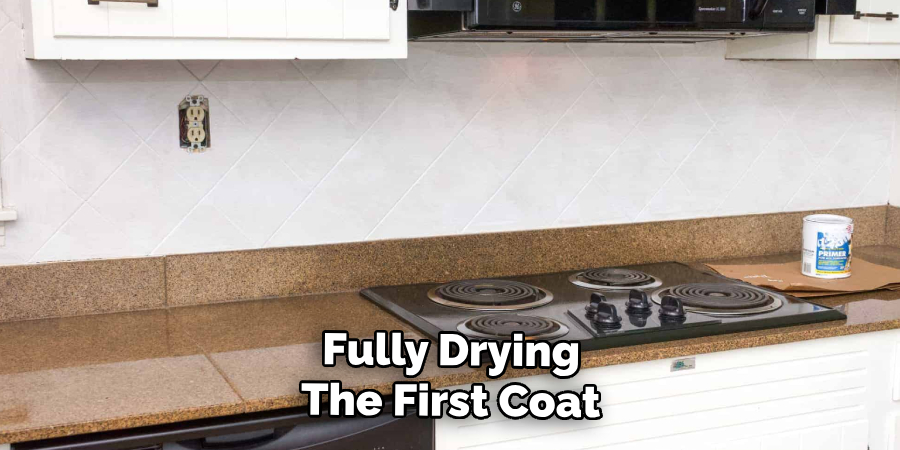
Step 3: Apply a Second Coat
After fully drying the first coat, apply a second coat of paint to enhance durability and create a professional-looking finish. Use the same technique with a roller and brush to achieve consistent coverage. Allow the second coat to dry thoroughly, following the manufacturer’s recommended drying time.
By following these steps, you’ll achieve a refreshed and polished backsplash that transforms your kitchen’s aesthetic.
Finishing Touches
Step 1: Removing Painter’s Tape
Once the paint is dry, carefully remove the painter’s tape to reveal clean, crisp lines along the edges of the backsplash. Start by slowly peeling the tape back at a 45-degree angle to prevent paint from lifting. Taking your time during this process ensures a professional and polished appearance.
Step 2: Sealing the Edges
If needed, apply a thin layer of painter’s caulk along the edges where the tile meets the countertop or cabinets. This will create a seamless transition and help prevent moisture from seeping into the gaps. Use a caulking tool or your finger to smooth the caulk for a clean and uniform finish. Be sure to allow the caulk to dry according to the product instructions.
Step 3: Let the Paint Cure
Allow the painted tiles to cure fully, typically for 24-48 hours, before using the backsplash area. This curing process ensures that the paint bonds securely to the tile surface, making it more durable and resistant to chipping or smudging. Once cured, your backsplash will be ready to handle everyday kitchen activities while maintaining its fresh and updated look.
Caring for Painted Ceramic Tile
Step 1: Clean Gently
Use a mild soap and water solution to clean the painted tiles, avoiding harsh chemicals that could damage the paint. Utilize a soft cloth or sponge to prevent scratching the delicate painted surface. This ensures the tiles remain in good condition without compromising the painted finish.
Step 2: Avoid Scrubbing
Do not use abrasive scrubbers or harsh cleaning tools on the painted surface, as they can wear down the paint over time. Instead, rely on non-abrasive brushes or microfiber cloths for safe and effective cleaning. Gentle cleaning methods will help preserve the tiles’ aesthetic appeal and extend the life of the paint.
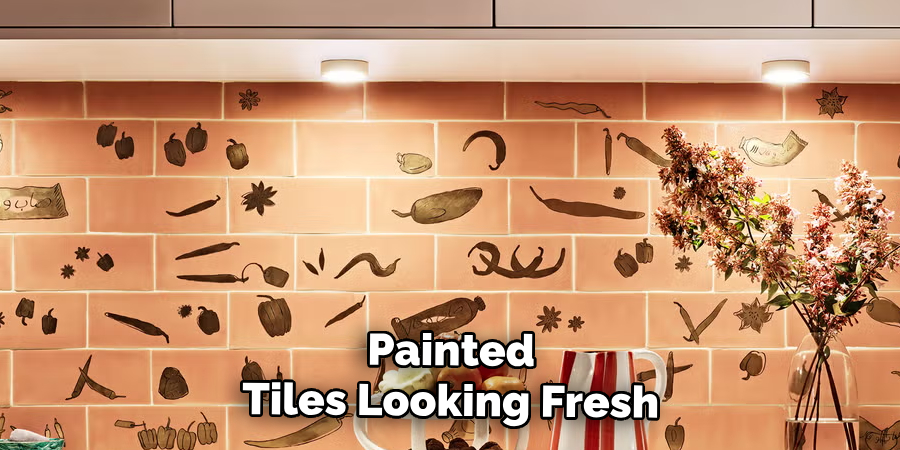
Step 3: Maintain the Finish
To keep your painted tiles looking fresh, regularly wipe them down to remove dirt and grime. Consistent maintenance prevents buildup and ensures their vibrant look. If you notice any spots starting to show wear, take the time to touch up the paint as needed. Proper care will ensure your backsplash remains both functional and visually appealing for years to come.
Common Mistakes to Avoid
Skipping the Primer
Not using a bonding primer is a common error that can result in the paint failing to adhere properly to the tile surface. A primer creates a smooth base and enhances the durability of the paint, making it an essential step in the painting process.
Applying Too Much Paint
Overloading your brush or roller with paint can cause drips, uneven coverage, and an unprofessional finish. Multiple thin coats are more effective than a single heavy one, as they ensure smooth, uniform results.
Not Allowing Enough Drying Time
Rushing through the drying process can lead to smudged paint and a poor overall finish. Always allow adequate time between coats for the paint to dry fully, as this ensures the longevity of your work.
Forgetting to Seal Edges
Leaving edges unsealed is another mistake that can cause paint to peel or chip over time. Properly sealing the edges prevents moisture or wear from damaging the painted surface, ensuring a long-lasting finish.
Conclusion
Learning how to paint a ceramic tile backsplash involves a series of essential steps to ensure success. Proper cleaning, applying a bonding primer, and painting with multiple thin coats lay the foundation for a professional finish. Adding the final touches, such as sealing edges, safeguards the surface from wear and tear.
Patience and preparation are key to achieving a durable, long-lasting result. By taking your time and following these steps, you’ll confidently transform your space. After allowing adequate curing time, enjoy your beautifully refreshed ceramic tile backsplash for many years to come!
Professional Focus
Harry Ciotti is a highly skilled kiln operator with a sharp eye for detail and an in-depth understanding of the firing process. His expertise ensures that each ceramic piece reaches its full potential, perfectly balancing strength and beauty. Harry takes pride in overseeing the final stage of pottery creation, transforming raw clay into durable and stunning works of art.
About the Author
Harry Ciotti is a dedicated kiln operator and ceramic artist who brings passion and precision to every piece he fires. With a deep commitment to craftsmanship, Harry ensures that every ceramic creation is fired to perfection, from delicate vases to robust sculptures. He not only operates the kiln, but understands the unique needs of each piece, ensuring it reaches its full artistic potential. Through his work, Harry blends precision with artistry, making every firing a story of transformation.
Education History
University: California College of the Arts
Degree: Master of Fine Arts in Ceramics
Harry’s advanced education in ceramics has refined his technical skills, particularly in kiln operation, firing processes, and ceramic artistry. His educational background equips him to produce top-quality ceramic pieces that reflect both technical excellence and artistic expression.
Expertise:
- Kiln Operation and Firing Techniques
- Ceramics Creation (Functional and Artistic)
- Precision Craftsmanship
- Glazing and Texture Techniques
- Ceramic Artistry and Storytelling