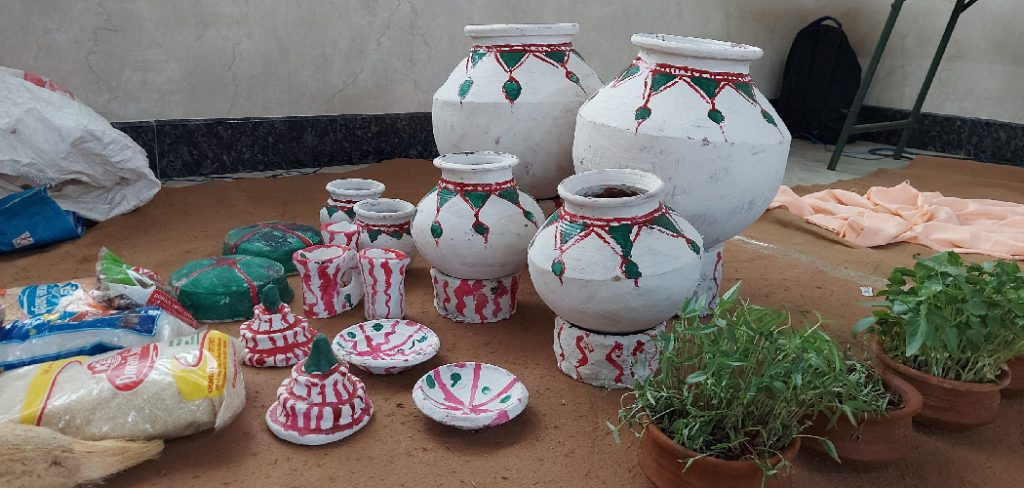
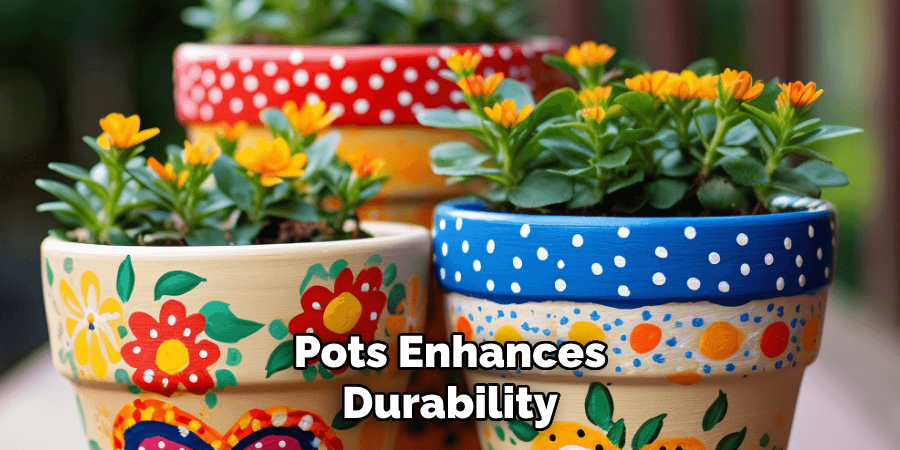
Painting ceramic flower pots is a fun and creative way to personalize your plant containers while adding a unique touch to your home or garden décor. Whether you prefer bold patterns, vibrant colors, or subtle designs, painting offers endless possibilities for customization. Aside from its decorative appeal, painting your pots enhances durability by providing a protective layer against wear and tear.
This article will serve as a comprehensive guide on how to paint a ceramic flower pot properly. From preparation and choosing the right paint to applying finishing touches and sealing for durability, these steps will help ensure that your design lasts and looks stunning for years to come. Let’s explore transforming a simple ceramic pot into a beautiful, personalized masterpiece.
Materials and Tools Needed
To successfully paint a ceramic flower pot, you need the right materials and tools to ensure a smooth process and stunning results. Here is a list of essential items you’ll require:
Essential Materials
- Unglazed or glazed ceramic flower pot – Choose a pot that fits the style and design you have in mind.
- Acrylic paint or ceramic paint – These types of paint offer long-lasting results and vibrant colors.
- Primer (optional) – For better adhesion, especially if the pot has a glossy finish.
- Clear sealer – Available in matte or glossy finishes, a clear sealer protects your design and increases durability.
Tools You’ll Need
- Sandpaper – Necessary for lightly sanding glazed pots to improve paint adhesion.
- Paintbrushes – Have a variety of sizes for detailed work as well as broad coverage.
- Painter’s tape – Perfect for creating clean lines, patterns, or blocking off areas.
- Sponge or foam brush – Ideal for achieving a smooth paint application without visible brush strokes.
- Drop cloth or newspaper – Use these to protect your work surface from paint spills or splashes.
- Water and mild soap – Essential for cleaning the pot before starting to paint, removing dust, and ensuring a clean base for your design.
With these materials and tools at hand, you’ll be well-prepared to begin your ceramic pot painting project and bring your creative ideas to life!
Preparing the Ceramic Pot for Painting
Proper preparation is key to achieving a professional-looking and long-lasting finish on your ceramic pot. Follow these steps to ensure your surface is ready for painting:
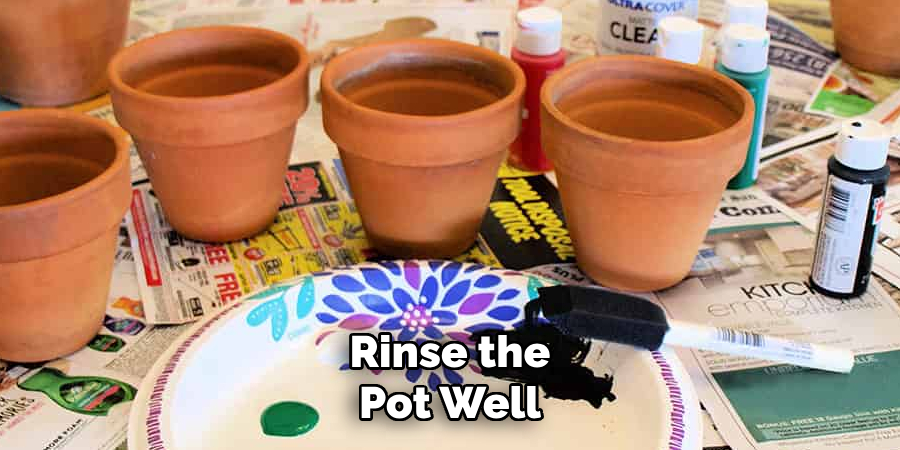
Step 1: Cleaning the Pot
Start by washing the ceramic pot thoroughly with mild soap and water to remove any dirt, residues, or oils that may be lingering on the surface. This step creates a clean base, essential for proper paint adhesion. After washing, rinse the pot well to remove any soap residue and allow it to dry completely before moving on to the next step. Moisture left behind can interfere with the painting process.
Step 2: Sanding (If Necessary)
If your pot has a glossy or glazed finish, lightly sanding the surface can greatly improve adhesion. Use fine-grit sandpaper to gently scuff the surface, creating a bit of texture for the paint to grip onto. This step benefits glazed ceramics, as their smooth surfaces can make it harder for paint to adhere properly. After sanding, use a damp cloth to wipe away any dust or debris, and ensure the pot is fully dry before continuing.
Step 3: Applying Primer (Optional)
Consider applying a primer to achieve the best results, especially when using acrylic paint. A spray primer or brush-on primer designed for ceramics works well to create a uniform and adhesive layer. This step is optional but highly recommended for durability and quality. Once the primer has been applied evenly, allow it to dry completely, following the product’s specified drying time, before you begin painting.
Choosing the Right Paint for Ceramic Pots
When it comes to painting ceramic pots, selecting the right paint is crucial for achieving the desired look and ensuring durability. Two popular options are acrylic paint and ceramic paint.
Acrylic Paint
This type of paint is highly versatile, fast-drying, and available in various colors. It is perfect for experimenting with various decorative techniques and is generally easier to work with for beginners.
Ceramic Paint
Conversely, ceramic paint is specifically designed for ceramics, offering superior durability and a professional finish. It bonds better to ceramic surfaces, making it ideal for projects requiring long-lasting results.
Waterproof and Outdoor-Safe Paints
If your ceramic pot will be placed outdoors, it’s essential to use waterproof or weather-resistant paint. These types of paint are specially formulated to withstand exposure to moisture, sunlight, and other environmental elements.
Spray Paint vs. Brush Paint
Spray paint is a great choice for achieving a smooth, even finish and covering large areas quickly. However, it requires proper ventilation during use. Brush painting, in contrast, offers more control and precision, making it a better option for intricate designs or detailed patterns.
By choosing the right paint, you can enhance both the aesthetic and durability of your ceramic pot project.
How to Paint a Ceramic Flower Pot: Painting Techniques and Design Ideas
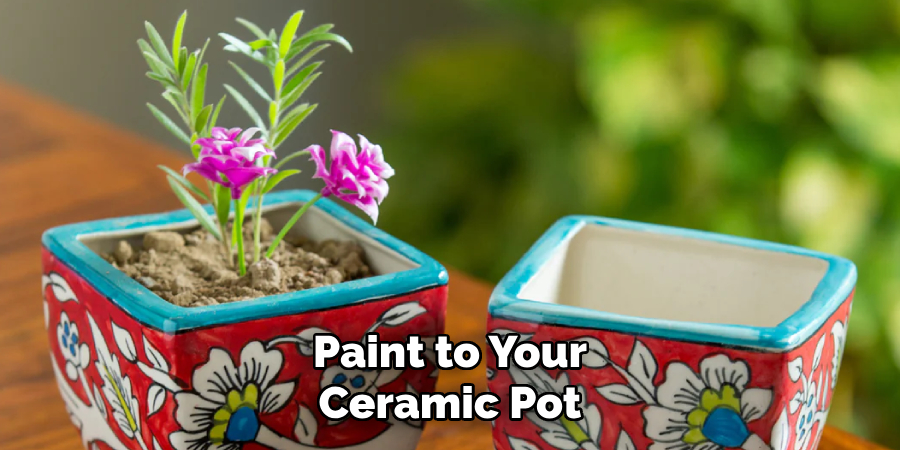
Step 1: Base Coat Application
Begin by applying an even base coat of paint to your ceramic pot. This initial layer serves as a foundation for the design and ensures the paint adheres properly to the surface. Make sure to apply thin and even strokes, avoiding any drips or uneven patches. Allow the base coat to dry completely before adding additional layers. Depending on the type of paint used, you may require two to three coats for smooth coverage.
Step 2: Creating Designs
Once the base coat has dried, you can create your desired designs. Use painter’s tape to create sharp lines and shapes on the pot’s surface for clean and modern geometric patterns. If you prefer intricate or decorative patterns, stencils are a quick and effective tool to achieve detailed designs. Try using a sponge or a rag to dab paint onto the surface for a unique and textured look. This technique can add depth and dimension to your ceramic pot.
Step 3: Layering and Detailing
To achieve vibrant and bold colors, apply multiple layers of paint, allowing each layer to dry before adding the next. Once the base design is finished, use fine-tipped brushes to add detailed accents, such as hand-painted designs, lettering, or small embellishments. This step adds a personal touch and elevates the overall look of your ceramic pot. With these techniques, you can create a unique and artistic piece that reflects your personal style.
Sealing and Protecting the Painted Pot
Why Sealing is Important
Sealing your painted ceramic pot is crucial to ensure its longevity and durability. A proper seal protects the paint from chipping, fading, and damage caused by exposure to moisture, making it ideal for both decorative and functional use.
Choosing the Right Sealer
Selecting the appropriate sealer depends on the desired finish for your pot. If you prefer a natural and understated look, a matte finish sealer is an excellent choice. On the other hand, for a shiny and polished appearance, opt for a glossy finish. Both options will provide the protection needed while complementing your design.
How to Apply Sealer
Application of the sealer is simple and can be done using a spray or a brush, depending on your preference and the product instructions. Ensure that your painted pot is completely dry before starting this process. Hold the spray sealer consistently for an even coat or use smooth brush strokes if applied manually.
Follow the manufacturer’s drying and curing time recommendations, ensuring the seal is effectively set. Once the sealer is dry, your pot is ready for use, showcasing both artistry and durability.
Tips for Long-Lasting Painted Pots
Proper Drying Time
Ensure that each coat of paint and sealer is thoroughly dry before applying the next layer. Rushing the drying process can lead to smudging and uneven finishes, compromising the final appearance and durability. Allow sufficient time between coats based on the manufacturer’s instructions to achieve a lasting, professional result.
Indoor vs. Outdoor Care
When placing painted pots outdoors, choose a shaded or partially covered location to reduce exposure to direct sunlight, heavy rain, and extreme temperatures. Prolonged exposure to such elements can cause the paint to fade or crack over time. Placement is less of a concern for indoor pots, but avoid areas with excessive humidity, such as bathrooms, to protect the finish.
Regular Maintenance
Keeping your painted pots clean is vital for maintaining their pristine appearance. Use a damp, soft cloth to gently wipe away dust and dirt, avoiding abrasive materials that could scratch the surface. Also, avoid harsh cleaning chemicals, as they may weaken the paint or sealer.
By incorporating these practices into your care routine, your painted pots will continue to enhance your space with beauty and charm for years to come.
Conclusion
Learning how to paint a ceramic flower pot is a rewarding and simple way to add a personal touch to your décor. The process involves several key steps: cleaning the pot, sanding it if necessary, applying a primer, painting with your chosen colors, and finishing with a sealer for protection.
Experimenting with different color schemes or creative designs allows you to make unique and personalized creations. Lastly, take your time and allow each layer to dry completely before moving to the next. By following these tips, your painted pots will stand out and remain beautiful for years to come.
Professional Focus
Harry Ciotti is a highly skilled kiln operator with a sharp eye for detail and an in-depth understanding of the firing process. His expertise ensures that each ceramic piece reaches its full potential, perfectly balancing strength and beauty. Harry takes pride in overseeing the final stage of pottery creation, transforming raw clay into durable and stunning works of art.
About the Author
Harry Ciotti is a dedicated kiln operator and ceramic artist who brings passion and precision to every piece he fires. With a deep commitment to craftsmanship, Harry ensures that every ceramic creation is fired to perfection, from delicate vases to robust sculptures. He not only operates the kiln, but understands the unique needs of each piece, ensuring it reaches its full artistic potential. Through his work, Harry blends precision with artistry, making every firing a story of transformation.
Education History
University: California College of the Arts
Degree: Master of Fine Arts in Ceramics
Harry’s advanced education in ceramics has refined his technical skills, particularly in kiln operation, firing processes, and ceramic artistry. His educational background equips him to produce top-quality ceramic pieces that reflect both technical excellence and artistic expression.
Expertise:
- Kiln Operation and Firing Techniques
- Ceramics Creation (Functional and Artistic)
- Precision Craftsmanship
- Glazing and Texture Techniques
- Ceramic Artistry and Storytelling