Ceramics are timeless creations made from clay and other natural materials, shaped and hardened to produce both functional and decorative items. Traditionally, these items are fired in a kiln, a specialized high-temperature oven that gives ceramics their durability and finish.
However, not everyone has access to a kiln, which can make the process seem limiting. Learning how to make ceramics without a kiln can open up new possibilities for crafting enthusiasts, hobbyists, and even small-scale creators. This method is cost-effective and allows for unique experimentation and creativity.
This article aims to provide a step-by-step guide on creating ceramics without the need for a kiln, explore alternative firing techniques, and share practical tips that ensure your projects are successful, even as a beginner.
Materials and Tools Needed
When it comes to making ceramics without a kiln, having the right materials and tools is essential to ensure a smooth and creative process. Below is a list of what you’ll need for your non-kiln ceramic projects:
Essential Materials
- Air-dry Clay or Polymer Clay: These are excellent alternatives to traditional clay for projects that won’t require high temperatures. Air-dry clay naturally hardens over time, while polymer clay can be baked in a home oven.
- Pottery Tools: Gather basic tools like a rolling pin, clay modeling tools, a knife for cutting, and a damp sponge for smoothing clay surfaces.
- Natural Materials for Added Texture (Optional): Sand, pebbles, or even fabric can be used to press patterns onto the clay, allowing for unique and interesting designs.
Additional Materials for Firing
- A Campfire or Outdoor Bbq: An open flame setup can be used for firing clay in small batches.
- Oven: Necessary for baking polymer clay projects, following the manufacturer’s suggested temperature and time.
- Baking Soda or Similar Medium: Useful for pit firing techniques to add an artistic finish.
Tools You’ll Need
- Flat Surface: A sturdy and clean workspace, like a workbench or table, is essential for sculpting and shaping the clay.
- Rolling Pin or Hands for Shaping: These are invaluable for flattening and working with clay.
- Sandpaper or a Smoothing Tool: Perfect for refining dry ceramics and adding a professional touch to your finished items.
These materials and tools will help you start crafting ceramics without a kiln and inspire you to explore endless possibilities.
Choosing the Right Clay for Non-Kiln Projects
Selecting the right type of clay is crucial for successfully creating ceramics without a kiln. Here are three popular options to consider:
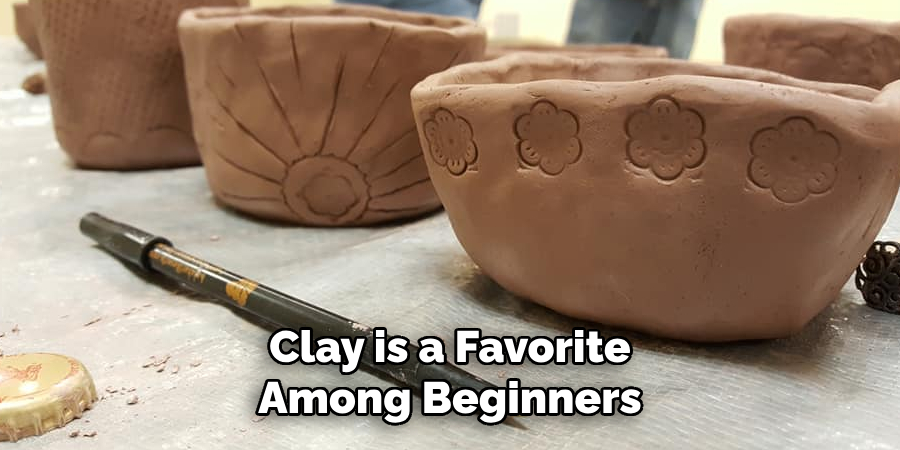
Air-Dry Clay
Air-dry clay is a favorite among beginners due to its simplicity and accessibility. This type of clay doesn’t require any baking or firing in a kiln, as it dries naturally over time when exposed to air. Once fully hardened, air-dry clay can be painted, sealed, or decorated, making it perfect for crafting sculptures, pottery, or decorative items. Its convenience and versatility make it an excellent entry point for ceramic enthusiasts.
Polymer Clay
Polymer clay is an oven-bake option known for its versatility and ease of use. It only requires a standard home oven to harden, making it an ideal alternative to traditional kiln-fired clays. This type of clay is available in various colors and textures, which is especially useful for intricate designs in jewelry, miniatures, or ornaments. Its durability and professional finish after baking make it a popular choice for both beginners and experts.
Self-Hardening Clays
Self-hardening clays represent another fantastic non-kiln option, as they naturally harden over time without external heat sources. These clays are particularly well-suited for functional items like pots, vases, or intricate sculptures. However, self-hardening clays typically require several days to dry completely, depending on the thickness of your project. Patience is key to achieving smooth and long-lasting results.
By understanding these types of clay and their unique properties, you can choose the best material to match your crafting goals and skill level.
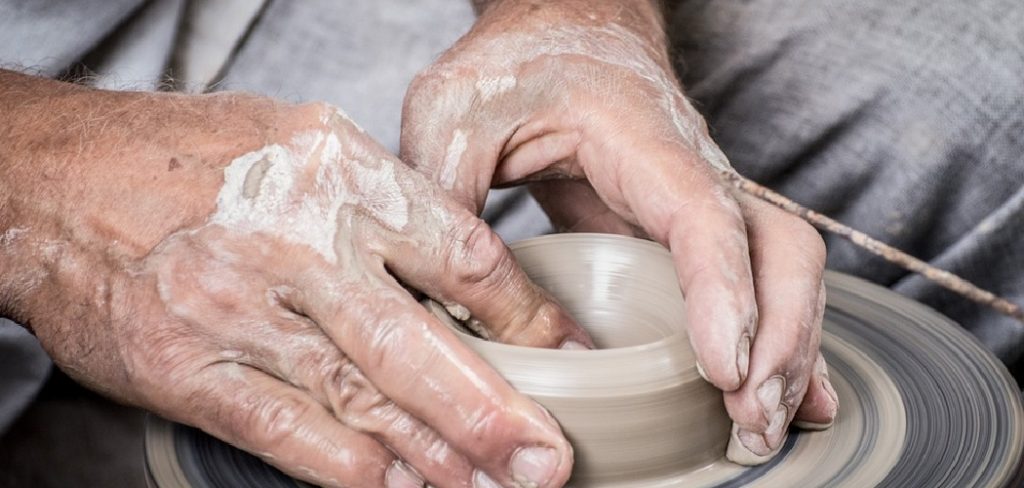
How to Make Ceramics without A Kiln: Shaping and Sculpting the Clay
Step 1: Preparing the Clay
Before starting your project, it’s important to prepare your clay properly. For air-dry or polymer clay, begin by softening it through kneading.
This process helps to make the material more pliable and removes any uneven textures or air pockets. Polymer clay requires thorough conditioning to ensure the finished piece does not crack during baking. Spend a few minutes working the clay with your hands, warming it up and ensuring it’s evenly smooth and ready to shape.
Step 2: Shaping the Clay
Once your clay is properly prepared, you can shape it to bring your creative vision to life. Basic techniques such as rolling, pinching, coiling, or carving can be used to create your desired design. A rolling pin can be handy for achieving an even thickness, while hand tools, such as sculpting knives or detail brushes, are ideal for creating intricate textures or fine details.
If working with air-dry clay, keep a small bowl of water nearby—using water or a damp sponge can help smooth edges and surfaces, giving your piece a polished and refined appearance.
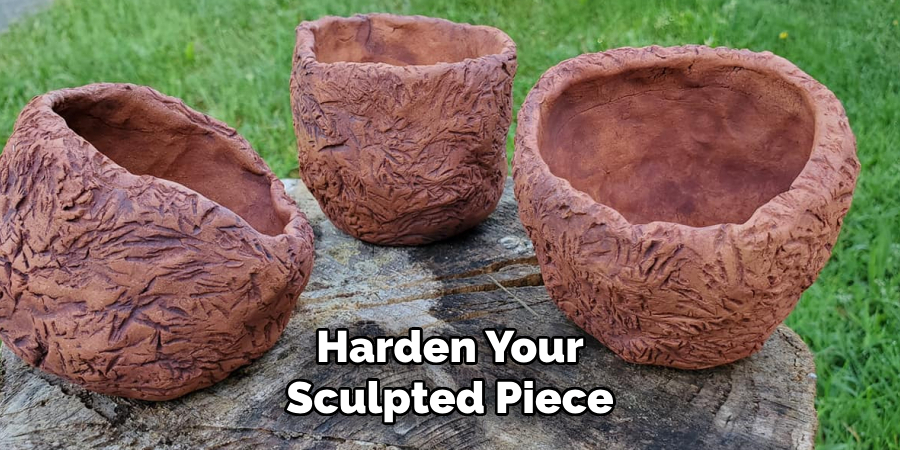
Step 3: Drying or Hardening the Clay
The final step is to dry or harden your sculpted piece, depending on your chosen clay type. For air-dry clay, allow your project to dry naturally, which can take several hours to several days, depending on its thickness. Ensure the piece remains undisturbed during this time.
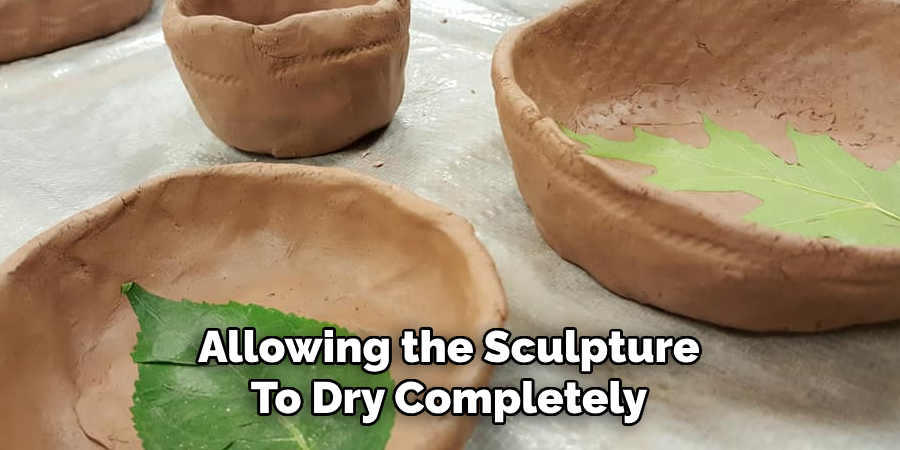
If using polymer clay, refer to the manufacturer’s guidelines to bake it at the appropriate temperature in a conventional oven. For self-hardening clays, allowing the sculpture to dry completely before handling is crucial, guaranteeing a durable and long-lasting result. Proper drying and curing ensure that your hard work remains intact and achieves the desired finish.
Alternative Firing Methods
Campfire or Open Fire Firing
Step 1: Build a safe fire pit and gather dry wood to ensure a consistent burn.
Step 2: Place the clay pieces in a metal container, such as a tin can or pot, and bury them within the hot coals of the fire.
Step 3: Allow the clay to heat for 1-2 hours without disturbance, then allow it to cool naturally before handling.
Benefits: This method lends an authentic rustic look to your ceramics, making each piece unique with rich earthy tones.
Limitations: Firing with an open flame can be unpredictably harsh, leading to potential cracking or breakage of the clay.
Pit Firing with Baking Soda
Step 1: Dig a small pit in your yard, ensuring it’s of suitable size for your clay pieces, and line the base with sand to provide insulation.
Step 2: Arrange your clay items carefully in the pit, then cover them with baking soda, sea salt, or wood chips for unique atmospheric effects.
Step 3: Ignite a fire over the pit and allow it to burn for several hours, ensuring the pieces heat adequately before cooling naturally.
Benefits: This technique creates distinctive finishes, such as darkened edges or natural textures, offering aesthetically unique results.
Limitations: Pit firing requires a suitable outdoor space and a considerable amount of time, demanding patience and preparation.
Oven Firing (for Polymer Clay)
Step 1: Preheat your oven to the recommended temperature detailed on your polymer clay packaging, usually between 265-275°F (130-135°C).
Step 2: Place your sculpted polymer clay items on a baking sheet lined with parchment paper to prevent sticking.
Step 3: Bake the pieces for the suggested time frame, typically between 15-30 minutes, based on their dimensions and thickness.
Benefits: Conducting this method in an oven provides a highly controlled environment, ensuring a consistent and reliable finish.
Limitations: This approach is exclusive to polymer clay and cannot be utilized for firing traditional or self-hardening clays.
Finishing and Sealing the Ceramics
Step 1: Smoothing the Surface
Use sandpaper or a smoothing tool to refine the piece’s texture once dry or baked. This step is essential for achieving a polished and professional finish. Carefully smooth out any imperfections, bumps, or rough edges to ensure the surface is even and ready for decoration.
Step 2: Painting and Decorating
Once the surface is refined, use acrylic paints to add color and designs to your ceramic pieces. For polymer clay, it is best to use paints explicitly designed for polymer surfaces or dedicated polymer clay glazes to enhance adherence and vibrancy. Experiment with patterns, textures, and colors to bring your creations to life and make them uniquely yours.
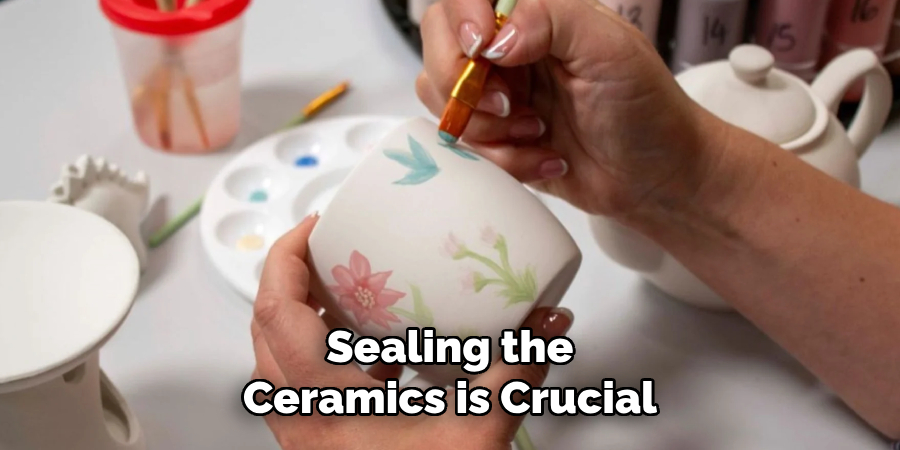
Step 3: Sealing the Ceramics
After decorating, sealing the ceramics is crucial to add durability and protect your work. Apply a clear coat of acrylic sealer or glaze to polymer clay pieces to preserve the paint and add a subtle shine. For air-dry clay, choose either a matte or glossy varnish, depending on your desired finish, to shield the surface against moisture and wear. Sealing not only enhances the appearance of the ceramics but also ensures their longevity.
Troubleshooting and Tips
Cracking During Drying or Firing
Clay can crack if it dries too quickly. To prevent this, allow your pieces to dry slowly at room temperature. Covering them loosely with plastic can help regulate moisture and avoid rapid drying. For polymer clay, be sure to follow the manufacturer’s recommended baking time and temperature to prevent burning or cracking during the curing process.
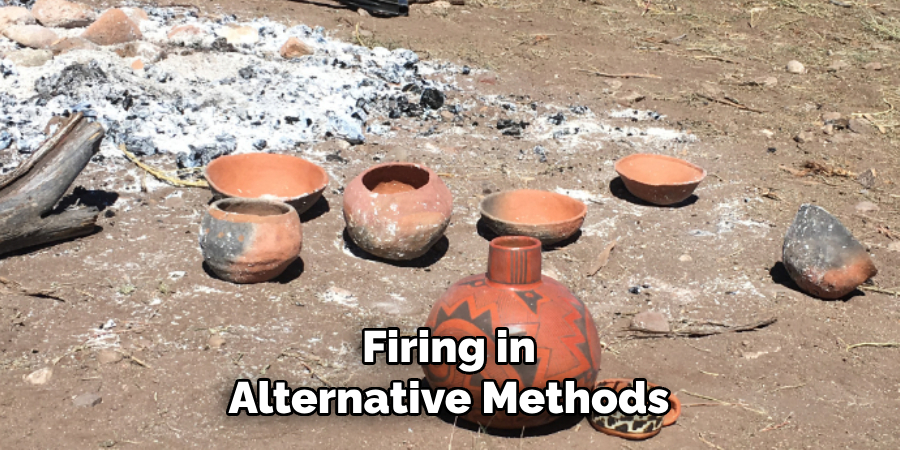
Uneven Firing
Firing in alternative methods, such as a campfire or pit, can lead to uneven temperatures, resulting in inconsistent clay hardening. To minimize this, consider firing in smaller batches and adjusting the placement of each piece within the fire to achieve better results. Ensuring a slow and even heating process is crucial for a successful outcome.
Common Mistakes to Avoid
Not conditioning polymer clay properly can make it brittle, leading to cracks or breakage. Additionally, overloading your firing method—whether a kiln or campfire—with too many pieces may cause uneven results, as the heat will not distribute evenly. Take your time and handle each step carefully to ensure quality finishes.
Conclusion
Learning how to make ceramics without a kiln opens up endless creative possibilities. You can create beautiful, handmade ceramics from the comfort of your home by choosing the right clay for your project, carefully shaping your pieces, and exploring alternative firing methods like pit firing or using a campfire.
Don’t forget to add finishing touches such as sanding and decorating to complete your work. Experiment with different techniques based on your available space and resources, and remember, imperfections often add character and charm. Your ceramics will truly reflect your unique artistic vision with patience and practice.
Professional Focus
Harry Ciotti is a highly skilled kiln operator with a sharp eye for detail and an in-depth understanding of the firing process. His expertise ensures that each ceramic piece reaches its full potential, perfectly balancing strength and beauty. Harry takes pride in overseeing the final stage of pottery creation, transforming raw clay into durable and stunning works of art.
About the Author
Harry Ciotti is a dedicated kiln operator and ceramic artist who brings passion and precision to every piece he fires. With a deep commitment to craftsmanship, Harry ensures that every ceramic creation is fired to perfection, from delicate vases to robust sculptures. He not only operates the kiln, but understands the unique needs of each piece, ensuring it reaches its full artistic potential. Through his work, Harry blends precision with artistry, making every firing a story of transformation.
Education History
University: California College of the Arts
Degree: Master of Fine Arts in Ceramics
Harry’s advanced education in ceramics has refined his technical skills, particularly in kiln operation, firing processes, and ceramic artistry. His educational background equips him to produce top-quality ceramic pieces that reflect both technical excellence and artistic expression.
Expertise:
- Kiln Operation and Firing Techniques
- Ceramics Creation (Functional and Artistic)
- Precision Craftsmanship
- Glazing and Texture Techniques
- Ceramic Artistry and Storytelling