Ceramic molding is a fascinating process that allows crafters and artisans to create various functional and decorative items. By shaping clay into specific forms using a mold, this technique is widely used in pottery, sculpture, and industrial manufacturing. Learning how to make ceramic molds opens up endless creative possibilities, enabling individuals to design custom pieces that fit their unique needs and preferences. Beyond creativity, making your own molds can be cost-effective and provide greater control over the final outcome than store-bought alternatives.
This article is designed to guide you through the step-by-step process of creating ceramic molds, detailing the tools, materials, and techniques required. Whether you are a beginner or an experienced ceramic artist, mastering this skill will enhance your ability to produce personalized and professional-quality ceramic pieces.
Understanding Ceramic Molds
What is a Ceramic Mold?
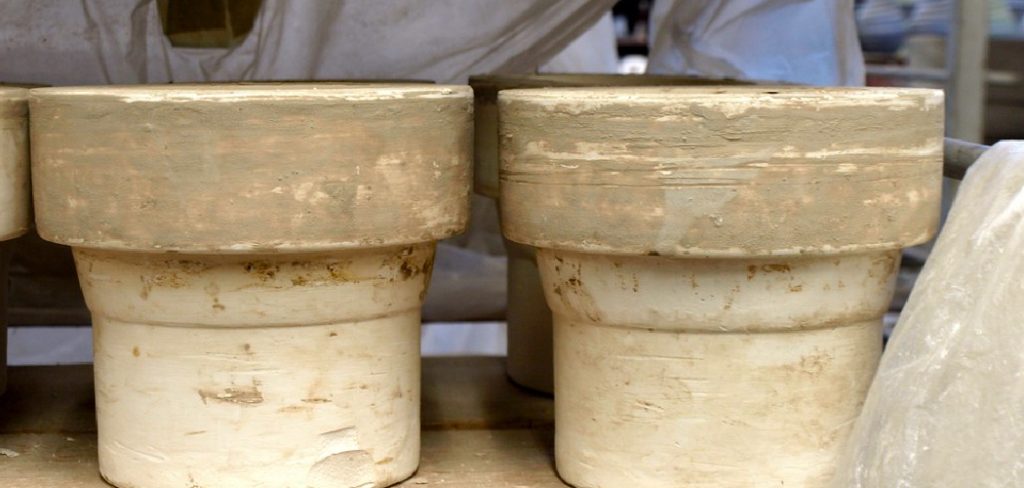
A ceramic mold is a tool used to shape and form clay or other ceramic materials into desired structures. These molds serve as a framework, allowing artists to replicate intricate designs, create consistent shapes, and achieve precision. They are essential in both artistic and industrial ceramic production, enabling the creation of everything from functional pottery to decorative art pieces.
Types of Molds
There are several types of ceramic molds, each suited for specific purposes:
- Plaster molds are widely used for their affordability, ease of use, and excellent ability to absorb moisture from clay.
- Silicone molds are flexible, making them ideal for detailed and delicate designs.
- Clay molds are less common but effective for hand-building techniques and custom designs.
Each type of mold serves a unique role depending on the complexity and nature of the project.
Why Use Ceramic Molds?
Using ceramic molds offers several advantages. They allow for the replication of detailed and complex patterns, ensuring design consistency. Molds significantly reduce production time while maintaining high-quality finishes. This makes them invaluable for both individual artists and commercial producers.
Materials Used for Ceramic Molds
The most common materials for ceramic molds include:
- Plaster of Paris, which is affordable and quickly sets for basic molds.
- Silicone rubber, known for its flexibility and capability to handle detailed designs.
- Clay, used mainly for creating custom or temporary molds.
- Gypsum-based materials, which are durable and often chosen for industrial applications.
Choosing the right material depends on the specific requirements of your ceramic project, such as the level of detail, durability, and intended scale of production. For instance, plaster suits beginners, while silicone excels in capturing fine textures.
Gathering Tools and Materials
Basic Tools for Mold Making
To begin mold-making, you will need several essential tools to achieve a smooth and effective workflow. Basic items include mixing containers for combining your materials, brushes for applying mold release agents, and sculpting tools for shaping your model. Measuring cups and spatulas are necessary for precise quantities and thorough mixing. Additionally, mold release agents are essential to ensure your mold separates cleanly from the model.
Materials You’ll Need
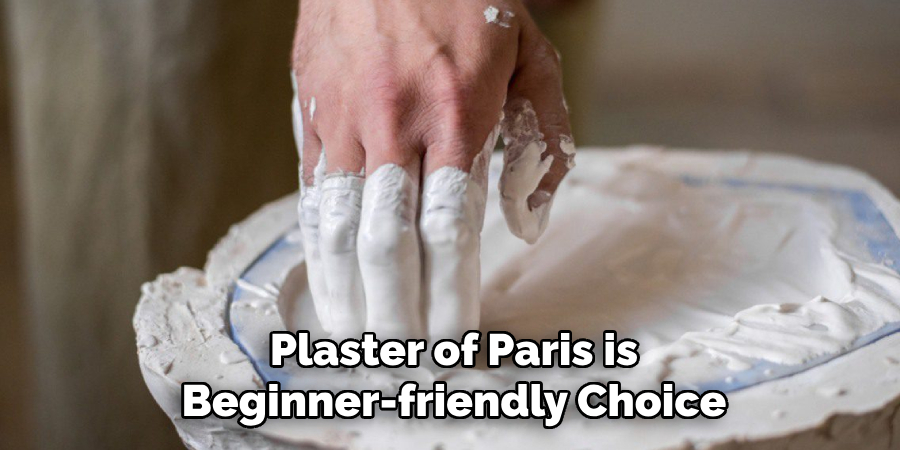
The primary materials for mold making depend on your project. Plaster of Paris is a beginner-friendly choice, while silicone rubber is excellent for intricate and reusable designs. Other materials such as clay, wax, or modeling compounds are useful during the creation of your initial model, providing a sturdy base for the mold-making process.
Optional Equipment
Safety gear such as gloves, goggles, and a mask is strongly recommended for those working with potentially hazardous materials to protect your skin, eyes, and respiratory system. A scale is also a valuable tool for obtaining accurate measurements, ensuring the correct proportions for mixing mold-making compounds. With these tools and materials, you will be well-prepared to create reliable, high-quality molds.
How to Make Ceramic Molds Creating the Original Model
Choosing the Design
The first step in creating a mold is selecting or designing the original model for your ceramic piece. This model serves as the template for your final product, so it’s crucial to consider the design’s functionality, aesthetics, and overall purpose. For beginners, starting with simple shapes can enhance your success rate. Remember that intricate details can add character but may complicate the mold-making process.
Scale and Proportions
When planning your model, pay close attention to its size and proportions. Ensure that the dimensions are practical for the mold-making material you are using. A too large or complex model may require multiple-part molds, which need additional planning and precision. Check that the proportions are symmetrical or deliberate to achieve balance and functionality in your final ceramic piece.
Sculpting the Model
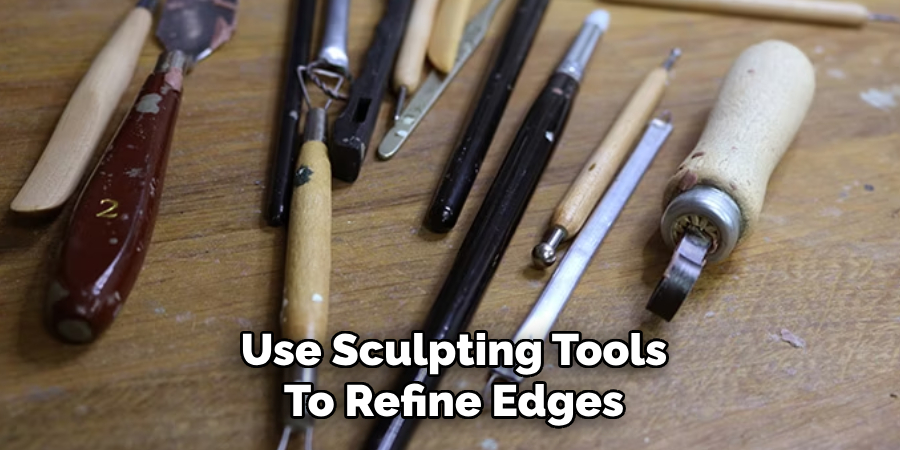
You can use materials like clay, wax, or even synthetic polymers to craft your model. Begin by shaping the basic structure of your piece, focusing on achieving a smooth and consistent form. Use sculpting tools to refine edges, carve intricate details, and enhance textures. Ensuring precision at this stage will lead to better results in your ceramics. Smooth the surface with a wet sponge or fine-grit sandpaper, depending on the material used, for a polished finish.
Drying and Preparing the Model
Proper drying is essential before mold-making, as excessive moisture can compromise the process. For clay models, allow the piece to air-dry completely in a stable and dry environment. Pay attention to the surface finish during this phase; cracks or deformities can be filled and smoothed to maintain the integrity of the mold. Once dried, consider applying a release agent or polish to ensure your model can be easily removed from the mold without damage.
Making a Plaster Mold
Creating a successful plaster mold involves careful preparation, proper mixing, and precise execution. Follow these steps to ensure a durable and high-quality mold.
Preparing the Mold Box
Start by constructing a mold box or container to hold the plaster and your model. The box should be slightly larger than your model, leaving enough space around all sides for the plaster to envelop the piece fully. Use a sturdy material such as wood, plastic, or even thick cardboard for your mold box. Ensure that the box is sealed tightly to prevent any plaster leakage during pouring. If necessary, use hot glue or tape to seal the corners. Before proceeding, position your model securely in the center of the box on a stable surface, ensuring it will remain stationary during the process.
Mixing the Plaster
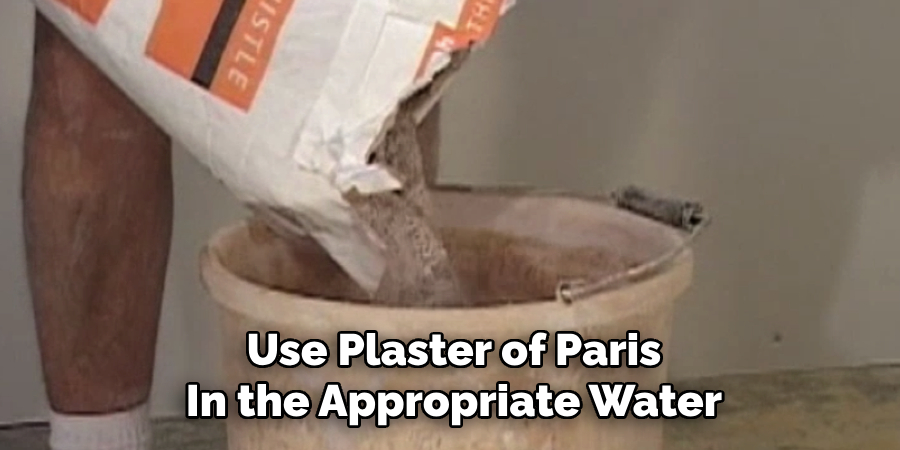
To mix the plaster, use plaster of Paris in the appropriate water-to-powder ratio, typically 2 parts plaster to 1 part water. Begin by adding water to a clean container and gradually sprinkle the plaster powder into the water while stirring gently. Avoid stirring too vigorously, as this can introduce air bubbles. Continue mixing until the plaster achieves a smooth, creamy consistency without lumps. For best results, work in small batches to ensure the plaster doesn’t begin to set prematurely.
Pouring the Plaster
Carefully pour the mixed plaster over your model, starting at one corner of the mold box and allowing it to flow naturally to avoid displacing the model. Pour slowly and evenly, ensuring the plaster fills all gaps around your model. Consider creating multiple thin layers for added strength, allowing each to set slightly before adding the next. Gently tap or shake the mold box to release any trapped air bubbles in the plaster.
Drying and Removing the Model
Allow the plaster mold to set and dry completely, keeping it in a stable environment with minimal movement. Refer to the plaster’s instructions for recommended drying times, typically a few hours to overnight. Once dry, carefully remove the mold box material and gently lift the model out of the plaster. Inspect the mold for cracks, incomplete areas, or other imperfections, addressing any issues before proceeding with the next steps of your project. A well-prepared mold ensures the success of your final casting.
Making a Silicone Mold
Creating a silicone mold is an excellent choice for capturing intricate details and ensuring durability and flexibility in your final casting. Silicone is widely used due to its ability to reproduce even the finest details, its long-lasting nature, and its ease of use compared to other mold-making materials.
Why Use Silicone?
Silicone molds are highly valued for their flexibility, which allows them to release intricate models without damage. Additionally, their durability means they can be reused multiple times, making them cost-effective. The material’s excellent detail-capturing ability ensures that every feature of the original model is precisely replicated.
Preparing the Model for Silicone Mold
Before starting, inspect the model for any imperfections and apply a mold release agent if required to prevent the silicone from sticking. Secure the model in place within a mold box, ensuring it is positioned correctly and stable. The mold box should be appropriately sized to contain the model and allow for an even silicone layer.
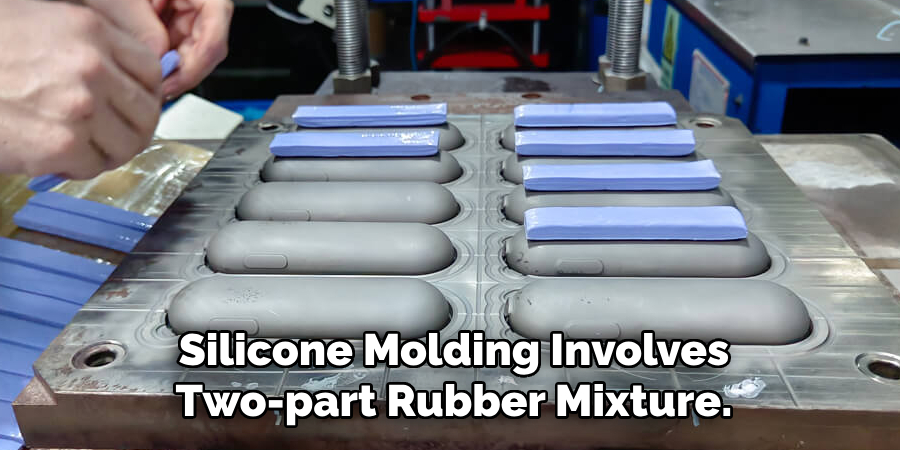
Mixing and Pouring Silicone
Silicone molding typically involves a two-part silicone rubber mixture. Follow the manufacturer’s instructions to measure and mix the components accurately, ensuring a uniform consistency. When pouring the silicone, slowly and slowly from one corner of the mold box. This technique helps minimize air bubbles, which could compromise the mold’s quality.
Curing and Removal
Allow the silicone to cure completely, which often takes several hours, depending on the product used. Once cured, carefully remove the mold from the box and the model from the silicone. Inspect the mold for defects and trim excess material if necessary to ensure a clean finish. A properly prepared silicone mold sets the stage for successful castings.
Caring for and Using Your Ceramic Molds
Preparing the Mold for Use
Before using your ceramic mold, it is essential to clean it thoroughly. Use a soft brush or cloth to remove dust, debris, and any residual mold release agents from previous castings. This ensures a smooth surface for your project and reduces the risk of imperfections. Once the mold is clean, apply a fresh layer of mold release agent evenly across its surface. This step is crucial to prevent sticking and ensure that your ceramic pieces release effortlessly from the mold.
Firing and Using the Mold for Ceramic Projects
When working with a ceramic mold, carefully load it with clay, pressing the material into all areas to capture fine details. Smooth the surface and remove excess clay to create a clean edge. Allow the clay to set within the mold for the recommended amount of time, ensuring it is firm before removal. After releasing the clay, follow proper drying techniques by allowing the piece to air dry completely before firing. Gradual and consistent drying reduces the risk of cracks or warping. Fire your ceramics in a kiln according to the specific clay and glaze requirements for a durable result.
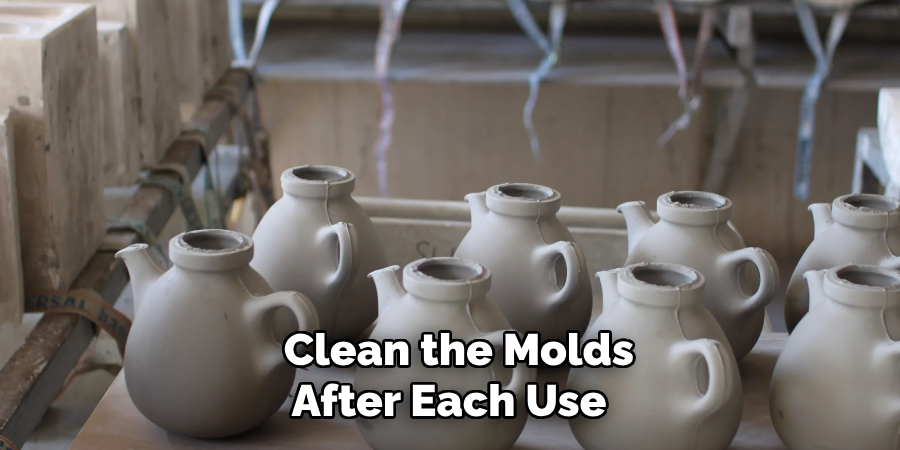
Maintenance Tips
To extend the life of your molds, clean them after each use by gently washing with mild soap and water. Avoid harsh scrubbing, which may damage the mold’s surface. To prevent moisture damage, ensure the molds are completely dry before storing them in a clean, dry area. Use appropriate repair materials for plaster or silicone molds for minor wear or damage to restore their functionality and maintain your mold collection’s quality over time. Proper care ensures your molds remain reliable for countless ceramic projects.
Common Mistakes to Avoid
Using Too Much Mold Material
Over-pouring mold material can lead to wasted resources and unnecessary complications. Excess material may increase the weight and size of the mold, making it harder to handle and reducing efficiency during the casting process. Always measure and pour the appropriate amount of material to avoid these issues and maintain precise results.
Skipping the Mold Release Step
Neglecting to use mold release can cause your mold to stick to the model, potentially ruining both. Mold release ensures easy separation and protects the surface of the mold as well as the model. This step is especially critical when creating complex molds with intricate details. Skipping it can lead to a frustrating and costly experience.
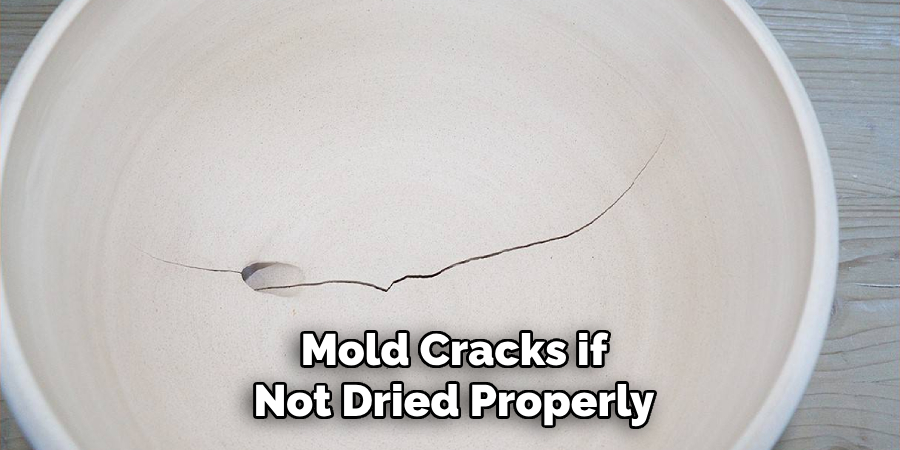
Not Allowing the Mold to Fully Dry
Removing a mold before it is completely dry increases the likelihood of cracks, distortions, or other damages. Premature removal can compromise the durability of the mold and the accuracy of your cast. Following manufacturer guidelines, it’s essential to allow sufficient drying time to ensure the mold achieves its intended quality and longevity.
Conclusion
Mastering how to make ceramic molds involves following key steps for success. Begin by carefully creating the model, ensuring it is detailed and accurate. Next, select the right mold material that suits your project’s needs and guarantees durability. Once your mold is ready, use it to explore and craft various ceramic pieces. Remember, successful mold making takes patience, precision, and a touch of creativity. Practice regularly and experiment with different designs and techniques to refine your skills. Applying these tips and steps will unlock endless possibilities in your ceramic projects and bring your artistic visions to life.
Professional Focus
Harry Ciotti is a highly skilled kiln operator with a sharp eye for detail and an in-depth understanding of the firing process. His expertise ensures that each ceramic piece reaches its full potential, perfectly balancing strength and beauty. Harry takes pride in overseeing the final stage of pottery creation, transforming raw clay into durable and stunning works of art.
About the Author
Harry Ciotti is a dedicated kiln operator and ceramic artist who brings passion and precision to every piece he fires. With a deep commitment to craftsmanship, Harry ensures that every ceramic creation is fired to perfection, from delicate vases to robust sculptures. He not only operates the kiln, but understands the unique needs of each piece, ensuring it reaches its full artistic potential. Through his work, Harry blends precision with artistry, making every firing a story of transformation.
Education History
University: California College of the Arts
Degree: Master of Fine Arts in Ceramics
Harry’s advanced education in ceramics has refined his technical skills, particularly in kiln operation, firing processes, and ceramic artistry. His educational background equips him to produce top-quality ceramic pieces that reflect both technical excellence and artistic expression.
Expertise:
- Kiln Operation and Firing Techniques
- Ceramics Creation (Functional and Artistic)
- Precision Craftsmanship
- Glazing and Texture Techniques
- Ceramic Artistry and Storytelling