Creating ceramic bowls is a rewarding and creative process that combines artistry and functionality. Whether you are a seasoned potter or a complete beginner, crafting a ceramic bowl allows you to explore various techniques and materials while expressing your personal style.

From shaping the clay to glazing and firing, each step contributes to the unique characteristics of the finished piece. This guide will walk you through the basics of how to make ceramic bowls.
Benefits of Making Your Own Ceramic Bowls
Making your own ceramic bowls offers a variety of benefits that go beyond simply creating a functional object. Firstly, it allows for complete creative expression, giving you the freedom to design bowls that reflect your personal style and preferences. Additionally, crafting your own bowls can be a therapeutic process, helping to reduce stress and improve focus as you become immersed in the hands-on activity. Handmade ceramic bowls are also sustainable and more meaningful than mass-produced alternatives, as they are crafted with care and intention. Lastly, there’s a deep sense of accomplishment and pride that comes with using or gifting an item you created yourself, enriching the experience of everyday activities such as cooking or serving meals.
Materials and Tools Needed
Before you begin creating your ceramic bowls, it’s essential to gather the right materials and tools. Here’s a list of items you’ll need to get started:
Materials
- Clay: Choose a type of clay suitable for your project, such as earthenware, stoneware, or porcelain.
- Glaze: Select glazes for decorating and sealing your finished bowl.
- Water: Used for keeping the clay moist and workable.
Tools
- Pottery Wheel (optional): Ideal for shaping symmetrical bowls, though hand-building techniques can also be used.
- Rolling Pin or Clay Slab Roller: Useful for flattening clay if you’re making slab-built bowls.
- Shaping and Carving Tools: Includes rib tools, wire cutters, and needles for sculpting and refining.
- Sponges and Brushes: For smoothing surfaces and applying glazes or slip.
- Work Surface: A clean, stable area covered with canvas or a non-stick material.
- Kiln: Used to fire and harden the clay, as well as to set the glaze.
Once you’ve gathered these materials and tools, you’ll be ready to start the exciting process of shaping and crafting diy ceramic bowl.
10 Methods How to Make Ceramic Bowls
1. Pinch Pot Method
The pinch pot method is one of the oldest and most intuitive ways to create ceramic bowls. To begin, take a ball of clay and gently press your thumb into the center to form a small hole. Then, slowly pinch the walls of the clay with your fingers, rotating the clay as you go to create a circular shape. Gradually work your way up, expanding the walls while maintaining even thickness.
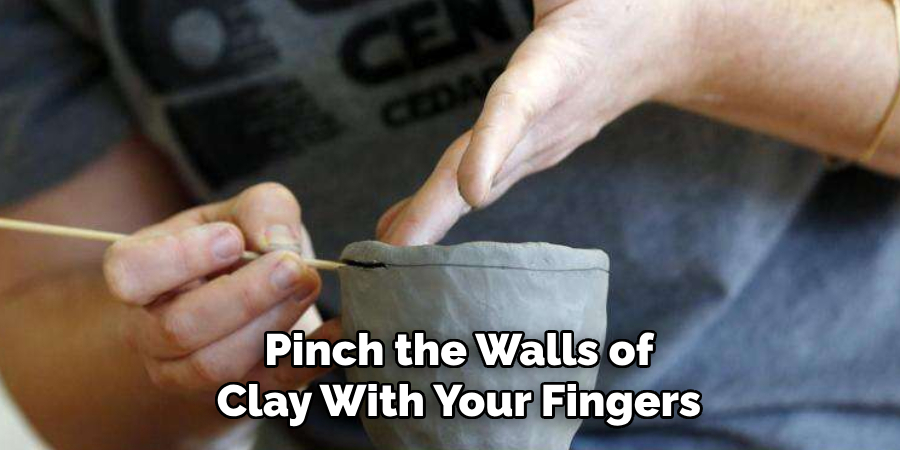
This technique allows you to create small to medium-sized bowls with an organic, hand-formed feel. Once you’ve reached your desired shape, smooth the edges and refine the surface using your fingers or a rib tool. This method is ideal for beginners and is perfect for making rustic, uniquely shaped bowls.
2. Coil Building Method
The coil building method is an excellent technique for making larger, sculptural bowls. Start by rolling long coils of clay, either by hand or with a slab roller, ensuring they are of even thickness. Begin by stacking the coils in a spiral shape to form the base of the bowl. Gradually build up the sides by layering more coils and gently smoothing the edges of each coil to blend them together.
This method allows you to experiment with both rounded and angular forms, depending on the direction of your coils. Coil-built bowls are incredibly versatile and can range from traditional to more abstract and modern designs. Once the bowl reaches the desired height and shape, you can smooth the interior and exterior surfaces for a more polished look.
3. Slab Building Method
The slab building technique is another way to make ceramic bowls, especially when you prefer more geometric or structured shapes. To start, roll out an even slab of clay using a rolling pin. The slab should be around the same thickness throughout to ensure uniformity. From there, cut the slab into the desired shape of your bowl’s walls, which could be rectangular or circular.
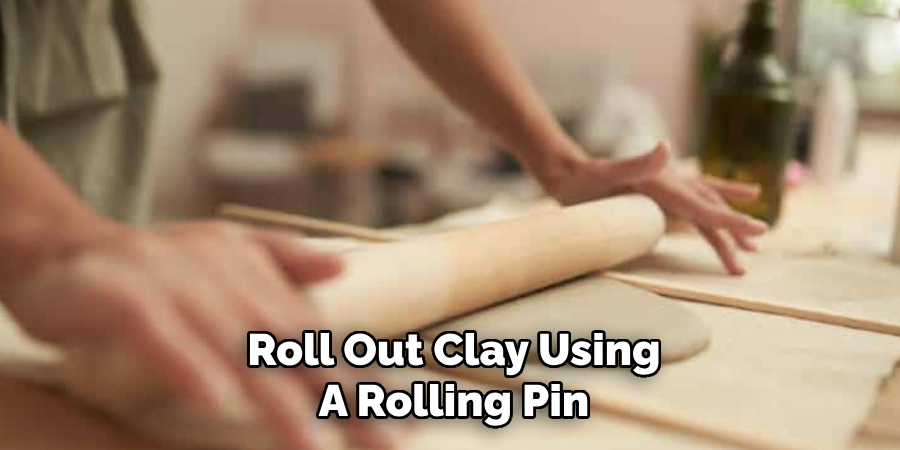
Then, score and slip the edges to attach them, creating the sides of the bowl. The slab method works particularly well for creating angular, boxy, or square bowls, but you can also mold the slab into curved or organic shapes.
4. Wheel Throwing Method
Wheel throwing is a classic and versatile method for making ceramic bowls, allowing for control over shape and size. Begin by centering a ball of clay on the potter’s wheel and applying gentle pressure to ensure the clay remains in place. Once the clay is centered, use your hands and a variety of tools to gradually raise the walls of the bowl. You can vary the size and shape, from small soup bowls to large serving bowls, depending on the speed and technique you use. The wheel allows for more uniform results and a smooth finish. You can also add texture, patterns, or glazing details once the bowl is shaped and dried.
5. Slip Casting Method
Slip casting involves pouring liquid clay, or slip, into a mold to create a precise shape. To begin, create or purchase a plaster mold in the shape of the bowl you want to make. Then, mix clay with water to create a smooth slurry, or slip.
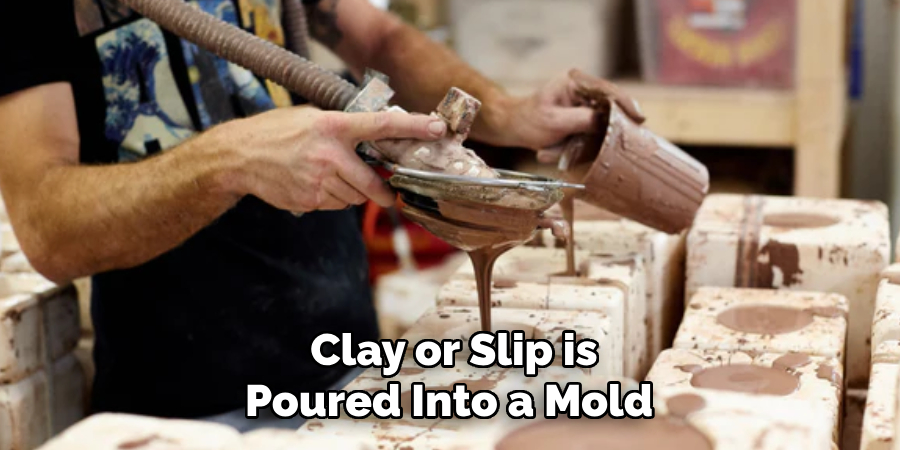
Pour the slip into the mold and let it sit for a few minutes, allowing the clay to thicken and form a layer on the inside of the mold. Once the slip has reached the desired thickness, pour out any excess and allow the bowl to dry inside the mold. Afterward, carefully remove the bowl, smooth out any seams, and fire it in the kiln.
6. Extrusion Method
The extrusion method uses a clay extruder to create consistent, uniform shapes, which can be used to build a bowl. Begin by loading clay into an extruder, which forces the clay through a die to create long shapes, such as rods, coils, or flat sheets. Once the clay is extruded, cut the pieces to the desired lengths and assemble them to create the bowl. You can arrange the extruded shapes in a spiral, layer them like bricks, or even use flat extrusions to create the bowl’s walls.
7. Burnishing Method
Burnishing is a technique used to create a smooth, glossy finish on your ceramic bowl without the need for glaze. After forming your bowl through any of the previous methods, allow it to dry to the leather-hard stage, which means it’s firm but still moist. At this stage, you can burnish the surface of the bowl using a smooth, hard object like a spoon, smooth stone, or specialized burnishing tool. By rubbing the tool over the surface, you compress the clay particles and create a shiny, polished finish.
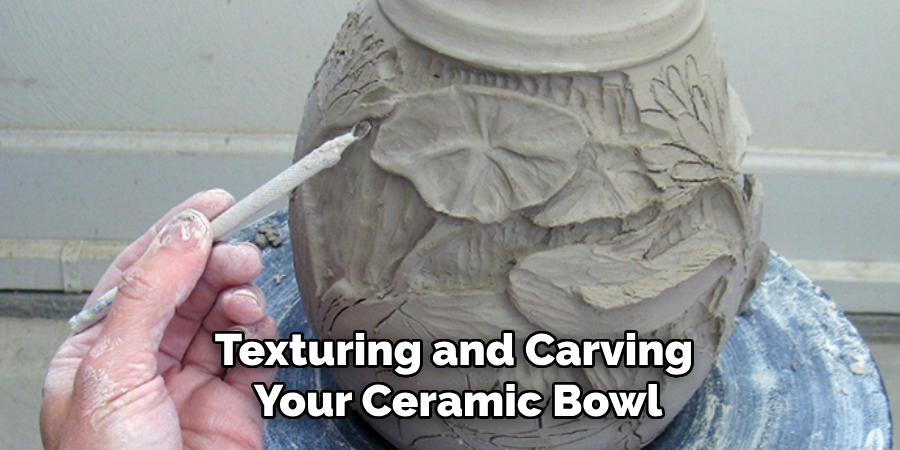
8. Texturing and Carving Method
Texturing and carving your ceramic bowl can add an artistic flair and make it stand out as a decorative piece. After shaping your bowl using any of the above methods, you can carve or stamp intricate patterns onto the surface. Use carving tools, stamps, or natural materials such as leaves and fabric to press patterns into the clay. You can create anything from simple geometric shapes to elaborate floral or abstract designs. Once the texture is added, the bowl can be left unglazed for a more rustic look or glazed to highlight the patterns.
9. Raku Firing Method
Raku firing is a dramatic and exciting technique that imparts unique colors and textures to the surface of your ceramic bowl. After shaping and bisque firing your bowl, you can apply a glaze and fire it in a raku kiln. When the bowl reaches the desired temperature, remove it from the kiln while it’s still glowing hot. Place the bowl in a container with combustible materials, such as sawdust or straw, which will ignite and create smoke. This quick cooling process creates unique crackling effects in the glaze and can result in a variety of metallic, iridescent, and unpredictable colors.
10. Hand-Building and Molding Method
Hand-building combined with molding is a fantastic way to make complex or highly detailed ceramic bowls. Start by hand-building the base of your bowl using any method, such as pinching or coiling. After the base is formed, you can place the piece in a mold to give it additional depth and structure. Molds can be purchased or made by hand, and they help shape the sides of the bowl for a more uniform result.
Conclusion
Making ceramic bowls is a diverse and enjoyable process, offering endless opportunities for creative expression. Whether you’re hand-building with pinch pots, sculpting with coils, or throwing on the wheel, each method provides a unique set of possibilities and results. From rustic, organic forms to precise, wheel-thrown designs, there’s a technique that suits every skill level and aesthetic preference. Thanks for reading, and we hope this has given you some inspiration on how to make ceramic bowls!
Professional Focus
Harry Ciotti is a highly skilled kiln operator with a sharp eye for detail and an in-depth understanding of the firing process. His expertise ensures that each ceramic piece reaches its full potential, perfectly balancing strength and beauty. Harry takes pride in overseeing the final stage of pottery creation, transforming raw clay into durable and stunning works of art.
About the Author
Harry Ciotti is a dedicated kiln operator and ceramic artist who brings passion and precision to every piece he fires. With a deep commitment to craftsmanship, Harry ensures that every ceramic creation is fired to perfection, from delicate vases to robust sculptures. He not only operates the kiln, but understands the unique needs of each piece, ensuring it reaches its full artistic potential. Through his work, Harry blends precision with artistry, making every firing a story of transformation.
Education History
University: California College of the Arts
Degree: Master of Fine Arts in Ceramics
Harry’s advanced education in ceramics has refined his technical skills, particularly in kiln operation, firing processes, and ceramic artistry. His educational background equips him to produce top-quality ceramic pieces that reflect both technical excellence and artistic expression.
Expertise:
- Kiln Operation and Firing Techniques
- Ceramics Creation (Functional and Artistic)
- Precision Craftsmanship
- Glazing and Texture Techniques
- Ceramic Artistry and Storytelling