Creating a pottery fountain is a rewarding project that combines artistry and functionality. Whether you want to add a soothing water feature to your garden or a decorative piece to your home, a pottery fountain can enhance any space with its calming sounds and aesthetic appeal.
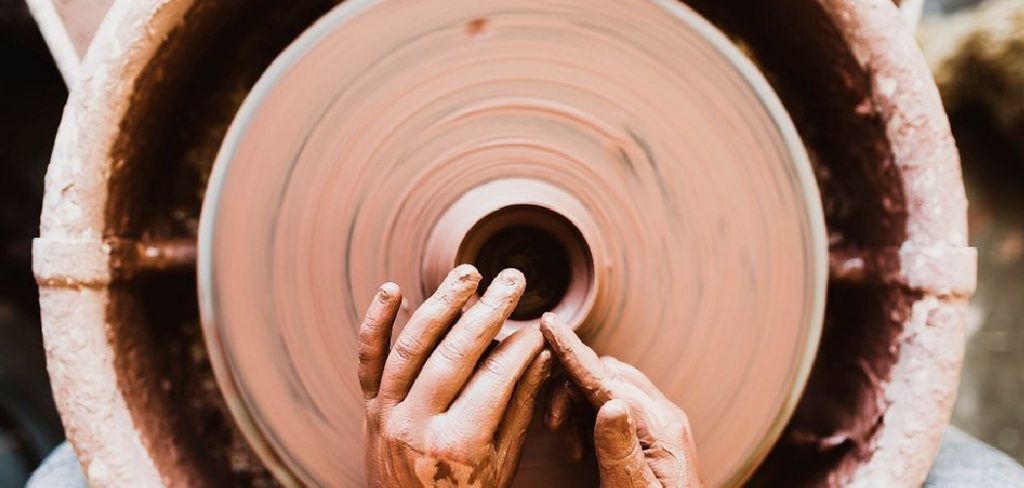
This guide on how to make a pottery fountain will walk you through the steps to craft your own unique fountain, from selecting the right materials to assembling the final product. With a bit of creativity and effort, you can create a one-of-a-kind fountain that reflects your style and brings tranquility to your surroundings.
What is a Pottery Fountain?
A pottery fountain is essentially a ceramic or clay vessel that holds water and has a small pump to circulate the water, creating a continuous flow.
These fountains can come in various shapes, sizes, and designs, making them versatile enough to fit into any space or theme.
Materials Needed
To make your own pottery fountain, you will need the following materials:
- A Large Ceramic or Clay Pot With Drainage Holes
- A Smaller Ceramic or Clay Pot Without Drainage Holes
- A Small Submersible Pump
- Waterproof Sealant
- Small Rocks or Pebbles
- Water-resistant Tubing
- Decorative Elements (Optional)
6 Simple Step-by-Step Guidelines on How to Make a Pottery Fountain
Step 1: Selecting Your Pots
Choosing the right pots is the foundation for creating a beautiful and functional pottery fountain. Start by selecting a large ceramic or clay pot with drainage holes for the base. This pot will act as the primary structure and support for your fountain. Next, pick a smaller pot without drainage holes to serve as the top portion where water will flow.
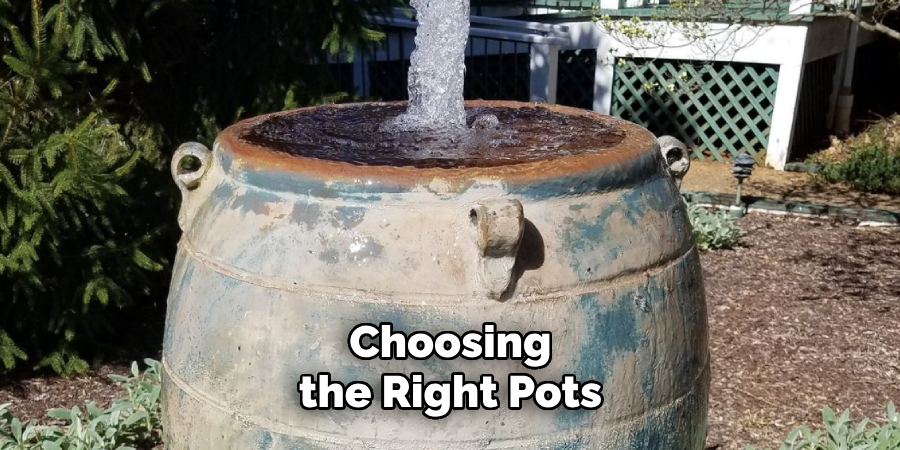
Ensure both pots complement each other in color, style, and size to achieve a balanced and visually appealing design. Additionally, inspect the pots for any cracks or imperfections, as these could affect the fountain’s durability and water retention.
Step 2: Sealing the Pots
To prevent water leakage and ensure the longevity of your fountain, it is essential to properly seal the pots. Begin by cleaning both pots thoroughly to remove any dirt, dust, or debris. Once dry, apply a waterproof sealant to the interior surface of the larger pot, focusing on the base and seams where water pressure will be most concentrated.
For the smaller pot, ensure the entire inner surface is coated to maintain water retention. Allow the sealant to cure fully according to the manufacturer’s instructions before proceeding. This step is crucial to creating a reliable and well-functioning fountain.
Step 3: Setting Up the Pump
Begin by selecting the appropriate pump based on the size of your fountain. Position the pump at the bottom of the larger pot, ensuring it is stable and level. Feed the pump’s power cord through the drainage hole or an opening, sealing any gaps with waterproof sealant to prevent leaks.
Next, attach the tubing to the pump nozzle and guide it upwards, ensuring it will connect with the smaller pot above. Test the pump to ensure it operates smoothly and adjust the flow rate as needed for your desired water effect. This setup will create the foundation for a functional and visually appealing fountain.
Step 4: Adding Decorative Elements (Optional)
Once the fountain’s main structure is complete and functioning properly, you can enhance its aesthetic appeal by incorporating decorative elements. Consider adding river rocks, pebbles, or polished stones around the base of the pots to cover any visible tubing or hardware and create a more natural look. You can also introduce plants, such as ferns or small succulents, around the fountain to blend it with its surroundings and add greenery.
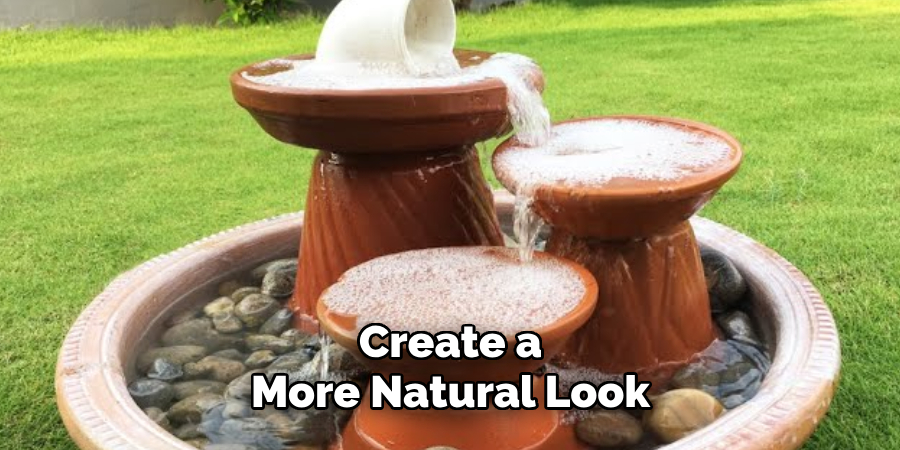
For a touch of personal style, consider adding figurines, LED lights for evening ambiance, or even color-tinted water features. Be creative but mindful of maintaining balance, ensuring that decorations do not obstruct water flow or interfere with the pump’s operation. These optional embellishments will elevate your fountain, making it a centerpiece of beauty and serenity.
Step 5: Testing and Adjusting
Once your fountain is set up and decorated, it’s time to test and fine-tune its operation. Begin by filling the basin with clean water, ensuring it reaches the recommended water level for the pump to function effectively. Switch on the pump and observe the water flow. Check for consistent circulation and listen for any unusual noises, as these could indicate obstructions or improper pump settings.
Adjust the pump’s flow rate if needed to achieve the desired water movement—whether a gentle trickle or a lively cascade. Take note of any splashing and rearrange features or adjust the water flow to minimize waste. Regularly monitor and make necessary adjustments to keep your fountain running smoothly, ensuring it remains a tranquil and efficient addition to your space.
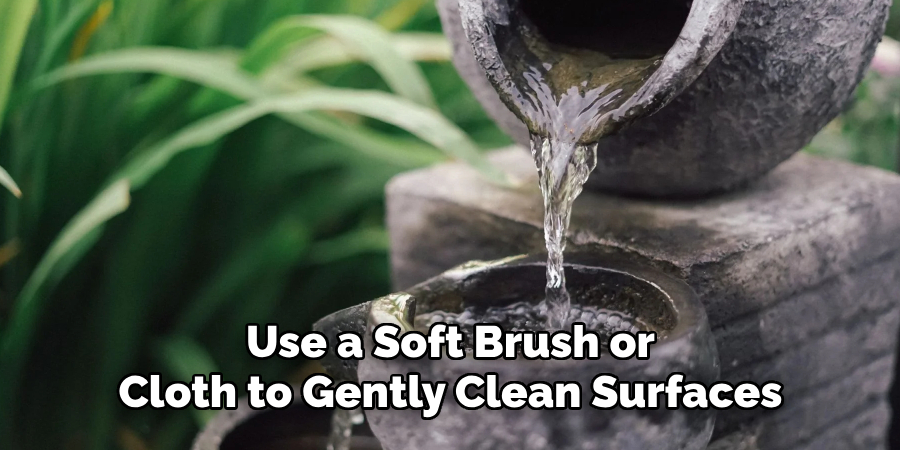
Step 6: Maintenance Tips
Regular maintenance is essential to prolong the life and beauty of your fountain. Clean the fountain regularly to remove dirt, algae, and debris that can accumulate and affect its appearance and functionality. Use a soft brush or cloth to gently clean surfaces, and periodically rinse the pump to prevent clogs. Check the water level frequently, as evaporation can reduce it, potentially causing the pump to overheat. During colder months, take precautions to prevent freezing by draining the fountain or using a fountain heater if necessary. With consistent care, your fountain will continue to be a serene and inviting feature for years to come.
Following these maintenance tips on how to make a pottery fountain will ensure that your fountain remains in top condition and continues to enhance your outdoor space. However, it’s also important to note that fountains may eventually require more extensive repairs or even replacement after many years of use. If you notice any significant damage or malfunctioning parts, it’s best to consult a professional for assistance.
Additional Ideas for Your DIY Fountain
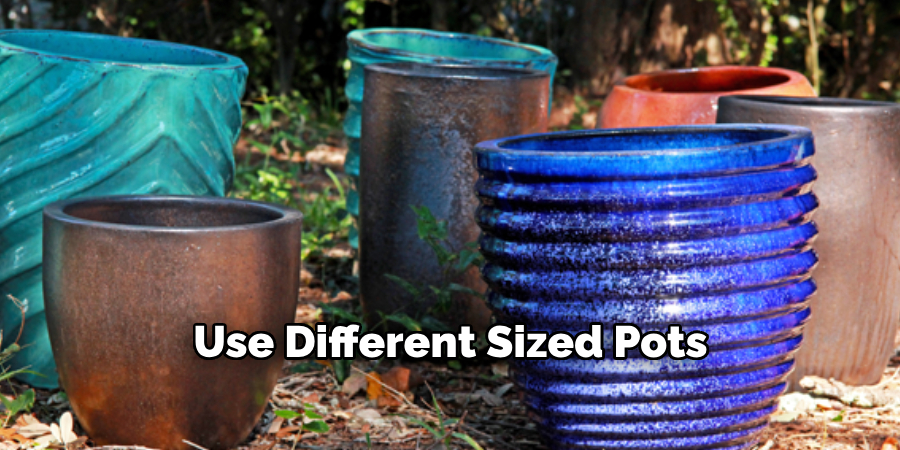
- Use different-sized pots or containers for a unique look
- Add colored LED lights for a beautiful night-time display
- Incorporate plants or flowers around the base of the fountain for a natural touch
- Create a mosaic design using pieces of tile or glass on the surface of your fountain
- Install a solar-powered pump to save energy and reduce costs
- Add decorative rocks, shells, or other materials to add texture and interest to your fountain
- Place the fountain near a seating area for a relaxing ambiance
- Use recycled materials such as old buckets or barrels to create an eco-friendly fountain
- Experiment with different water flow patterns for different effects
- Add wind chimes or other sound elements near the fountain for added tranquility.
- Consider adding a small fish or plant life to your fountain for a natural touch.
- Incorporate lighting options such as string lights or spotlights to enhance the fountain at night.
- Use colorful mosaic tiles or paint to add a pop of color to your fountain
- Add plants and flowers around the base of the fountain for a cohesive and nature-inspired look.
Frequently Asked Questions
Q: How Do I Maintain My Solar-powered Fountain?
A: Regularly clean the solar panels and ensure they are receiving ample sunlight. Also, keep the water clean by regularly changing it and adding a few drops of bleach to prevent algae growth. If your fountain has a pump, check and clean it regularly as well.
Q: Can I Use a Solar-powered Fountain in Areas With Limited Sunlight?
A: Yes, a solar-powered fountain can still function in areas with limited sunlight, as long as there is enough sun exposure to charge the solar panels. You may also consider using a backup battery for cloudy days.
Q: What Are Some Benefits of Using a Solar-powered Fountain?
A:
- Environmentally friendly and sustainable source of energy
- Lower electricity costs
- Easy installation without the need for electrical wiring
- Can be placed anywhere with access to sunlight
- Low maintenance compared to traditional fountains
Q: How Can I Ensure My Solar-powered Fountain Will Function Even with Limited Sunlight?
A:
- Opt for a model with a larger solar panel to capture more sunlight
- Choose a location with maximum sun exposure
- Consider using a backup battery for cloudy days
- Regularly clean and maintain the solar panels to ensure maximum efficiency. Overall, it is important to regularly monitor and adjust the placement of your fountain in relation to the amount of sunlight it receives to ensure optimal performance.
Conclusion
With these additional ideas and tips on how to make a pottery fountain, you can create a stunning and unique fountain for your outdoor space. Whether you want to add a touch of nature, create a calming oasis, or simply save energy and reduce costs, there are endless possibilities for designing and incorporating a fountain into your backyard or garden.
Remember to consider the location, size, materials, and overall design when planning your fountain project. And most importantly, have fun creating your own little piece of paradise! So why wait? Start planning and building your own beautiful fountain today! Happy gardening!
Professional Focus
Toby Rede, a professional potter, combines artistic expression with functionality in his ceramic creations. His work blends natural textures, modern forms, and sustainable materials, making him a standout voice in the pottery world focused on intentional craftsmanship.
About the Author
Toby Rede, a dedicated potter and blogger, shares his insights on functional and artistic ceramics, drawing inspiration from sustainable gardening and nature. Based in his studio, he blends craftsmanship with everyday life, encouraging others to incorporate handmade pottery into their homes for both beauty and utility.
Education History
University: Alfred University
Degree: Associate Degree in Ceramic Technology
Toby’s education laid the foundation for his technical expertise, equipping him with the skills necessary to create pottery that merges functionality and aesthetic appeal.
Expertise:
Pottery Creation
Ceramic Techniques (Texture, Glazing, Sustainable Materials)
Functional Art and Design
Craftsmanship Philosophy
Blogging on Handmade Pottery and Everyday Life