

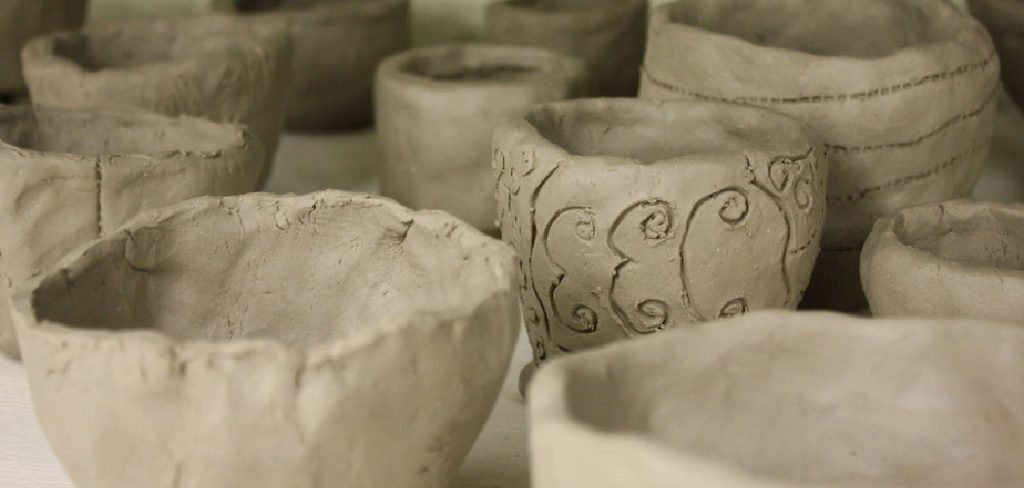
Making a pinch pot is a simple and enjoyable way to explore pottery, whether you’re a beginner or an experienced artist. This traditional technique involves shaping clay by hand to create small, functional, or decorative bowls. With just a few materials and some basic steps, you can craft a unique piece that reflects your creativity and personal style. In this blog post, we’ll walk you through the steps on How to make a pinch pot so that you can get back to using it in no time! So grab your tools, and let’s get started!
Why Pinch Pots Are a Great Beginner Pottery Project
Pinch pots are an ideal starting point for anyone new to pottery because they are simple yet highly versatile. This technique requires minimal tools, making it accessible and budget-friendly for beginners. The hands-on nature of pinch pottery helps individuals get familiar with the texture and behavior of clay, encouraging a connection to the material.
Additionally, the process allows for creative freedom—no two pinch pots are exactly alike, which makes each creation unique and rewarding. The low-pressure approach of this method is perfect for building confidence while exploring basic pottery skills. Whether you’re looking to make a decorative piece or something functional, pinch pots are a fantastic way to begin your pottery journey.
What You Need to Make a Pinch Pot
Before you begin creating your pinch pot, gather the essential materials to make the process smooth and enjoyable. Here’s what you’ll need:
- Clay: Any type of air-dry or kiln-fired clay works great. Choose one that matches your preference and project requirements.
- A Small Bowl of Water: This helps keep the clay moist and manageable as you work.
- A Cloth or Mat: To protect your workspace and prevent the clay from sticking.
- Clay Tools (Optional): Tools like a wooden modeling stick or a needle tool can be useful for adding details or shaping.
- Paints or Glazes: If you want to decorate or finish your pinch pot after it’s dry.
- A Sponge or Rag: For smoothing surfaces and cleaning your hands.
Once you have everything ready, you’re all set to start crafting your unique pinch pot!
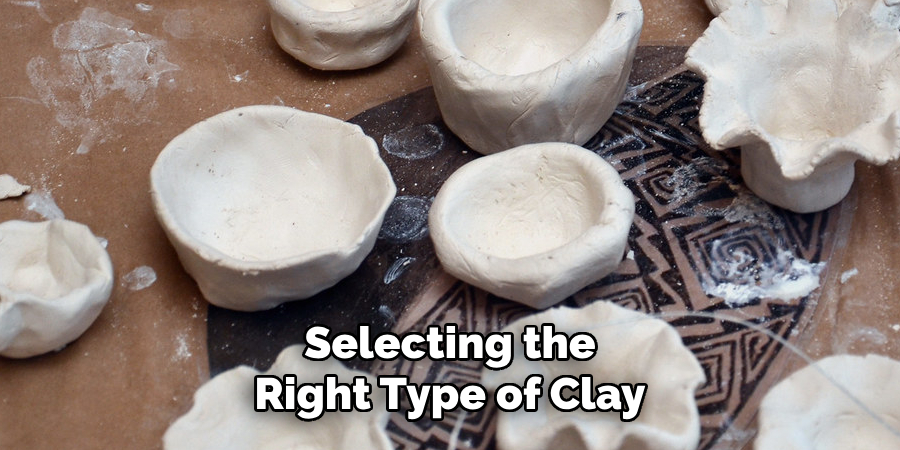
Choosing the Right Clay
Selecting the right type of clay is an important step in creating your pinch pot. The type of clay you choose will depend on the final look and purpose of your piece. Air-dry clay is a great option for beginners or those without access to a kiln, as it hardens naturally and is easy to work with. If you plan to use your pinch pot for functional purposes, such as holding water or food, kiln-fired clay like earthenware or stoneware is a better choice due to its durability.
Polymer clay can also be a fun choice for decorative items, as it comes in vibrant colors and only requires an oven to cure. Make sure to consider your project’s needs and the tools you have available when selecting your clay.
10 Methods How to Make a Pinch Pot
1. Choosing the Right Clay for Pinch Pot Making
The journey of making a pinch pot begins with the thoughtful selection of clay. Earthenware or stoneware clay bodies are typically preferred for pinch pottery due to their pliability and forgiving nature. Beginners may find air-dry clay helpful, especially if access to a kiln is limited, while those interested in glazing and firing may opt for mid-fire or high-fire clay types. The important thing is to choose a clay that is soft yet firm, moist but not sticky. Wedge the clay thoroughly to remove air bubbles and ensure a consistent texture throughout. This foundational step is crucial to producing a durable and crack-free pinch pot.
2. Measuring and Forming the Initial Clay Ball
Once the clay is wedged and conditioned, the next step involves forming a compact, symmetrical ball of clay, typically about the size of a large orange or a tennis ball. This size allows for easy handling and ensures a well-balanced vessel. Roll the clay between your palms or on a clean, flat surface until you achieve a smooth, even sphere. This spherical shape forms the base of your pinch pot, and its symmetry at this stage will directly affect the evenness of your final product. Avoid cracks or dry spots, as these can compromise the integrity of your pot during shaping or drying.
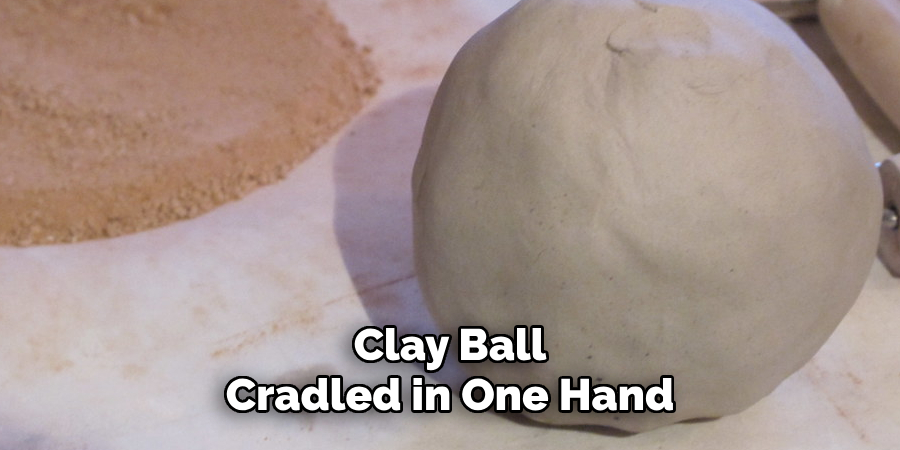
3. Creating the Initial Opening with Your Thumb
With the clay ball cradled in one hand, gently press your thumb into the center of the ball to begin forming the cavity of the pinch pot. This motion should be slow and controlled, stopping about ½ to ¾ inch from the bottom to maintain a solid base. Rotate the clay ball slightly as you press to keep the indentation centered. This thumb press is the genesis of the vessel’s interior and should be even and intentional, as an off-center cavity will lead to an unbalanced form, making subsequent shaping more difficult.
4. Pinching the Walls Evenly Around the Form
With the cavity formed, begin gently pinching the walls of the pot by placing your thumb inside the hollow and your fingers on the outer surface. Rotate the pot in your hands as you pinch upwards and outwards, working consistently around the piece. The goal is to thin the walls evenly to about ¼ inch thick, maintaining a smooth, continuous form without ridges or weak spots. Use steady, rhythmic movements to build an intuitive understanding of the clay’s flexibility. Uneven pressure can lead to cracking or deformities, so pay attention to tactile feedback as the shape emerges.
5. Refining the Rim and Opening Shape
As you build up the walls of the pinch pot, the rim will naturally form. This edge can be left simple and rustic or refined into a smooth, elegant finish. Use your fingers to gently pinch or roll the rim into your desired shape, ensuring it is level and consistent in thickness. You may wish to flare it out, round it off, or gently scallop it for decorative effect. This detail not only enhances the pot’s aesthetic but also adds structural strength to the top of the vessel. Check from various angles to ensure symmetry and make gentle corrections as needed.
6. Smoothing the Surface with Tools or Fingers
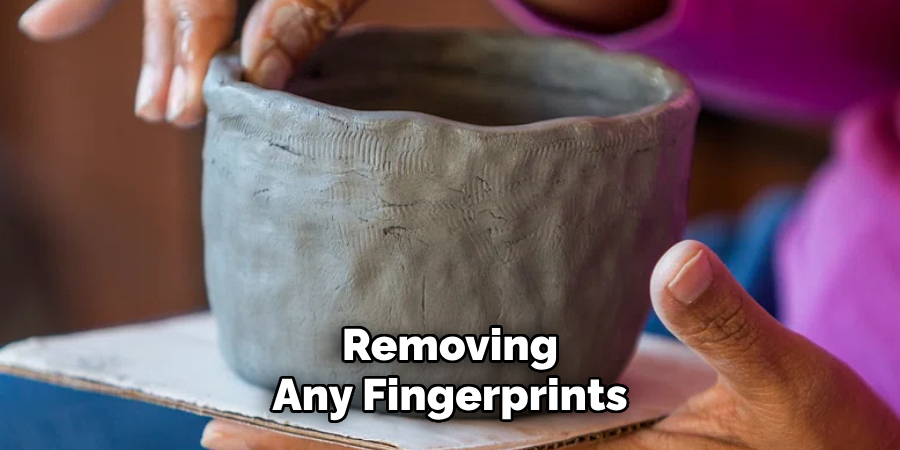
Once the form is satisfactory, the surface can be refined for either a rustic or polished look. Wet your fingers slightly and smooth the outside and inside surfaces, removing any fingerprints, bumps, or indentations. For finer finishing, use a rubber rib, sponge, or metal scraper. Be cautious not to add too much water, which can weaken the clay structure. This process allows the maker to express intention through texture—some leave subtle pinch marks as a testament to the handmade process, while others prefer a refined, clean surface ready for further decoration.
7. Adding Texture or Decorative Elements
If desired, this is the time to personalize your pinch pot with textures, carvings, or additions. Use wooden tools, combs, stamps, or found objects to impress patterns or lines onto the pot. You may also add coils, small sculpted pieces, or handles, using proper slip-and-score techniques to ensure they bond securely. These embellishments transform a simple vessel into an artistic statement and allow the potter to tell a story or express a cultural motif. Just ensure all decorations are applied while the clay is still soft, but not too wet.
8. Allowing the Pot to Dry Slowly and Evenly
Drying is a crucial phase that requires patience and care. Place your completed pinch pot on a wooden or porous board covered with newspaper or cloth to absorb moisture slowly and evenly. Avoid placing it in direct sunlight or near a heat source, which can cause rapid drying and lead to cracks. It is often beneficial to loosely cover the pot with plastic or cloth to control evaporation. The pot should dry for several days until it reaches the bone-dry stage—a condition where all moisture has left the clay, and it feels chalky and light in weight.
9. Bisque Firing and Optional Glazing
If you’re using ceramic clay and have access to a kiln, the next step is bisque firing, which hardens the pot and prepares it for glazing. Fire the piece slowly to allow any residual moisture to escape, and follow your clay body’s recommended firing schedule. After bisque firing, you may apply glaze or leave the piece natural, depending on your aesthetic preferences. Glazing involves dipping, brushing, or spraying the pot with liquid glaze before a second firing that vitrifies the clay and glassifies the surface. Choose glazes that complement the form and texture of your pinch pot for the best results.
10. Final Finishing and Displaying Your Work
Once the pot has been fully fired and cooled, it’s ready for final inspection and use. Check for sharp edges or glaze drips, and sand any rough spots if necessary using fine-grit sandpaper or diamond pads. Your pinch pot can now serve as a decorative bowl, small planter, tealight holder, or simply a sculptural art piece. Display it proudly in your home, or gift it as a handmade expression of creativity. Each pinch pot tells the story of its maker—its subtle curves, finger impressions, and texture all speak to the timeless, human tradition of shaping clay with care.
Conclusion
The art of making a pinch pot is both humble and profound. It requires no wheel or complex tools—only your hands, some clay, and your attention. These ten methods not only guide you through the creation of a functional form but invite you into a meditative, tactile relationship with one of the oldest art forms in human history. Whether your pinch pot is simple or ornate, it stands as a testament to your patience, intention, and creativity. With practice, each new pot will reflect your growing skill and deepening appreciation for this timeless craft.
Professional Focus
Toby Rede, a professional potter, combines artistic expression with functionality in his ceramic creations. His work blends natural textures, modern forms, and sustainable materials, making him a standout voice in the pottery world focused on intentional craftsmanship.
About the Author
Toby Rede, a dedicated potter and blogger, shares his insights on functional and artistic ceramics, drawing inspiration from sustainable gardening and nature. Based in his studio, he blends craftsmanship with everyday life, encouraging others to incorporate handmade pottery into their homes for both beauty and utility.
Education History
University: Alfred University
Degree: Associate Degree in Ceramic Technology
Toby’s education laid the foundation for his technical expertise, equipping him with the skills necessary to create pottery that merges functionality and aesthetic appeal.
Expertise:
- Pottery Creation
- Ceramic Techniques (Texture, Glazing, Sustainable Materials)
- Functional Art and Design
- Craftsmanship Philosophy
- Blogging on Handmade Pottery and Everyday Life