Gluing broken ceramic pieces back together is a common DIY task that helps restore both the functionality and aesthetic appeal of cherished ceramic items. From repairing a favorite mug to fixing decorative pieces, this process extends the life of damaged ceramics and prevents unnecessary waste. how to glue ceramic back together. Using an appropriate glue ensures a strong and long-lasting bond and contributes to a clean and seamless repair.
This guide is designed to walk you through the process of gluing ceramic back together, offering tips on choosing the best adhesives and techniques for achieving a professional-quality fix. You can confidently repair your ceramics and regain their original charm with the right approach.
Materials and Tools Needed
Before starting the repair process, gathering all the necessary materials and tools is important to ensure a smooth and effective fix. Having the right items at hand will save time and improve the quality of the repair.
Essential Materials
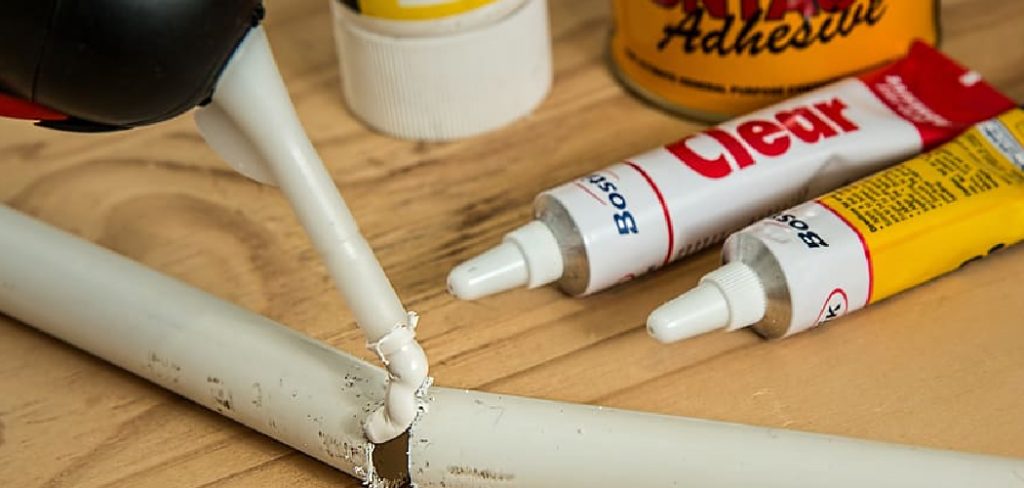
- Ceramic Glue (Epoxy or Super Glue Recommended): These adhesives provide a strong bond and are ideal for ceramics.
- Broken Ceramic Pieces: Collect all the fragments to piece them back together precisely.
- Small Mixing Tray (For Epoxy): If you are using epoxy glue, this is essential for combining the components.
- Clamps or Rubber Bands: These will help hold the ceramic pieces in place while the glue cures.
- Soft Cloth: Use this to clean and dry the surfaces of the broken pieces before applying glue.
- Gloves (Optional but Recommended): Protect your hands from sticky adhesives or sharp ceramic edges.
- Toothpicks or a Small Applicator: These tools will help you apply glue with accuracy, especially for narrow spaces.
Tools You’ll Need
- Scissors or Utility Knife: These are handy for trimming away excess adhesive once it sets.
- Ruler or Measuring Tape (Optional): Use it to ensure precise alignment of the pieces, particularly for intricate designs.
Preparing these materials and tools will lay a solid foundation for a successful ceramic repair.
Choosing the Right Adhesive for Ceramic
Selecting the appropriate adhesive is crucial for ensuring a successful ceramic repair. Different types of adhesives provide distinct advantages depending on the type and extent of the damage. Below are three popular options to consider:
Epoxy Adhesive
Epoxy adhesives are ideal for creating strong, long-lasting bonds. They consist of resin and hardener, which must be mixed before application. This type of adhesive is best suited for larger breaks or more serious repairs, as it provides a durable and secure bond capable of withstanding significant weight and stress.
Super Glue (Cyanoacrylate)
Super glue is known for its quick-drying properties and easy application, making it a convenient option for small chips or minor cracks. Its precision applicator ensures minimal mess, and repairs can often be completed in just a few minutes. However, super glue is not recommended for heavy-duty repairs or large ceramic items, as its bonding strength is more limited than epoxy.
Ceramic Repair Kits
Designed specifically for ceramic materials, repair kits are a specialized option that often include both adhesives and fillers. Many kits also offer color-matching capabilities, allowing you to blend repairs seamlessly with the original surface. These kits are perfect for intricate designs and high-value ceramic pieces where appearance is critical.
Preparing the Ceramic Pieces
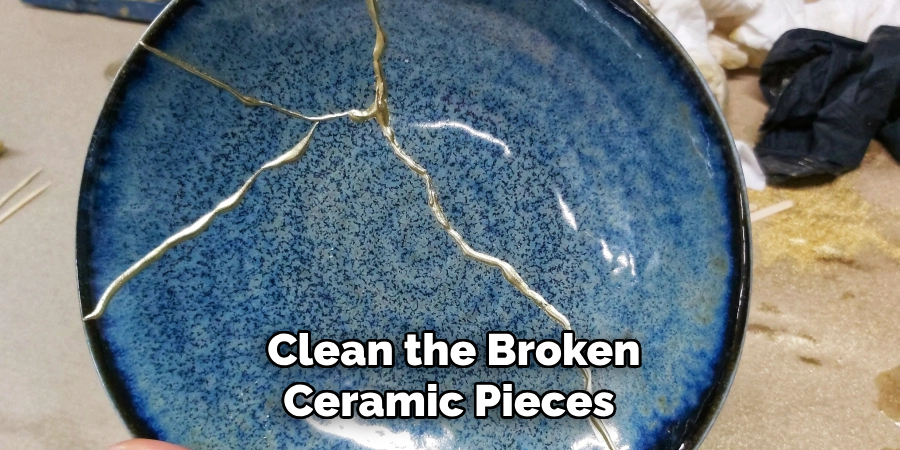
Step 1: Clean the Broken Pieces
Before beginning any repair, it’s crucial to clean both the broken edges of the ceramic and the surface where the adhesive will be applied. Use a soft cloth to gently wipe away any dust, dirt, or grease that could interfere with the bonding process. Properly cleaned surfaces will result in a stronger and more reliable repair.
Step 2: Align the Pieces
Lay out all the broken ceramic pieces on a flat surface. Carefully examine how the pieces fit together and identify any sections requiring special attention. Ensuring the pieces align correctly at this stage is essential to prevent misplacements or uneven seams once the glue is applied.
Step 3: Test the Fit
Before applying any adhesive, perform a dry-fit of the broken pieces. Press the edges together to check how well they meet and whether there are any noticeable gaps or uneven edges. If you detect issues like larger gaps or rough surfaces, consider lightly sanding the edges or using a filler to achieve a snug fit. This step allows you to adjust in advance, ensuring a seamless final repair.
How to Glue Ceramic Back Together Applying the Adhesive
Step 1: Mixing the Epoxy (if using)
If using epoxy, mix the resin and hardener according to the manufacturer’s instructions in a small tray. Precision is crucial during this step, as improper mixing can affect the adhesive’s performance. Use a toothpick or a small applicator to mix thoroughly, ensuring a uniform consistency. Properly mixed epoxy will provide a strong and durable bond for your ceramic repair.
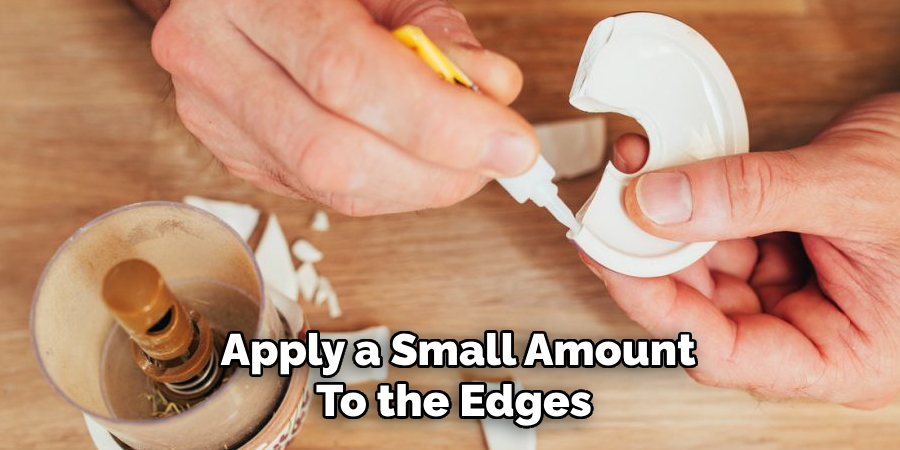
Step 2: Applying the Glue
Once the adhesive is ready, use a small applicator or brush to apply a thin, even layer to one edge of the broken ceramic piece. Remember that a little goes a long way if you are working with super glue. Apply a small amount to the edges, avoiding excess glue that could spill out during bonding. Carefully align the broken pieces and press them together immediately after applying the adhesive. Ensure the edges meet tightly for a seamless fit.
Step 3: Holding the Pieces in Place
Hold the pieces together for several seconds to secure a strong bond as the adhesive begins to set. For added stability, use clamps, rubber bands, or even adhesive tape to keep the pieces tightly in place while the glue cures. This step ensures the ceramic stays in position without shifting, allowing the adhesive to harden and form a durable connection properly. Follow the adhesive manufacturer’s recommendations for curing time before moving on to the next step.
Letting the Glue Set and Dry
Step 1: Allow the Adhesive to Set
Follow the manufacturer’s drying time instructions closely to ensure optimal results. For super glue, this usually takes about 5-10 minutes, while epoxy adhesives may require up to 24 hours to set. During this period, avoid moving or disturbing the repaired ceramic to prevent weakening the bond. Patience is critical at this stage for achieving a reliable and sturdy repair.
Step 2: Check for Gaps or Misalignment
Once the adhesive has had sufficient time to start setting, carefully inspect the repaired area for any gaps or misaligned pieces. If you notice small gaps or uneven connections, apply a small amount of additional adhesive directly into the affected spots. Use a fine applicator or toothpick for precision and to avoid over-application, which could compromise the repair’s appearance.
Step 3: Let the Adhesive Fully Cure
After addressing any gaps or alignment issues, allow the adhesive to cure as per the manufacturer’s instructions, fully. Epoxy adhesives often require up to 24 hours to reach full strength, so it’s important not to rush this phase. Avoid handling or stress the repaired ceramic until the curing process is complete. Once fully cured, your ceramic should be ready for use or display, with a strong and durable restoration.
Finishing Touches
Step 1: Cleaning Up Excess Adhesive
Once the glue is dry, use a utility knife or scissors to carefully remove any excess adhesive that may have oozed out during the repair process. Take your time and use gentle motions to avoid scratching or damaging the ceramic surface. Removing this excess adhesive ensures that the restoration looks neat and professional.
Step 2: Sanding and Smoothing Edges (if needed)
If there are any rough spots or noticeable glue residue, lightly sand the edges to smooth them out. Use fine-grit sandpaper to achieve a polished finish while minimizing the risk of scratching the ceramic. This step is beneficial for pieces with intricate designs or delicate surfaces, ensuring that the repaired area blends well with the rest of the object.

Step 3: Touching Up the Color
Consider touching up any visible cracks or repair lines with ceramic paint or filler to achieve a more seamless look. Match the paint to the original color and use a fine brush for precision. Carefully apply the paint in thin layers, allowing each coat to dry before adding the next. This final touch enhances the visual appeal of the repaired ceramic and restores its aesthetic integrity, making it appear almost like new.
Preventing Future Damage and Care
Step 1: Handle Carefully
After repair, handle the ceramic gently to avoid stressing the glued area. Even though the adhesive creates a strong bond, excessive pressure or sudden impacts can weaken the repair. If the ceramic piece is functional, such as a bowl or vase, try to minimize heavy or frequent use to ensure longevity.
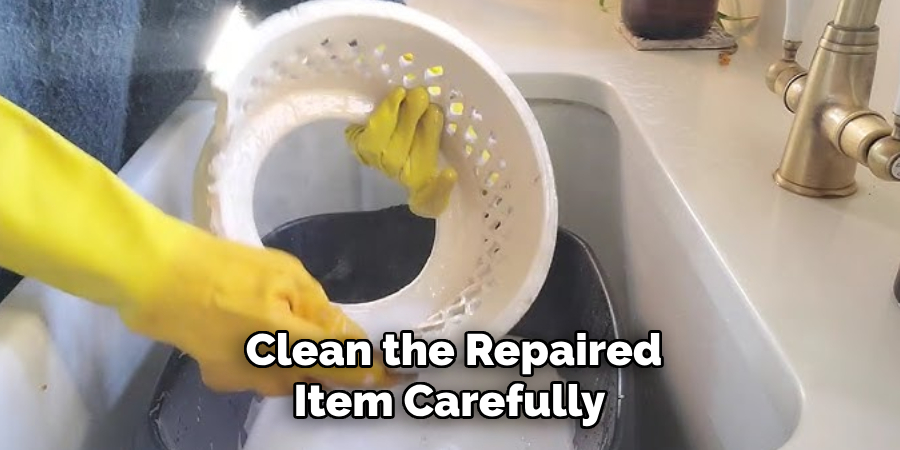
Step 2: Cleaning the Repaired Ceramic
Clean the repaired item carefully using a soft cloth or sponge with mild soap and water. Avoid harsh scrubbing or using abrasive cleaning tools, as these may damage the repaired section or weaken the adhesive bond. Gently pat the ceramic dry to maintain its appearance and structural integrity.
Step 3: Regular Inspections
Periodically inspect the repaired ceramic for any signs of weakening, such as the glue deteriorating or cracks reappearing. Address any minor repairs promptly to prevent further damage. With proper care, your restored ceramic can maintain its beauty and functionality for years to come.
Conclusion
Learning how to glue ceramic back together involves following a few crucial steps to ensure a successful repair. Start by carefully preparing the pieces, removing any debris or dirt, and aligning them properly. Next, choose the right adhesive based on the type and use of the ceramic. Apply the glue with precision and allow it to cure completely before handling. Post-repair care is essential—gently handle the ceramic and inspect it regularly to maintain longevity. If the ceramic piece is particularly valuable or the damage extensive, consider seeking professional help for the best possible results.
Professional Focus
Harry Ciotti is a highly skilled kiln operator with a sharp eye for detail and an in-depth understanding of the firing process. His expertise ensures that each ceramic piece reaches its full potential, perfectly balancing strength and beauty. Harry takes pride in overseeing the final stage of pottery creation, transforming raw clay into durable and stunning works of art.
About the Author
Harry Ciotti is a dedicated kiln operator and ceramic artist who brings passion and precision to every piece he fires. With a deep commitment to craftsmanship, Harry ensures that every ceramic creation is fired to perfection, from delicate vases to robust sculptures. He not only operates the kiln, but understands the unique needs of each piece, ensuring it reaches its full artistic potential. Through his work, Harry blends precision with artistry, making every firing a story of transformation.
Education History
University: California College of the Arts
Degree: Master of Fine Arts in Ceramics
Harry’s advanced education in ceramics has refined his technical skills, particularly in kiln operation, firing processes, and ceramic artistry. His educational background equips him to produce top-quality ceramic pieces that reflect both technical excellence and artistic expression.
Expertise:
- Kiln Operation and Firing Techniques
- Ceramics Creation (Functional and Artistic)
- Precision Craftsmanship
- Glazing and Texture Techniques
- Ceramic Artistry and Storytelling