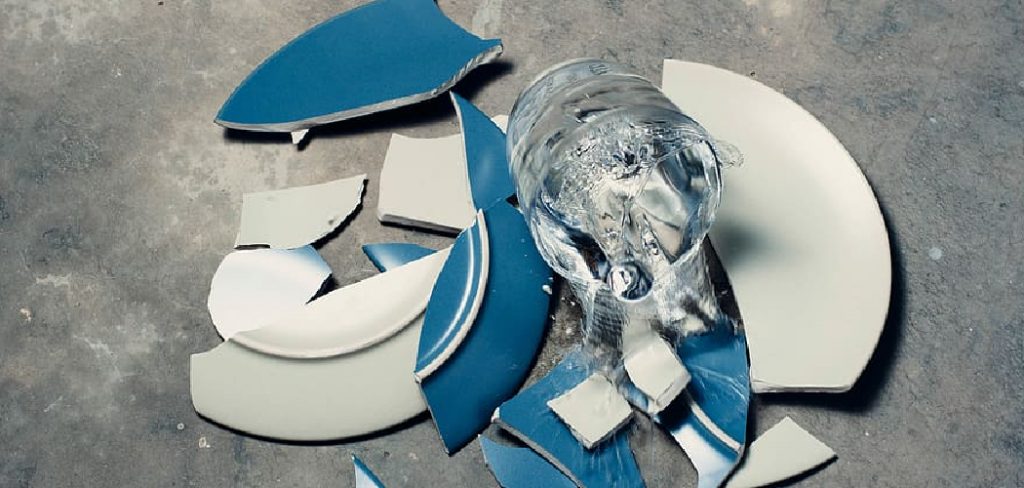
Repairing a broken ceramic mug can be a rewarding and practical alternative to simply discarding it. Not only does it allow you to preserve items with sentimental value, but it also helps reduce waste, making it an environmentally friendly choice.
Fixing a ceramic mug is often more cost-effective than purchasing a new one, and the process itself can be a satisfying hands-on experience. Whether your mug has a small chip, a crack, or is completely broken, several methods exist to restore it to usability.
This article will serve as a step-by-step guide on how to fix broken ceramic mug issues, offering practical techniques for various levels of damage. Learning these repair methods allows you to breathe new life into your favorite mug while contributing to a more sustainable lifestyle.
Assessing the Damage
Before attempting to repair a broken ceramic mug, it’s essential to evaluate the extent of the damage. This ensures that you choose the right method to restore it effectively and safely.
Identifying the Type of Damage
- Small cracks – These are hairline fractures that may not seem significant at first but can weaken the mug over time if left unaddressed. Cracks often require sealing to prevent further spreading.
- Chips – Small pieces are missing, typically from the rim or handle. While they don’t usually impact the mug’s functionality, they can affect its appearance and may need filling or smoothing.
- Full breaks – These occur when the mug is broken into two or more large pieces. While more challenging, full breaks can often be repaired with strong adhesives to restore the mug’s usability.
Determining If the Mug is Repairable
If the mug is shattered into numerous small fragments, it might be impractical or impossible to repair. On the other hand, mugs with small cracks, simple chips, or clean breaks can typically be fixed effectively with the right tools and adhesives.
Deciding Whether It’s Safe for Drinking
For mugs intended for reuse, using a food-safe adhesive during repairs is crucial to ensure they remain safe for drinking. Alternatively, decorative repairs, such as the traditional Japanese art of Kintsugi, can transform damaged mugs into beautiful display pieces rather than practical ones.
Materials and Tools Needed
For Basic Repairs
- Food-safe ceramic adhesive or epoxy – Essential for reattaching broken pieces while ensuring the mug remains safe for drinking.
- Sandpaper – Used for smoothing jagged edges or ensuring a clean surface for bonding.
- Clamps or rubber bands – These help hold the pieces firmly together while the adhesive cures.
- Toothpicks or a small brush – Perfect for applying glue with precision, especially in tight or intricate areas.
For Chips and Missing Pieces
- Ceramic filler or epoxy putty – Ideal for filling in small chips and gaps, restoring the mug’s structural integrity.
- Paint – Necessary for matching the repaired area to the mug’s original color, ensuring the repair blends seamlessly.
For Decorative Repairs (Kintsugi Method)
- Clear epoxy mixed with gold powder or metallic paint – Combines functionality and artistry by highlighting the cracks with a shimmering golden finish.
- Fine brush – Used to precisely apply the epoxy mixture to the cracks, creating a striking and polished design.
Having the right materials and tools ensures effective repairs, whether for practical or decorative purposes.
How to Fix Broken Ceramic Mug: Fixing a Cracked Ceramic Mug
Repairing a cracked ceramic mug can restore its functionality while extending its lifespan. Follow these steps to achieve a durable and effective repair.
Step 1: Cleaning the Mug
Before you begin, thoroughly wash the mug with warm soapy water to remove any dirt, oils, or debris from the surface. Rinse well and ensure the mug is completely dry, as adhesive works best on a clean and dry surface.
Step 2: Applying the Glue
Using a toothpick or a small brush, carefully apply a food-safe adhesive along the length of the crack. Make sure to fill the entire crack with glue, but avoid excess as it could seep out. Food-safe adhesives are crucial if the mug will be used for drinking.
Step 3: Clamping the Mug
Wrap rubber bands around the mug or use clamps to hold the cracked sides firmly together to ensure a tight bond. Clamping minimizes movement during curing, allowing the adhesive to set properly.
Step 4: Drying and Curing
Allow the adhesive to cure for the time recommended by the manufacturer, typically around 24 hours. Place the mug in a safe, dry area away from vibrations or sudden impacts to prevent disruptions during curing.
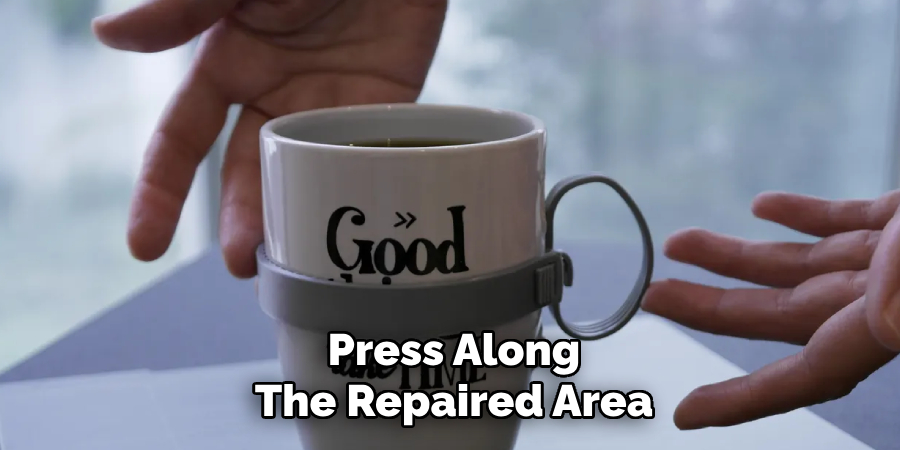
Step 5: Testing the Repair
Once cured, gently press along the repaired area to ensure the bond is solid. The mug is ready to use if the repair holds without any separation or movement. If necessary, repeat the steps for additional reinforcement.
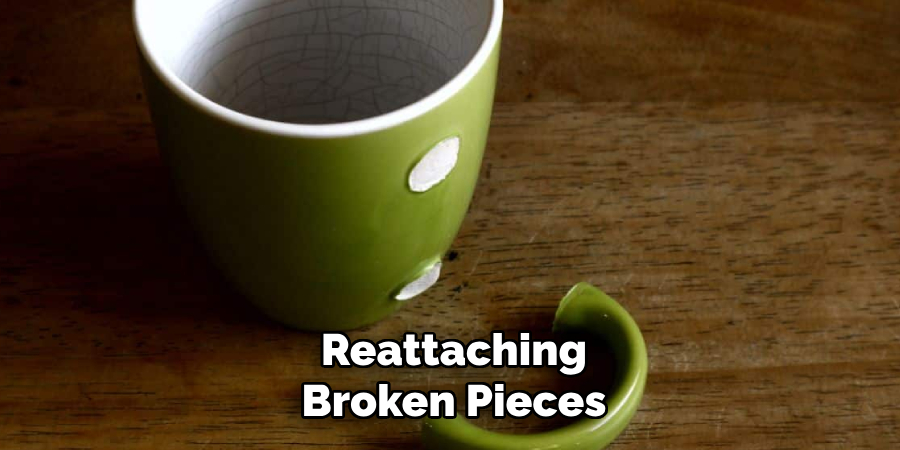
Repairing a Mug with Broken Pieces
Step 1: Arranging the Pieces
Begin by carefully laying out all the mug’s broken pieces on a flat surface. Take your time to arrange them in the correct order so the mug’s shape is fully reconstructed. This will help you identify any missing pieces and plan the repair process effectively.
Step 2: Gluing the Pieces Together
Apply a food-safe epoxy or ceramic adhesive to the broken edges of the pieces. Make sure to spread the adhesive evenly for a secure bond. Once applied, press the pieces firmly together to reassemble the mug. Be cautious to align each piece precisely to avoid misalignment as the glue sets.
Step 3: Holding Pieces in Place
After gluing, use clamps, tape, or rubber bands to hold the pieces in place. This ensures a tight bond while the adhesive dries. Be careful not to overtighten, as this could move the pieces out of alignment or damage the fragile edges further.
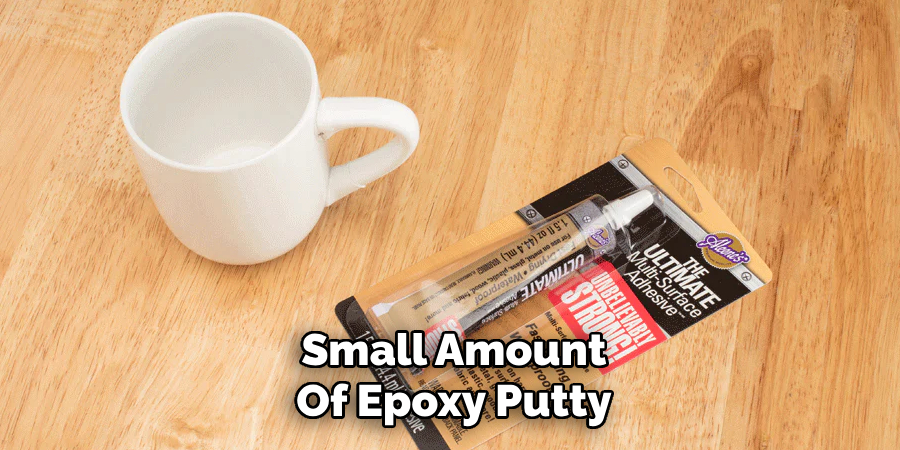
Step 4: Filling in Any Gaps
If there are any small gaps or missing fragments in the repaired mug, mix and apply a small amount of epoxy putty to fill in those areas. Smooth out the excess putty to match the mug’s surface, blending it seamlessly with the surrounding material.
Step 5: Drying and Sanding
Allow the repair to dry completely, following the adhesive manufacturer’s recommended curing time. Once dried, gently sand any excess glue or putty to achieve a smooth finish. This step ensures the mug looks and feels restored, ready for its next use.
Fixing Chipped Edges
Step 1: Cleaning and Sanding the Area
To remove any dirt or residue, begin by thoroughly cleaning the chipped edge with warm soapy water. Dry the area completely and use fine-grit sandpaper to smooth out rough edges. This preparation ensures the filler adheres securely and provides a stable base for the repair.
Step 2: Applying Epoxy Putty or Filler
Take a small amount of epoxy putty or ceramic filler and knead it according to the instructions, if necessary. Carefully shape the putty to match the missing piece of the mug, pressing it firmly into the chipped area. Work the material patiently to recreate the original contour of the mug’s edge.
Step 3: Drying and Sanding
Allow the epoxy putty or filler to harden completely, following the recommended curing time provided by the manufacturer. After it has set, use fine-grit sandpaper to carefully sand the area until it is smooth and flush with the mug’s surface. This step ensures the repair blends seamlessly with the rest of the mug.
Step 4: Painting and Sealing
Use ceramic paint to match the repaired area to the color of the mug. Apply thin layers of paint to build up the color evenly, and allow it to dry completely between coats. Finally, seal the repair with a clear, food-safe coating to protect it and ensure its durability for future use.
Decorative Repairs: The Kintsugi Method
Kintsugi, the Japanese art of repairing broken pottery with gold, transforms a damaged object into a beautiful and valued piece. This method emphasizes the history and imperfections of an item, celebrating its story rather than hiding its flaws. Follow these steps to repair your mug using the Kintsugi technique
Step 1: Preparing Gold-Infused Epoxy
Begin by mixing clear epoxy resin with gold powder or metallic gold paint. This combination will create a shimmering adhesive that highlights the cracks artistically. Ensure the mixture is well-blended and has a smooth, workable consistency.
Step 2: Applying the Mixture
Carefully use a fine brush or applicator to apply the gold-infused epoxy along the cracks or broken areas of the mug. Take your time to fill the gaps evenly, emphasizing the broken patterns with precision for a seamless yet pronounced effect.
Step 3: Drying and Polishing
Allow the epoxy to dry completely, following the recommended drying time on the epoxy instructions. Once fully cured, gently polish the repaired areas with a soft cloth or fine-grit sandpaper to achieve a smooth and glossy finish.
Step 4: Displaying the Mug
Though no longer safe for food or drink use, the repaired mug becomes a stunning decorative piece. Place it on a shelf, mantle, or display case as a symbol of resilience and the beauty of imperfections.
Caring for a Repaired Ceramic Mug
Proper care is essential to preserve the beauty and integrity of your repaired ceramic mug. Here are some important guidelines to follow:
Hand Wash Only
Always clean the mug gently by hand using warm water and mild soap. Avoid placing it in the dishwasher, as the heat and water pressure can weaken the adhesive over time.
No Microwave Use
Refrain from using the repaired mug in the microwave. The heat expansion caused by microwaving could stress the repaired areas, potentially leading to failure of the adhesive bond.
Regular Inspection
Periodically check the mug for any signs of loosening glue or new cracks. Early detection of issues allows you to address them before further damage occurs.
By following these care tips, your repaired ceramic mug can remain a beautiful and enduring decorative piece, serving as a testament to the art of restoration.
Conclusion
Understanding how to fix broken ceramic mug pieces involves selecting the right repair method for the type of damage. Glue works well for sealing simple cracks, epoxy is ideal for reattaching broken pieces, and putty effectively fills in chips. For a more artistic approach, Kintsugi provides a decorative option that enhances the mug’s appearance.
If the repaired mug will be used for drinking, always ensure the adhesives used are food-safe. With proper care, including hand washing and regular inspection, a well-repaired ceramic mug can remain a functional and cherished object for years to come.
Professional Focus
Harry Ciotti is a highly skilled kiln operator with a sharp eye for detail and an in-depth understanding of the firing process. His expertise ensures that each ceramic piece reaches its full potential, perfectly balancing strength and beauty. Harry takes pride in overseeing the final stage of pottery creation, transforming raw clay into durable and stunning works of art.
About the Author
Harry Ciotti is a dedicated kiln operator and ceramic artist who brings passion and precision to every piece he fires. With a deep commitment to craftsmanship, Harry ensures that every ceramic creation is fired to perfection, from delicate vases to robust sculptures. He not only operates the kiln, but understands the unique needs of each piece, ensuring it reaches its full artistic potential. Through his work, Harry blends precision with artistry, making every firing a story of transformation.
Education History
University: California College of the Arts
Degree: Master of Fine Arts in Ceramics
Harry’s advanced education in ceramics has refined his technical skills, particularly in kiln operation, firing processes, and ceramic artistry. His educational background equips him to produce top-quality ceramic pieces that reflect both technical excellence and artistic expression.
Expertise:
- Kiln Operation and Firing Techniques
- Ceramics Creation (Functional and Artistic)
- Precision Craftsmanship
- Glazing and Texture Techniques
- Ceramic Artistry and Storytelling