

Ceramic tiles are a popular choice for walls and floors, admired for their durability and aesthetic appeal. However, in high-traffic areas like kitchens and bathrooms, tiles are prone to damage over time, with chipping being one of the most common issues.
A chipped ceramic tile not only detracts from the overall appearance of your space but can also lead to further damage if left untreated. Fortunately, learning how to fix a chipped ceramic tile can save you the expense and effort of replacing the entire tile.
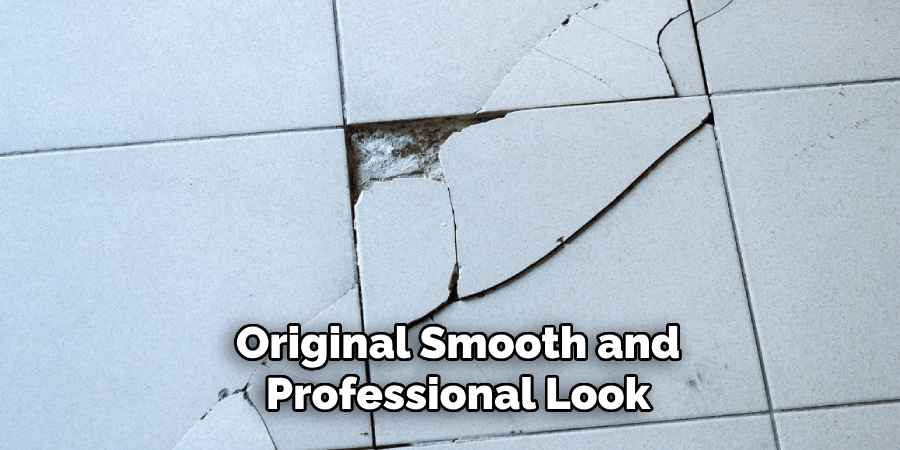
This article provides a comprehensive step-by-step guide to repairing chipped tiles, detailing the materials you’ll need, the methods to use, and the finishing touches required to restore your tile to its original smooth and professional look.
Materials and Tools Needed
Essential Materials
- Tile repair filler or epoxy resin – This is crucial for filling in the chipped area and creating a smooth surface.
- Matching ceramic tile paint or touch-up paint – To ensure the repair blends seamlessly with the original tile design.
- Clear nail polish or ceramic adhesive (optional) – For an added layer of protection and a glossy finish.
- Sandpaper (fine grit) – Used to smooth the filled surface and remove any rough edges.
- Clean cloth or sponge – Necessary for cleaning the tile before and after repairs.
- Painter’s tape (optional) – Helps keep the repair area precise and clean.
- Toothpick or spatula – Provides accuracy when applying the filler into small or intricate chips.
Tools You’ll Need
- Small brush – Ideal for painting or applying finishing touches onto the repaired section.
- Razor blade or utility knife – Useful for removing any excess material or smoothing out jagged edges.
- Rubber gloves – To protect your hands from potentially harmful substances like adhesives or paints.
Having all these materials and tools ready will ensure your repair process is smooth, efficient, and yields professional-looking results.
Preparing the Tile and Work Area
Step 1: Clean the Area
Thoroughly clean the chipped tile and the surrounding area with a mild cleaner to remove any dirt, grease, or grime. This step ensures that the repair materials adhere properly, resulting in a clean, even finish. After cleaning, dry the surface thoroughly with a soft cloth or allow it to air dry before proceeding. Moisture on the tile can interfere with the repair process.

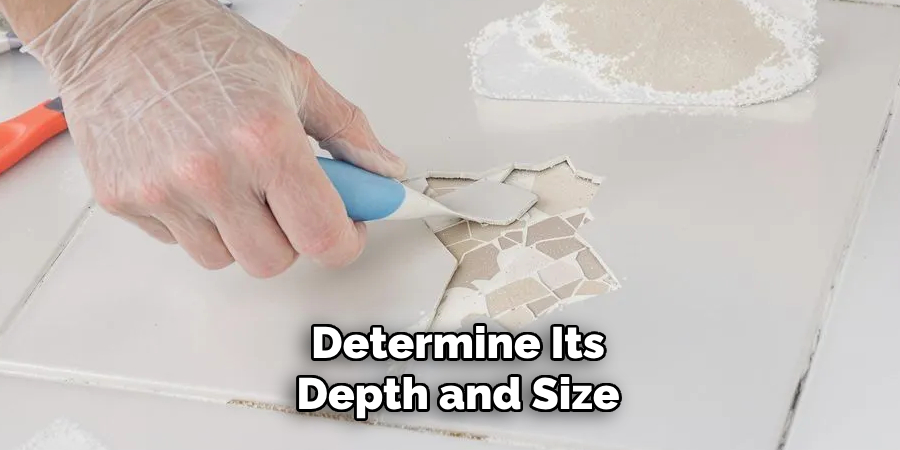
Step 2: Inspect the Damage
Carefully examine the chip to determine its depth and size. This step is crucial for choosing the right repair method. If the chip is small and shallow, a filler or repair compound may be sufficient to create a seamless patch. More preparation and materials might be required for larger or deeper chips, such as layering filler or applying tile adhesive.
Step 3: Protect the Surrounding Area
Use painter’s tape to create a protective barrier around the chip. This will shield the surrounding grout and tiles from accidental filler, adhesive, or paint overspread. Ensuring precision at this stage helps maintain the aesthetic integrity of the tiled surface and makes cleanup easier after the repair process is complete.
How to Fix a Chipped Ceramic Tile: Applying the Tile Repair Filler
Step 1: Prepare the Filler
If you use a two-part epoxy resin, mix it thoroughly according to the manufacturer’s instructions. This involves combining the resin and hardener until the mixture reaches a uniform consistency.
For pre-mixed fillers, check the consistency before use; it should not be too runny, as this could make application difficult and result in an uneven repair. Proper filler preparation ensures a durable and seamless finish on the tile.
Step 2: Fill the Chip
Once the filler is ready, use a precise tool, such as a toothpick, spatula, or even the edge of a craft stick, to carefully apply the filler into the chipped area. Begin by pressing the filler firmly into the damaged spot to ensure there is no empty space beneath the surface.
Slightly overfill the chip to fully cover the area and create a surplus that can later be smoothed out. This step is crucial to achieving a repair that blends seamlessly with the rest of the tile.
Step 3: Smooth the Surface
After applying the filler, take a utility knife, razor blade, or similar smoothing tool to gently level the filler’s surface. Work slowly and carefully, ensuring that the filler aligns evenly with the surrounding tile surface. Avoid pressing too hard, as this may remove too much filler or create gaps.
Once smoothed, allow the filler to cure completely, following the drying time specified in the product’s instructions. Proper curing is essential for long-lasting results and a professional-grade finish.
Sanding and Smoothing the Filler
Step 1: Sanding the Filler
Once the filler is dry, use fine-grit sandpaper to gently sand the area until the filler is smooth and flush with the tile’s surface. Work with light pressure, focusing only on the filler to avoid scratching or damaging the surrounding tile. Smooth sanding evens out the surface and creates the foundation for a professional-looking repair.
Step 2: Polishing the Tile
After sanding, use a clean, soft cloth to remove any dust or debris left behind carefully. This step ensures a pristine surface and prepares the area for further polishing. To achieve an extra smooth and polished finish, gently buff the repaired area with a soft cloth or a polishing pad. This will help restore some sheen to the area and blend it seamlessly with the surrounding tiles.
Step 3: Check for Imperfections
Examine the repaired area closely under good lighting. If there are any visible imperfections or slight gaps, apply a thin layer of filler to those areas. Allow the filler to dry completely, then use the same fine-grit sandpaper again. Repeat this process until the repaired area is flawless and indistinguishable from the rest of the surface.
Painting the Repaired Area
Step 1: Match the Paint to the Tile
Use a ceramic tile touch-up paint that closely matches the color of the tile. This is crucial for ensuring the repaired area looks seamless and blends naturally with the surrounding tiles. If you cannot find a perfect match, you can mix different paint shades to achieve the correct color. Take your time during this step to ensure accuracy, as a mismatched paint color will make the repair more noticeable.
Step 2: Apply the Paint
Using a small, fine-tipped brush, carefully apply the paint to the repaired area. Use a light hand and apply a thin, even layer of paint. Avoid overloading the brush, as this can result in drips or uneven coverage. Allow this first layer of paint to dry completely before proceeding; drying times may vary depending on the paint used, so refer to the manufacturer’s instructions.
Once the initial layer is dry, apply a second coat, following the same method. This will help achieve better opacity and coverage over the filler material.
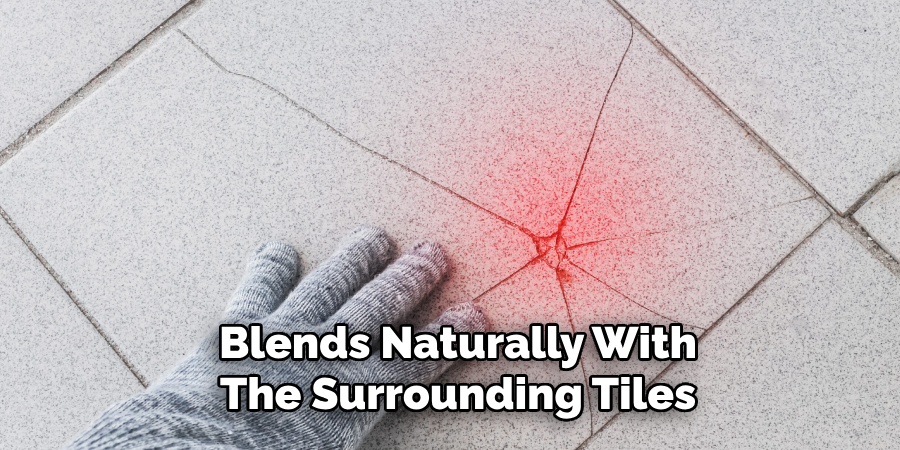
Step 3: Blending the Paint
Use feathering to ensure the painted area blends seamlessly with the surrounding tile. This involves lightly brushing the edges of the painted area so they gradually blend into the original tile color. Work with small strokes and a light touch to avoid harsh lines.
Repeat this process as needed, applying additional coats and feathering the edges each time, until the repaired area matches the original tile’s finish. Allow the paint to dry thoroughly between coats, ensuring a durable and professional-looking result.
Sealing and Finishing Touches
Step 1: Applying Clear Sealer (Optional)
Consider applying a clear tile sealer to protect the repaired area and provide a polished, shiny finish. This step is optional but highly recommended for enhanced durability and appearance. Using a clean, soft brush, gently apply a thin and even layer of sealer over the repaired tile section. Be careful not to overapply or allow the sealer to pool, as this can lead to uneven drying or an inconsistent finish.
Step 2: Allow to Dry
Once the sealer has been applied, allow it to dry thoroughly. Depending on the product instructions, this may take several hours or longer. Ensure that the area remains undisturbed during the drying process. It’s important to verify that the repair is fully cured and hardened before placing any weight on or using the tiled surface.
Step 3: Touching Up the Grout
Finally, inspect the surrounding grout. Clean or touch it up if necessary to ensure it remains pristine and complements the repaired tile. Use a grout cleaner or reapply matching grout as needed to restore the original look of the tiled area. This attention to detail will provide a flawless and professional-quality finish to your repair.
Troubleshooting Common Issues
Uneven Surface After Filling
If the filler isn’t level with the surrounding tile, you may need to sand it down further. Use fine-grit sandpaper to smooth the area evenly, avoiding damaging the tile edges. If leveling the surface reveals gaps or imperfections, apply another thin layer of filler to address the issue, then sand again once it dries.
Paint Doesn’t Match
Sometimes, the paint may not blend seamlessly with the existing tile. To resolve this, experiment by mixing small amounts of different paint colors to create a more accurate match. Test the mixture on a hidden area before applying it to the repair. This process might take a few attempts but will ensure a more uniform appearance.
Repair Doesn’t Hold
If the filler starts peeling or detaching over time, it may indicate weak adhesion. Reapply the filler, ensuring the surface is clean and properly prepared. If issues persist, consider using a stronger adhesive or repair compound designed for durable bonding on tile surfaces.
Conclusion
Repairing a chipped ceramic tile can be straightforward with the right steps and materials. Begin by thoroughly cleaning the affected area to ensure proper adhesion, then apply filler to the chip and sand it down until smooth and level.
Paint the repaired spot carefully, blending the color to match the surrounding tile, and finish by inspecting the repair to ensure durability. By following these steps on how to fix a chipped ceramic tile, you can restore its appearance and protect it from further damage. Replacing the tile might be a better option for larger chips or deep cracks.
Professional Focus
Toby Rede, a professional potter, combines artistic expression with functionality in his ceramic creations. His work blends natural textures, modern forms, and sustainable materials, making him a standout voice in the pottery world focused on intentional craftsmanship.
About the Author
Toby Rede, a dedicated potter and blogger, shares his insights on functional and artistic ceramics, drawing inspiration from sustainable gardening and nature. Based in his studio, he blends craftsmanship with everyday life, encouraging others to incorporate handmade pottery into their homes for both beauty and utility.
Education History
University: Alfred University
Degree: Associate Degree in Ceramic Technology
Toby’s education laid the foundation for his technical expertise, equipping him with the skills necessary to create pottery that merges functionality and aesthetic appeal.
Expertise:
- Pottery Creation
- Ceramic Techniques (Texture, Glazing, Sustainable Materials)
- Functional Art and Design
- Craftsmanship Philosophy
- Blogging on Handmade Pottery and Everyday Life