

Firing pottery with wood is one of the oldest methods of finishing clay creations, dating back thousands of years. This traditional technique involves using a wood-fired kiln to reach the high temperatures needed to transform raw clay into durable, functional, and often artistic pieces.
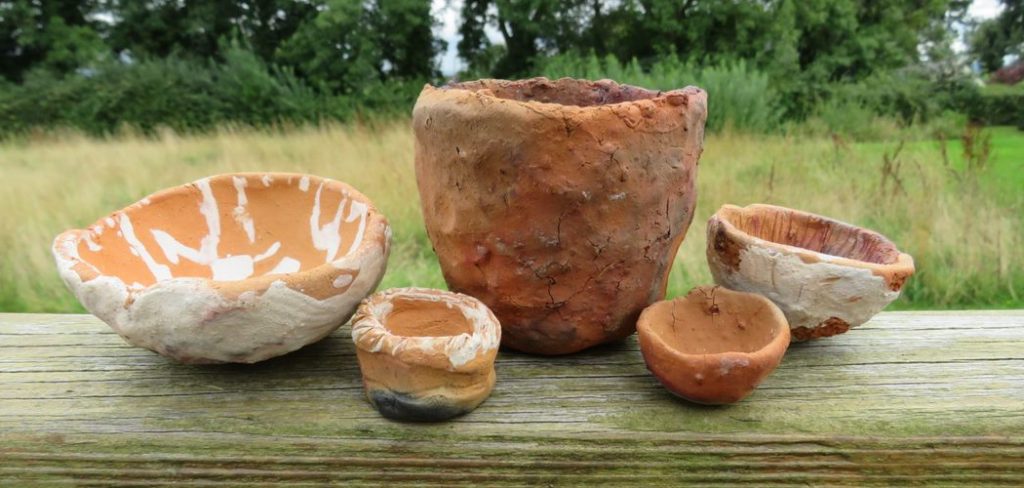
While modern methods like electric and gas kilns are more common today, wood firing remains a popular choice among potters who value its unique aesthetic and the intricate textures and color variations it imparts to the finished pottery. The process requires careful planning, patience, and a deep understanding of both the materials and the firing technique to achieve the desired results.
In this article on how to fire pottery with wood, we will explore the steps and considerations involved in this traditional method.
Needed Materials
Before beginning the wood firing process, you will need to gather a few materials. These include:
Pottery Pieces
This can range from small vessels to large sculptures, but keep in mind that each piece should be able to withstand high temperatures. Porcelain and stoneware are commonly used for wood firing.
Wood
The type of wood you use can affect the final results of your pottery. Softwoods, such as pine or fir, burn faster and create more ash, while hardwoods like oak or maple burn slower and produce less ash.
Fuel
In addition to wood, you will need other types of fuel to keep the fire going. This can include sawdust, newspaper, or even dried leaves.
Fire Boxes
These are used to hold the wood and fuel in place during the firing process. These can be purchased or made from refractory bricks.
Firing Chamber
This is where the actual firing takes place. It is important to have proper ventilation and a chimney to release the smoke and gases produced during firing.
Ventilation
Proper ventilation is crucial in pottery firing, as it allows for oxygen to circulate and fuel the fire. This helps maintain consistent temperatures throughout the kiln.
Glazes
Once your pottery pieces have been formed and dried, they can be glazed before being fired. Glazing can add color, texture, and durability to your final product. There are various types of glazes available depending on the desired outcome.
Firing Process
The firing process typically consists of three stages: preheating, bisque firing, and glaze firing. Preheating gradually heats up the kiln to remove any remaining moisture from the clay. Bisque firing, also known as biscuit firing, is the first firing at a lower temperature to harden the clay and prepare it for glazing. Glaze firing is done at a higher temperature to melt and fuse the glazes onto the pottery.
Safety Precautions
Working with a kiln can be dangerous if proper safety precautions are not taken. Here are some important tips to keep in mind when using a kiln:
- Always wear protective gear such as heat-resistant gloves, goggles, and an apron.
- Keep flammable materials away from the kiln and ventilation openings.
- Never touch or open the kiln door while it is hot or in use.
- Use caution when handling and loading/unloading pottery from the kiln to avoid burns.
- Follow the manufacturer’s instructions for proper usage and maintenance of the kiln.
- Have a fire extinguisher nearby and know how to use it in case of emergency.
- Never leave the kiln unattended during firing.
6 Simple Steps on How to Fire Pottery With Wood
Step 1: Prepare Your Pottery for Firing
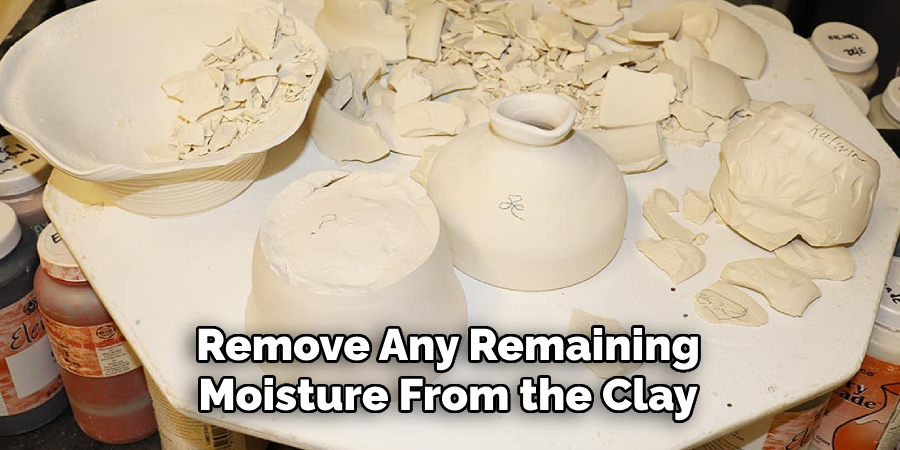
Before firing your pottery in a wood kiln, there are a few steps you need to take to ensure the best results. First, make sure your pottery is completely dry and free of any moisture.
Any remaining moisture can cause your pottery to crack or explode during firing. You can test this by holding a piece of paper against the pottery – if it sticks, there is still moisture present.
Step 2: Build Your Fire
To begin the firing process, start by carefully building your fire in the wood kiln. Begin with small, dry pieces of kindling to establish a steady flame. Gradually add larger pieces of wood to create a robust and consistent fire. It’s important to stack the wood in a way that promotes airflow and allows the fire to burn evenly.
Use hardwoods such as oak or ash for their slow-burning properties, which help maintain a stable temperature throughout the firing process. Monitor the fire closely to ensure it remains strong and consistent, avoiding any sudden flare-ups or drops in heat.
Step 3: Load Your Kiln
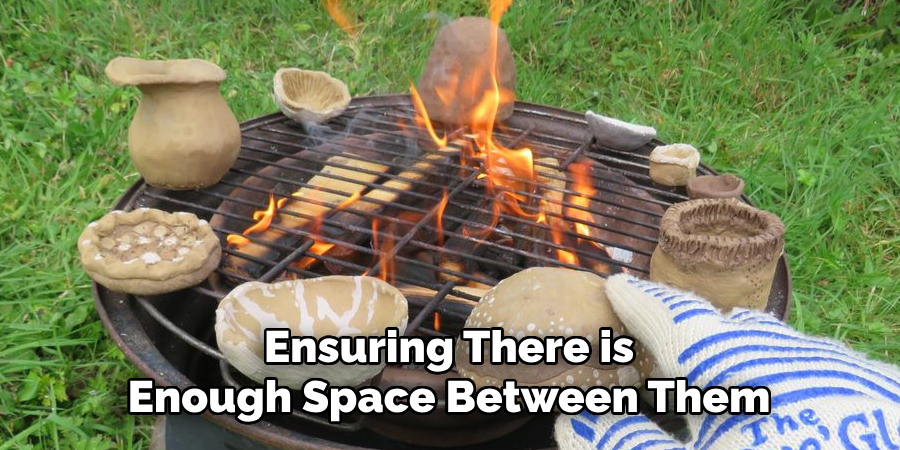
Once the fire has reached a steady and sufficient temperature, it’s time to load your kiln. Carefully arrange your items in the kiln, ensuring there is enough space between them to allow for proper air circulation and even heating. Fragile items should be placed strategically to minimize direct exposure to intense flames or sudden temperature changes.
Use kiln shelves or props as necessary to support your pieces and maximize the available space. Take care not to overload the kiln, as overcrowding can lead to uneven firing or damage to the items. Always wear proper protective gear when working near the hot kiln to ensure your safety.
Step 4: Firing Process
The firing process can take anywhere from a few hours to several days depending on the type of kiln and the desired outcome. You will need to monitor the temperature carefully during this time, making adjustments as needed.
It’s important not to rush the firing process as this can result in uneven heating and potential damage to your pottery.
Step 5: Cooling Down
After the firing is complete, it’s important to allow your kiln and pottery to cool down gradually. This process is called “annealing” and helps to prevent cracking or breaking due to thermal shock.
It’s best to let the kiln cool down on its own, but if you need to speed up the process for any reason, make sure to do it slowly and carefully.
Step 6: Unloading the Kiln
Once the kiln has cooled down, it’s time to carefully remove your pottery from the kiln. Use protective gear such as gloves and tongs, as everything will still be very hot. Place your pieces on a heat-resistant surface and allow them to cool completely before handling them further.
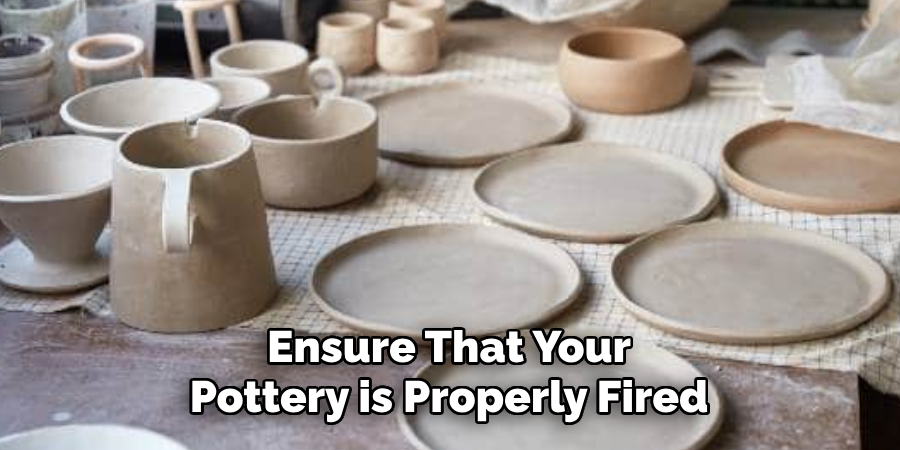
Following these steps on how to fire pottery with wood will help ensure that your pottery is properly fired and ready to use or display. Remember to always follow safety precautions when working with a kiln, and don’t be afraid to seek advice from experienced potters if you have any questions. Happy firing!
Additional Tips and Tricks
- Before loading your kiln, it’s a good idea to sketch out how you want to arrange your pieces. This will help you visualize the final outcome and make sure you have enough space for all of your pieces.
- Experiment with different types of wood to achieve unique colors and effects on your pottery. Some potters use wood shavings or sawdust from specific types of trees, while others mix different woods together for a more layered effect.
- If you notice any cracks or imperfections in your pottery after firing, don’t worry! You can always apply glaze or decorative techniques to cover them up.
- Always keep a close eye on the temperature and time when firing with wood. It’s important to stick to the recommended guidelines for your specific type of clay and kiln to avoid over or under-firing your pieces.
- Don’t be afraid to experiment with different types of wood or firing techniques. Each one can create unique effects and it’s all part of the fun and creativity of wood firing.
- After your pottery is fired, make sure to carefully clean out any remaining ash or debris from the kiln before using it again.
Frequently Asked Questions
Q1: Can I Fire Any Type of Clay in a Wood Kiln?
Yes, you can use various types of clay in a wood kiln. Just make sure to stick to the recommended guidelines for your specific type of clay to achieve the best results.
Q2: How Long Does It Take to Fire Pottery in a Wood Kiln?
The firing process can vary depending on the size and type of kiln, as well as the desired outcome. Generally, it can take anywhere from 8 to 36 hours for the firing process to complete.
Q3: How Often Do I Need to Maintain the Kiln During Firing?
Regular monitoring and small adjustments, such as adding more wood or adjusting the dampers, are recommended every 15-30 minutes during the firing process. More attention may be needed during critical stages of the firing, such as when reaching peak temperatures.
Q4: Can I Fire Glazed Pottery in a Wood Kiln?
Yes, you can fire glazed pottery in a wood kiln. However, it is important to note that certain glazes may react differently in a wood-fired environment compared to an electric or gas kiln. It is always recommended to test your glazes in a wood-fired kiln before fully committing to a larger firing. Also, be aware that wood firing can create unique effects on the glaze, such as ash deposits or flashing from the flame and ash. These effects can add character and depth to your glazed pottery, but may also require extra attention during the firing process.
Conclusion
In conclusion, wood firing is a timeless and intricate process that requires careful preparation and attention to detail. While it demands more effort compared to other firing methods, the unique textures, colors, and effects it imparts to pottery make it a highly rewarding practice.
By experimenting with glazes and understanding how the kiln environment interacts with your work, you can unlock endless creative possibilities. Wood firing not only connects artists to an ancient tradition but also allows for truly one-of-a-kind results that reflect the synergy between craftsmanship and nature. Thanks for reading this article on how to fire pottery with wood.
Professional Focus
Toby Rede, a professional potter, combines artistic expression with functionality in his ceramic creations. His work blends natural textures, modern forms, and sustainable materials, making him a standout voice in the pottery world focused on intentional craftsmanship.
About the Author
Toby Rede, a dedicated potter and blogger, shares his insights on functional and artistic ceramics, drawing inspiration from sustainable gardening and nature. Based in his studio, he blends craftsmanship with everyday life, encouraging others to incorporate handmade pottery into their homes for both beauty and utility.
Education History
University: Alfred University
Degree: Associate Degree in Ceramic Technology
Toby’s education laid the foundation for his technical expertise, equipping him with the skills necessary to create pottery that merges functionality and aesthetic appeal.
Expertise:
- Pottery Creation
- Ceramic Techniques (Texture, Glazing, Sustainable Materials)
- Functional Art and Design
- Craftsmanship Philosophy
- Blogging on Handmade Pottery and Everyday Life