Proper drying is crucial in ceramic projects, ensuring that the final product maintains its shape and integrity. Clay dries unevenly or too quickly, which can lead to issues like cracking or warping, which can ruin the project. Traditionally, kilns or ovens facilitate a controlled drying process, providing the necessary heat to harden the clay evenly. However, not everyone has access to such equipment, which presents the challenge of how to dry ceramic clay without an oven.

Without proper alternatives, artists and hobbyists risk damaging their clay creations. This article aims to provide effective and safe methods to dry ceramic clay at home without relying on specialized equipment, ensuring your projects remain intact and beautiful. Whether you’re a seasoned potter or a beginner, these techniques will help preserve your hard work and creativity.
Understanding the Drying Process of Clay
The Science of Clay Drying
Clay begins to harden as it loses moisture through evaporation. This process gradually reduces the clay’s plasticity, ultimately transforming it into a solid form. Initially, water is removed from between the clay particles, making the clay leather-hard.
As drying progresses, water molecules bound within the clay structure evaporate, culminating in the clay becoming bone-dry. Slow and even drying is critical because rapid moisture loss can cause stress within the clay, resulting in cracking and warping. To mitigate these risks, it is essential to control the drying environment, ensuring that humidity levels and air circulation promote an even drying process.
Types of Clay and Their Drying Needs
Different types of clay require specific approaches to drying. Air-dry clay, for instance, does not require firing and dries naturally at ambient temperatures, though it benefits from a gradual drying process in a well-ventilated area. Polymer clay, used for crafting, requires heat setting in a standard oven rather than air drying.
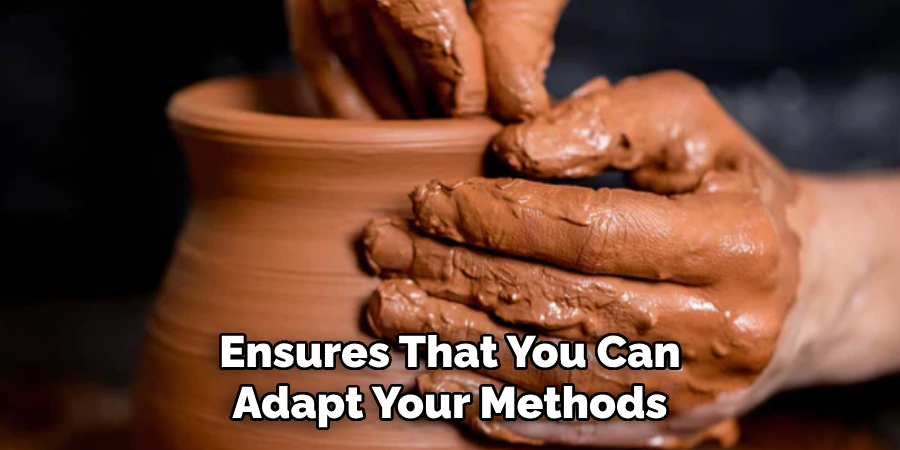
Earthenware clay needs careful attention, as it is more prone to drying-related issues like cracking. Understanding your clay—its composition, water content, and drying requirements—ensures that you can adapt your methods to suit its needs, leading to successful, durable ceramic creations.
How to Dry Ceramic Clay Without An Oven: Room Temperature Drying
Drying in Open Air
Drying ceramic clay at room temperature is a straightforward and accessible method available to anyone at home. To begin, place the clay pieces in a dry, well-ventilated area where they can be exposed to steady airflow. Avoiding direct sunlight and heat sources is essential, as these can cause the clay to dry unevenly and lead to warping or cracking.
Additionally, keep clay away from areas with high humidity, which can slow the drying process and increase the chances of mold formation. Employing a wire rack or a similar surface that allows air circulation underneath the clay can further help ensure even drying. Patience is necessary when using room temperature drying, as this method may take days to weeks, depending on the size of the clay pieces.
Benefits and Drawbacks of Room Temperature Drying
Room temperature drying offers several advantages that make it appealing, especially for home-based artists. The primary benefit is its simplicity, requiring no special equipment or external heat sources, which makes it a cost-effective option. It also allows for a more leisurely approach to ceramic projects.
However, this method also presents some challenges. One of the main drawbacks is the slower drying time, which can be inconvenient for those looking to complete projects quickly. Additionally, without careful monitoring, there is a risk of the clay cracking if it loses moisture unevenly. Despite these challenges, room temperature drying remains a valuable technique for those willing to invest the time to achieve even and consistent results.
How to Dry Ceramic Clay Without An Oven: Drying with a Fan
Using a Fan for Controlled Airflow
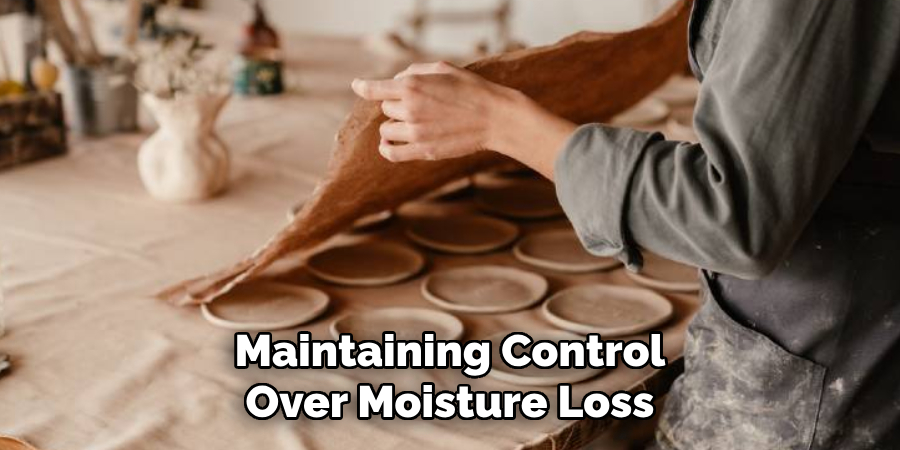
Utilizing a fan to dry ceramic clay effectively accelerates the drying process while maintaining control over moisture loss. By circulating air around the clay, a fan helps speed up evaporation without applying direct heat, thus reducing the risk of warping or cracking. When using a fan, it’s crucial to position it at an appropriate distance—generally a few feet away from the clay piece—to ensure that the airflow gently reaches the surface without being too forceful.
Adjust the fan to a low or medium setting to circulate air evenly, and regularly check the clay to ensure that it is not drying too quickly. This technique balances speed with caution, making it a favored option for artists seeking quicker results without sacrificing quality.
Benefits and Risks of Using a Fan
Using a fan for drying offers several advantages, including faster drying times than natural air drying at room temperature. The consistent airflow provided by a fan helps prevent uneven moisture loss, reducing the likelihood of cracks or deformation. However, exercising caution is essential, as improper use can lead to potential drawbacks.
If a fan is positioned too close or set at high speed, the clay may dry out too quickly, leading to stress and potential surface cracks. Moreover, varying airflow intensity might cause certain areas to dry unevenly. By carefully managing fan placement and speed, artists can enjoy the benefits of expedited drying while minimizing associated risks.
Drying in a Plastic Bag
How to Use a Plastic Bag for Controlled Drying
Using a plastic bag to dry ceramic clay allows for a controlled, humid environment that promotes even moisture distribution. Start by placing your clay piece on a non-stick surface, such as a piece of parchment paper or a plastic sheet. Then, loosely cover the clay with a plastic bag, ensuring there is some airflow but that the clay remains partially enclosed.
This setup maintains a slight humidity level around the clay, significantly slowing the drying process and reducing the risk of cracks caused by rapid moisture loss. For best results, check the clay periodically to ensure that it is not drying too quickly or developing condensation.
When to Remove the Bag
As the clay gradually begins to firm up, it is crucial to know when to remove the plastic bag to transition into the final drying stage. Gently press the surface of the clay with your fingers; it should feel leather-hard but retain some slight give, indicating remaining moisture content.
At this point, you can partially open the bag or remove it entirely, allowing the clay to continue drying at a controlled pace. Monitor the clay closely during this phase to ensure it does not warp or crack as it reaches full dryness. This careful balance ensures the integrity and durability of your ceramic creation.
Drying in a Low-Humidity Environment
The Role of Humidity in Drying
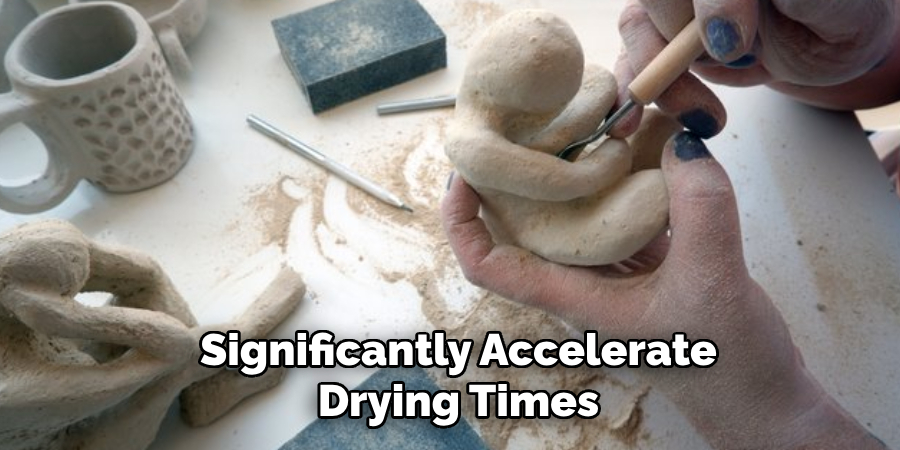
Humidity plays a crucial role in the drying process of ceramic clay. Lower humidity environments can significantly accelerate drying times by efficiently drawing moisture out of the clay, preventing it from lingering and potentially causing issues such as warping or mold. For ceramic artists, utilizing low-humidity spaces can enhance the quality and speed of their work, ensuring that the moisture in the clay evaporates evenly and steadily without leaving pockets of dampness.
Creating a Low-Humidity Space
To achieve optimal drying conditions, artists can take advantage of low-humidity environments by using dehumidifiers to reduce moisture in the air or by selecting naturally dry, air-conditioned spaces. Dehumidifiers can effectively maintain consistent humidity levels, allowing for controlled and uniform drying.
Additionally, finding an area in the home or studio that is naturally dry and well-ventilated, such as a basement with appropriate climate control, can provide an excellent environment for drying clay without additional equipment.
Monitoring Clay Moisture
Regularly checking the clay’s moisture level is essential to ensure it dries evenly and not too rapidly, which can lead to cracks. Gently touch the surface of the clay; it should progress from a soft to leather-hard consistency gradually.
It’s critical to watch for signs of cracking or uneven drying, which could indicate that the environment is too dry or the clay is drying too quickly. If such issues arise, consider adding a slight humidity level or slowing down the airflow around the clay to ensure a balanced drying process.
Slow Drying Methods for Large or Thick Pieces
Drying Large Pieces
Drying larger clay pieces slowly is crucial to prevent cracking due to uneven moisture loss. One effective technique is to rotate the pieces periodically, allowing all sides to dry evenly and preventing stress on specific areas. Additionally, loosely covering the pieces with fabric can help regulate moisture loss by creating a gentle barrier against air currents. It’s essential to focus on drying the thicker sections of clay first, as these areas are more susceptible to moisture imbalance, which can lead to uneven drying and cracking.
Drying Thick Clay Projects
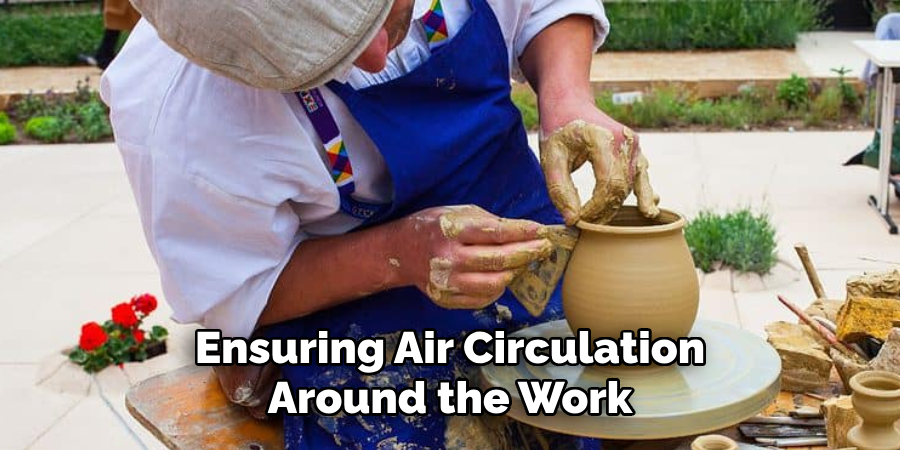
Proper drying involves ensuring air circulation around the work for large or thick pieces of clay. This can be achieved by propping the pieces up on a surface using small supports or stands, allowing air to flow freely underneath and around the clay. Monitoring moisture levels at multiple points within thicker sections is vital to facilitate uniform drying. Gentle handling and frequent checks help mitigate the risk of cracks and uneven drying, ensuring the piece’s structural integrity throughout the drying process.
Troubleshooting Drying Issues
Common Drying Problems
Common drying problems in ceramic clay include cracks, warping, and uneven drying. Cracks often occur when the clay dries too rapidly or unevenly, stressing specific areas. Warping can result from inconsistent moisture levels, causing clay parts to bend or twist as they dry. Uneven drying typically stems from variations in airflow or humidity, leading to some sections of the clay drying faster than others. To prevent these issues, it is crucial to maintain consistent drying conditions by regulating humidity levels, ensuring even airflow, and regularly monitoring the clay’s moisture content.
Solutions and Adjustments
Re-moisturizing the affected area is a practical solution to address cracks in ceramic clay. This can be done by gently applying a damp cloth to the crack and carefully working the clay back together. Warping can be fixed by lightly rehydrating the warped sections and slowly applying even pressure to reshape them. To ensure even drying, consider rotating the clay pieces periodically, adding moisture to overly dry spots, or slowing down the drying process by covering the pieces with fabric. By taking these corrective actions, artists can preserve the integrity and appearance of their ceramic creations.
Conclusion
Understanding how to dry ceramic clay without an oven involves a careful balance of patience and diligent monitoring. Best practices include using low-humidity environments, checking moisture levels regularly, and employing slow-drying methods for larger pieces.
Artists can enhance the drying process and improve their outcomes by experimenting with different techniques tailored to project size and clay type. Remember that drying is just one aspect of the broader ceramic journey; proper attention to detail throughout will ensure your creations are both durable and beautiful. Embrace the process, and don’t hesitate to try new methods.
Professional Focus
Harry Ciotti is a highly skilled kiln operator with a sharp eye for detail and an in-depth understanding of the firing process. His expertise ensures that each ceramic piece reaches its full potential, perfectly balancing strength and beauty. Harry takes pride in overseeing the final stage of pottery creation, transforming raw clay into durable and stunning works of art.
About the Author
Harry Ciotti is a dedicated kiln operator and ceramic artist who brings passion and precision to every piece he fires. With a deep commitment to craftsmanship, Harry ensures that every ceramic creation is fired to perfection, from delicate vases to robust sculptures. He not only operates the kiln, but understands the unique needs of each piece, ensuring it reaches its full artistic potential. Through his work, Harry blends precision with artistry, making every firing a story of transformation.
Education History
University: California College of the Arts
Degree: Master of Fine Arts in Ceramics
Harry’s advanced education in ceramics has refined his technical skills, particularly in kiln operation, firing processes, and ceramic artistry. His educational background equips him to produce top-quality ceramic pieces that reflect both technical excellence and artistic expression.
Expertise:
- Kiln Operation and Firing Techniques
- Ceramics Creation (Functional and Artistic)
- Precision Craftsmanship
- Glazing and Texture Techniques
- Ceramic Artistry and Storytelling