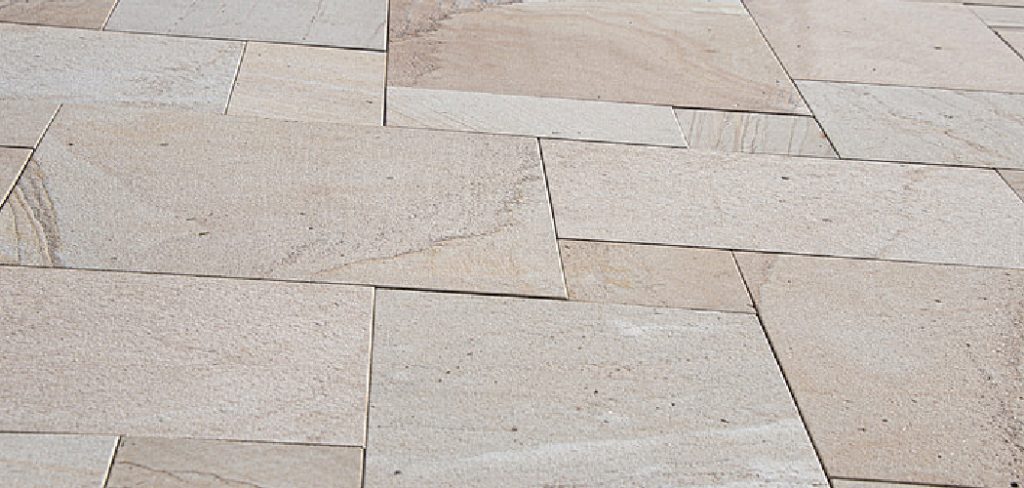
Are you looking to add beautiful porcelain pavers to your outdoor space but unsure of how to cut them? Look no further, as we have compiled a guide on how to cut porcelain pavers like a pro.
When undertaking a landscaping or renovation project, cutting porcelain pavers to fit a designated space is often necessary. Unlike other materials, porcelain is incredibly dense and hard, requiring specific techniques and tools to make clean, precise cuts without chipping or cracking.
Understanding the proper approach to cutting porcelain pavers ensures a seamless installation and maintains the aesthetic integrity and durability of your design.
In this guide, we’ll explore the essential tools and step-by-step methods for effectively cutting porcelain pavers, helping you achieve professional results on your next project.
What Will You Need?
Before diving into the cutting process, you must gather a few essential tools. These include:
- A Wet Tile Saw: This is the most efficient tool for cutting porcelain pavers and is available for rent at most home improvement stores.
- Porcelain Diamond Blade: Diamond blades are specifically designed to cut through dense materials like porcelain without damaging the surface. Make sure to use one that is appropriate for your tile saw.
- Safety Gear: Eye protection, earplugs, and gloves are essential when handling power tools and working with stone or tile materials.
- Measuring Tools: A tape measure, straight-edge ruler, and marker will help you accurately mark where to make your cuts on the pavers.
- Water: Wet cutting is essential when working with porcelain to prevent heat from building up and damaging the material.
10 Easy Steps on How to Cut Porcelain Pavers
Step 1. Prepare Your Workspace:
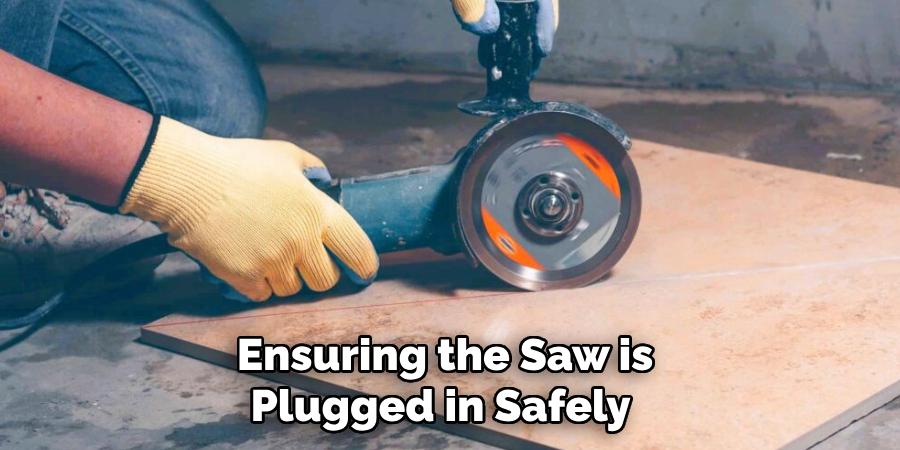
Ensure your workspace is clear of debris and positioned on a stable surface. This minimizes the risk of accidents and allows you to work more efficiently. Set up the wet tile saw in an area where it’s easy to access water, as damp cutting is crucial to keeping the blade and porcelain cool.
Before starting, double-check that you have all the necessary safety gear and tools within reach. Proper workspace preparation involves securing your paver, ensuring the saw is plugged in safely, and having adequate lighting to see your work. Safety should always be your top priority, so take the time to organize everything methodically before you begin cutting.
Step 2. Measure and Mark the Pavers:
Use your measuring tools to accurately determine where you need to make your cuts on the porcelain pavers. Place the paver on your work surface, and carefully mark the dimensions you need with the tape measure and straight-edge ruler. Make sure to double-check your measurements to avoid any mistakes. Once you’re confident in the measurements, use the marker to outline the cutting lines on the paver clearly. This step is crucial for ensuring that your cuts are precise and fit perfectly within your design layout.
Step 3. Secure the Paver:
After marking the cutting lines, it’s essential to securely position the paver on the cutting surface of the wet tile saw. Ensure the paver is stable and won’t move during the cutting process. You can use clamps or a non-slip mat to hold the paver in place. This will not only provide stability but also improve the accuracy of your cuts. Double-check that the paver is aligned with the saw’s guide before proceeding. Taking the time to secure your paver appropriately prevents mistakes and ensures a clean cut.
Step 4. Adjust the Saw Settings:
Before you start cutting, it’s essential to adjust the settings on your wet tile saw to suit the thickness and type of your porcelain paver. Check the manufacturer’s instructions for ideal speed and blade height guidance. Typically, the saw blade should be positioned just above the paver’s surface to ensure a clean cut without exerting too much pressure.
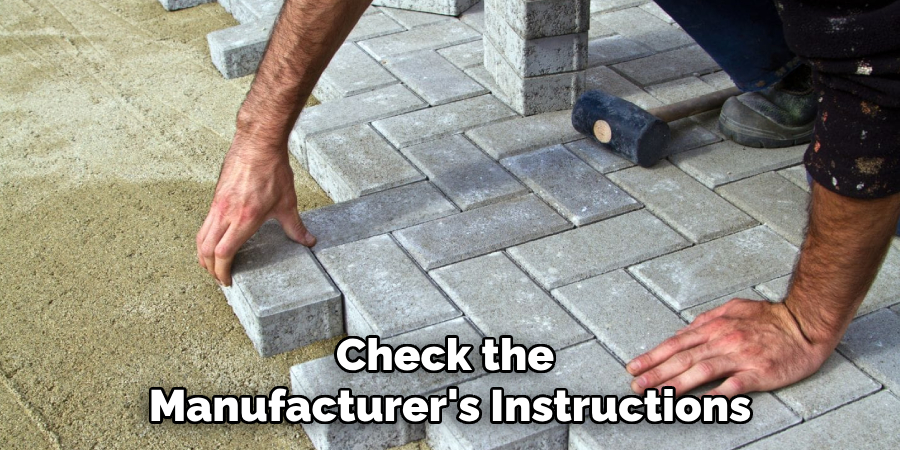
Adjust the water flow as well, ensuring it is sufficient to keep the blade and paver cool during the cutting process. Properly configuring your saw will help prevent chipping and extend the lifespan of your diamond blade.
Step 5. Begin Cutting:
With everything in place, you can start cutting the porcelain paver. Turn on the wet tile saw and carefully guide the paver towards the blade, following the marked lines. It is essential to maintain a steady and consistent pace, allowing the saw to do the work without forcing the paver through too quickly.
This will help you achieve a smooth and even cut. Keep a firm grip on the paver while guiding it, but remain cautious not to apply uneven pressure that could dull the blade or cause chipping. Throughout the cutting process, ensure the water supply consistently cools the blade to prevent overheating. Proceed with patience and precision to achieve professional results.
Step 6. Check the Cut Edge:
After completing the cut, carefully inspect the paver’s edge to ensure it is clean and free from chips or cracks. If there are minor imperfections, you can use a diamond hand pad or a rubbing stone to smooth the edges carefully. This step ensures that the paver will fit neatly within your design layout and maintain the professional appearance of your project.
Be sure to handle the freshly cut paver gently, as the edges can be sharp. Once you are satisfied with the quality of the cut, proceed to clean off any dust or debris from the paver and your workspace to keep everything organized and safe for continued work.
Step 7. Dry Fit the Paver:
Before permanently installing the cut paver, performing a dry fit is essential. Place the paver in its intended position within your layout to ensure it fits appropriately with the adjacent tiles or surfaces. This step allows you to verify the accuracy of your measurements and cuts, making adjustments as necessary. Dry fitting also will enable you to visualize the overall appearance of your project and make any final modifications before securing the tiles.

Step 8. Make Necessary Adjustments:
If the dry fit reveals any discrepancies in the fit or alignment of the paver, make the necessary adjustments before proceeding with the installation. Carefully remove the paver and re-measure the area to identify any issues with your initial cuts. Repeat the measuring and cutting process as outlined in previous steps if additional cutting is required.
It’s crucial to address any fitting issues at this stage to ensure the final installation is flawless. Re-test the fit after adjustments to confirm everything aligns perfectly. By getting each paver positioned correctly, you set the foundation for a smooth installation that meets your project’s design standards.
Step 9. Install the Paver:
Once you have ensured that the cut paver fits perfectly with a dry fit, you can proceed to the installation phase. Begin by applying an appropriate adhesive or mortar to the designated layout area. Use a notched trowel to spread the adhesive evenly, ensuring it covers the entire surface where the paver will be placed. Follow the manufacturer’s recommendations regarding the adhesive type and application techniques for porcelain pavers.
Press the paver into the adhesive bed, using spacers if necessary to maintain consistent grout lines between adjacent tiles. Check the level of the paver with a spirit level to ensure a uniform surface, making minor adjustments as needed. Allow the adhesive to cure according to the specified times before grouting or walking on the newly installed paver, ensuring a durable and professional finish.
Step 10. Grout the Paver:
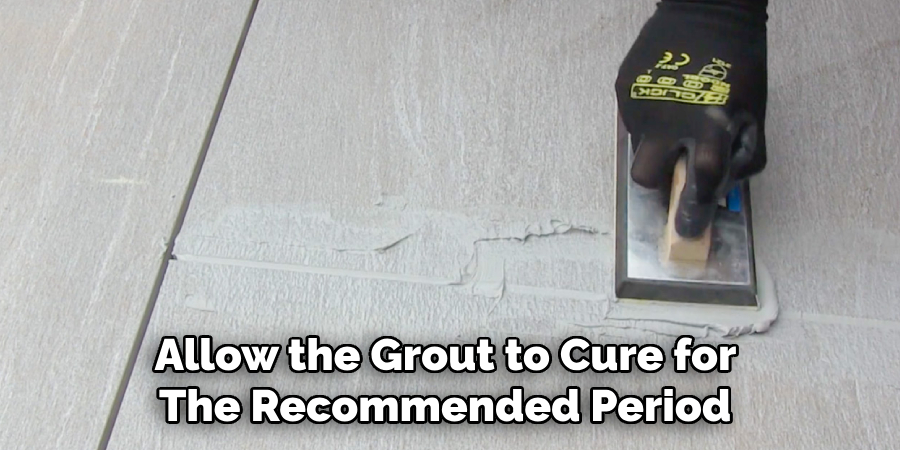
Once the adhesive has fully cured, it’s time to grout the installed paver. Select a grout color that complements your design and mix it according to the manufacturer’s instructions. Use a rubber grout float to apply the grout, pressing it firmly into the joint spaces between the pavers. Fill all gaps thoroughly to ensure stability and prevent moisture penetration. Hold the float at a 45-degree angle as you work and move diagonally across the joints to avoid digging into them.
After application, use a damp sponge to gently clean off any excess grout from the pavers’ surface, not disturbing the grout lines. Allow the grout to cure for the recommended period, and then perform a final clean-up to remove any grout haze. Grouting secures the pavers in place and adds a finished appearance to your project while protecting the installation from elements.
By following these ten steps, you can successfully cut and install porcelain pavers for various outdoor projects.
Conclusion
How to cut porcelain pavers requires precision, patience, and the right equipment to ensure a professional finish.
Following a structured approach, from preparation to installation, you can achieve seamless results that enhance your outdoor spaces. All these steps are crucial in maintaining quality and alignment, starting with selecting appropriate tools and ensuring they are configured correctly for the task, performing a test run, cutting, and then dry fitting.
Attention to detail guarantees a durable and aesthetically pleasing installation, particularly in adjustments, adhesive application, and grout work.
With careful execution of each step outlined, even complex layouts can be successfully completed, leaving your outdoor project looking polished and refined.
Professional Focus
Harry Ciotti is a highly skilled kiln operator with a sharp eye for detail and an in-depth understanding of the firing process. His expertise ensures that each ceramic piece reaches its full potential, perfectly balancing strength and beauty. Harry takes pride in overseeing the final stage of pottery creation, transforming raw clay into durable and stunning works of art.
About the Author
Harry Ciotti is a dedicated kiln operator and ceramic artist who brings passion and precision to every piece he fires. With a deep commitment to craftsmanship, Harry ensures that every ceramic creation is fired to perfection, from delicate vases to robust sculptures. He not only operates the kiln, but understands the unique needs of each piece, ensuring it reaches its full artistic potential. Through his work, Harry blends precision with artistry, making every firing a story of transformation.
Education History
University: California College of the Arts
Degree: Master of Fine Arts in Ceramics
Harry’s advanced education in ceramics has refined his technical skills, particularly in kiln operation, firing processes, and ceramic artistry. His educational background equips him to produce top-quality ceramic pieces that reflect both technical excellence and artistic expression.
Expertise:
- Kiln Operation and Firing Techniques
- Ceramics Creation (Functional and Artistic)
- Precision Craftsmanship
- Glazing and Texture Techniques
- Ceramic Artistry and Storytelling