Ceramic ornaments are beautifully crafted decorative pieces made from clay, often cherished for their unique designs and sentimental value. These ornaments are particularly popular during holidays as tree decorations, memorable gifts, or personal keepsakes that can last a lifetime.
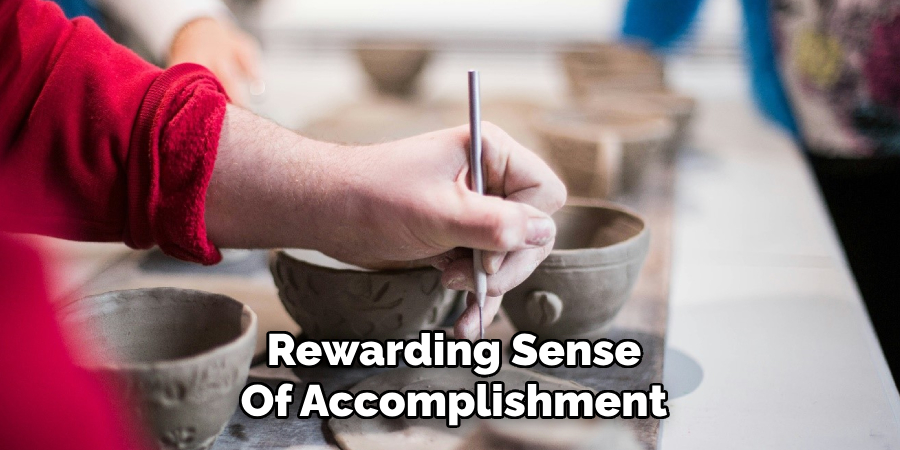
One of the key benefits of making ceramic ornaments is the ability to customize them to reflect personal style, themes, or special occasions. Additionally, they are highly durable and can be enjoyed for years without losing their charm. Engaging in this fun DIY craft project sparks creativity and provides a rewarding sense of accomplishment.

This article will serve as a comprehensive guide on how to make a ceramic ornament, covering every step from shaping the clay to glazing and firing your creation. Whether you are a beginner or an experienced crafter, this step-by-step process will equip you with the knowledge to bring your ideas to life.
Materials and Tools Needed
Before crafting your ceramic ornament, it’s important to gather the right materials and tools. Here is a complete list to ensure success at every step of the process.
Clay Options
- Air-dry clay: Ideal if you don’t have access to a kiln, as it hardens naturally over time.
- Polymer clay: A versatile option that can be baked in a standard home oven for easy curing.
- Ceramic clay: Perfect for traditional ceramics and requires kiln firing for a durable finish.
Basic Tools
- Rolling Pin: Essential for flattening the clay evenly to create a smooth surface.
- Cookie Cutters or Stencil Shapes: Used to cut out uniform shapes for your ornaments.
- Carving Tools or Toothpicks: Great for adding detailed designs or engraving personal touches.
- A Straw or Skewer: Helps create a clean hole in your ornament for hanging.
- Sandpaper: Useful for smoothing edges after the clay has dried or been cured.
Finishing Supplies
- Paints: Options such as acrylic, glaze, or ceramic-specific paints add color and vibrancy.
- Glaze and Sealant: Apply these for durability and a finished look.
- Ribbon or Twine: Attach these to hang your ornaments once completed.
These materials and tools will set you up for a seamless and enjoyable crafting experience!
How to Make a Ceramic Ornament: Shaping and Cutting the Ornament
Step 1: Preparing the Clay
Begin by kneading the clay thoroughly to remove any air bubbles. This ensures the clay is uniform and easy to work with. Once the clay is pliable and smooth, roll it out evenly on a flat surface with a rolling pin. Aim for a thickness of about ¼ inch, as this is sturdy enough for the ornament while still being lightweight.
Step 2: Cutting the Shape
Using cookie cutters is a simple and effective method to cut shapes like stars, hearts, or circles. Alternatively, if you prefer custom designs, create a stencil out of paper or cardboard and cut the shape by hand with a craft knife. Take your time to ensure clean lines. After cutting, gently smooth any rough edges with a damp sponge or your fingertip to give the ornament a polished look.

Step 3: Adding Details
Now is the time to personalize your ornaments. Use carving tools or stamps to engrave patterns, names, or memorable dates into the clay. Be as creative as you like—this step adds individuality and charm! Remember to create a small hole near the top of the ornament using a straw or skewer. Once the ornament is finished, this hole will allow you to string ribbon or twine for hanging. Take care to ensure the hole is large enough to thread easily.
Drying or Firing the Ornament
Air-Dry Clay
Lay them flat on a parchment-lined surface for air-dry clay ornaments in a cool, dry area. Allow them to dry naturally for 24-48 hours, ensuring that they are undisturbed during this time. Flip the ornaments gently after the first 12-24 hours to promote even drying and prevent warping. Be patient, as thoroughly dried ornaments will be stronger and more resilient. Once dried, you can assess if additional sanding or touch-ups are needed before decorating further.
Oven-Bake Polymer Clay
If you’re working with polymer clay, the curing process involves baking. Preheat your oven to the temperature recommended on the packaging, typically around 275°F (135°C). Place your ornaments on a baking sheet lined with parchment paper to prevent sticking. Bake the ornaments for 15-30 minutes, depending on their thickness and the manufacturer’s guidelines. Use a timer to avoid overbaking, as excessive heat can cause discoloration or brittleness. After baking, allow the ornaments to cool completely before proceeding to the next step.
Kiln-Fired Ceramic Clay
For ceramic clay ornaments, the drying process takes more time. The ornaments must air-dry wholly and slowly to avoid cracking during the firing process.
Once fully dried, they can be bisque fired in a kiln at around 1800°F (982°C) or as recommended based on your specific clay type. After the bisque firing, the ornaments are ready to apply glazes or other finishes before the final firing. Take care during handling to ensure your creations remain intact throughout the process.
Sanding and Smoothing the Ornament
Step 1: Checking for Rough Edges
Carefully examine the surface for any sharp edges or uneven areas once the ornament is dry or has undergone its initial bisque firing. These imperfections can affect the final appearance and texture of your finished piece.
Pay close attention to intricate details like corners, edges, or raised patterns where rough spots are most likely to occur. Additionally, ensuring a smooth surface before applying glaze or paint will help achieve a more professional-looking finish.
Step 2: Sanding the Surface
Using fine-grit sandpaper (320 to 400 grit is ideal), gently sand the rough areas and edges of the ornament. Move the sandpaper in small, circular motions for an even finish, applying light pressure to avoid removing too much material. If the ornament is still dry clay, proceed with extra care, as it can be more fragile before being fired.
Once you have smoothed the entire surface, use a damp cloth to wipe away any dust and debris created during sanding. This step is essential to ensure that no leftover particles interfere with glazing or painting in the later stages of the process. Completing these preparation steps will prepare your ceramic ornament for its artistic transformation.
Decorating and Glazing the Ornament
Step 1: Painting the Ornament
To breathe life into your ceramic ornament, begin with painting. If you are working with air-dry or polymer clay, acrylic paint is a versatile and accessible choice. Acrylics come in various colors and can be easily applied using fine brushes to add intricate details or broader strokes for a bold design. Ensure that the paint is evenly distributed and allow each layer to dry completely before applying the next.
For kiln-fired clay, ceramic glaze is ideal. Glazes add vibrant color and enhance the ornament’s durability when fired. Use a brush to apply the glaze evenly or experiment with artistic techniques like splattering or layering to achieve unique effects. Be patient during this process, as the glaze requires proper drying before moving on to further decoration or firing.

Step 2: Adding a Protective Finish
Adding a protective finish is a must to preserve your design and ensure the longevity of the ornament. For air-dry or polymer clay, a clear acrylic sealant or varnish provides a durable, water-resistant coat that safeguards the paint and gives the ornament an added sheen. Simply spray or brush the sealant evenly over the surface and allow it to dry thoroughly. For ceramic clay painted with glaze, a second firing in the kiln is necessary.
This final firing fuses the glaze to the surface, producing a glossy, polished finish highlighting your artistry. By completing this step, your ornament will be ready for display or gifting, boasting durability and a professional appearance.
Stringing and Displaying the Ornament
Once your ornament is fully dried and finished, it’s time to prepare it for display.
Step 1: Choosing a Hanging Material
Selecting the right material for hanging is both a practical and aesthetic decision. Common options include ribbon for a festive touch, twine for a rustic look, or wire for a sleek and modern feel. Pick a material that complements the design and weight of your ornament to ensure it hangs securely without overpowering its appearance.
Step 2: Threading and Securing
To string your ornament, carefully insert your chosen material through the pre-made hole. Once threaded, tie a secure knot to prevent it from slipping loose.
Consider reinforcing the knot with hot glue for added stability for heavier ornaments. After securing the string, adjust its length to suit your display preference, whether hanging on a tree, wall, or other decorative arrangement. With this final step completed, your beautifully crafted ornament is ready to shine.
Conclusion
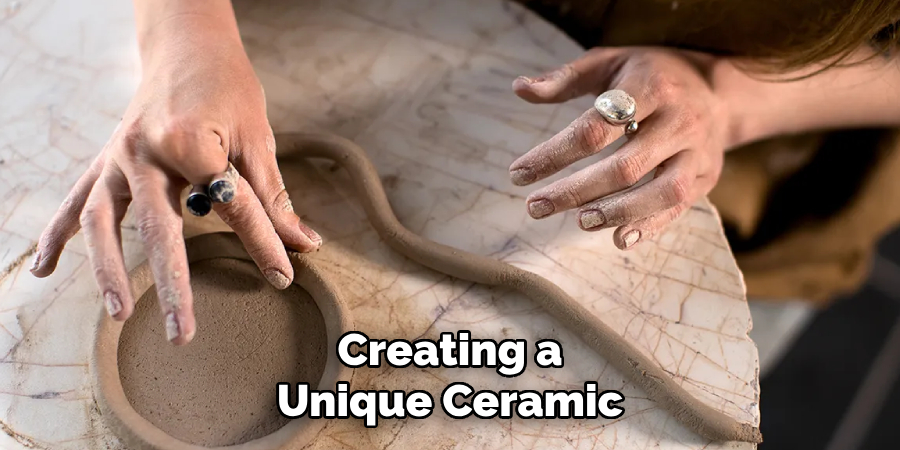
Creating a unique ceramic ornament is a rewarding process that combines creativity and craftsmanship. By following the steps of shaping, drying, sanding, painting, and finishing, you’ve learned how to make a ceramic ornament that reflects your style. Experimenting with different designs and materials can lead to stunning and personalized results.
Proper storage is crucial—wrap ornaments individually and store them securely to avoid breakage. Whether displayed seasonally or year-round, these handmade creations charm any space and serve as a testament to your artistic endeavor.
Professional Focus
Harry Ciotti is a highly skilled kiln operator with a sharp eye for detail and an in-depth understanding of the firing process. His expertise ensures that each ceramic piece reaches its full potential, perfectly balancing strength and beauty. Harry takes pride in overseeing the final stage of pottery creation, transforming raw clay into durable and stunning works of art.
About the Author
Harry Ciotti is a dedicated kiln operator and ceramic artist who brings passion and precision to every piece he fires. With a deep commitment to craftsmanship, Harry ensures that every ceramic creation is fired to perfection, from delicate vases to robust sculptures. He not only operates the kiln, but understands the unique needs of each piece, ensuring it reaches its full artistic potential. Through his work, Harry blends precision with artistry, making every firing a story of transformation.
Education History
University: California College of the Arts
Degree: Master of Fine Arts in Ceramics
Harry’s advanced education in ceramics has refined his technical skills, particularly in kiln operation, firing processes, and ceramic artistry. His educational background equips him to produce top-quality ceramic pieces that reflect both technical excellence and artistic expression.
Expertise:
- Kiln Operation and Firing Techniques
- Ceramics Creation (Functional and Artistic)
- Precision Craftsmanship
- Glazing and Texture Techniques
- Ceramic Artistry and Storytelling