Creating your own splashpan can be a rewarding experience, allowing you to customize the design to fit your pottery wheel perfectly while potentially saving money. Splashpans are essential tools for potters, designed to catch excess clay and water that spin off the wheel, keeping your workspace clean.
In this guide on how to make splashpans, we’ll explore the materials needed and step-by-step instructions to help you craft a functional and efficient splashpan, enhancing your pottery practice. Whether you’re a novice or an experienced potter, making a splashpan is an excellent DIY project that underscores the importance of a tidy and organized studio.
What is a Splashpan?
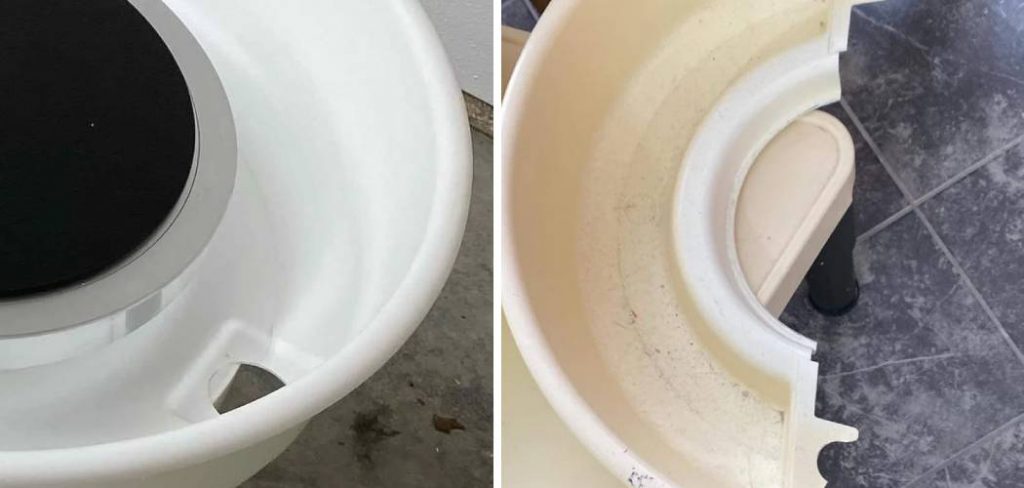
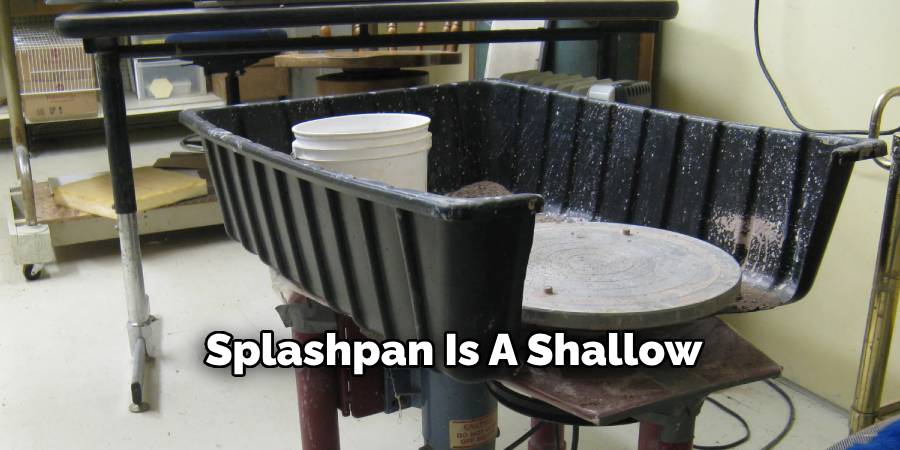
A splashpan is a shallow, circular tray that fits snugly around the base of your pottery wheel. It serves as a catch basin for any clay or water residue that may fly off the wheel head while throwing pottery. A splashpan also helps to keep your workspace clean and free from clutter, giving you more room to work and preventing accidents due to slippery floors.
You can purchase splashpans from various pottery supply stores, but making your own is a budget-friendly and creative alternative. Plus, making a splashpan allows you to customize the size, shape, and design according to your individual preferences.
Materials Needed
To make your own splash pan, you’ll need the following materials:
Sheet Metal:
Choose a sturdy and corrosion-resistant metal sheet, such as stainless steel or aluminum. The size of the sheet will depend on your wheel’s diameter and how deep you want your splash pan to be.
Tin Snips:
These are essential for cutting the metal sheet to the desired shape and size. Make sure to wear protective gloves while handling the snips.
Ruler/Measuring Tape:
Accurate measurements are crucial when making a splashpan that fits perfectly around your pottery wheel. Use a ruler or measuring tape to measure the wheel’s diameter and depth, ensuring that your splashpan is neither too big nor too small.
Marker/Pencil:
A marker or pencil can be used to outline and mark the dimensions of your splashpan on the metal sheet before cutting.
Safety Equipment:
To prevent any accidents while cutting or handling the metal sheet, it’s essential to wear safety gloves, goggles, and a dust mask.
8 Step-by-step Instructions on How to Make Splashpans
Step 1: Measure Your Pottery Wheel
Begin by measuring the circumference and diameter of your pottery wheel’s base. Accurate measurements are crucial for crafting a splashpan that fits snugly without hindering the wheel’s operation. Use a flexible measuring tape to measure around the base, keeping it taut to ensure precision. Record these measurements, as they’ll guide you in cutting the metal sheet to the appropriate size.
Additionally, measure the depth from the wheel head to the workspace surface to determine the splashpan’s desired height. This ensures that the splashpan will effectively catch excess clay and water without interfering with your pottery work.
Step 2: Draw the Outline on the Metal Sheet
Using the measurements recorded in Step 1 lay the metal sheet on a flat, stable surface. With a marker or pencil, carefully draw the outline of your splash pan based on these measurements. Start with the outer circumference, marking it with a smooth and continuous line to ensure an even shape.
Then, using a ruler or straight edge, draw the lines for the sides of the splash pan, which will determine its height. It’s important to stay precise during this step to avoid any misalignment that could affect the fit around your pottery wheel. Before proceeding, double-check your outlines to ensure everything is accurate and clearly marked. This preparation will aid in making clean cuts in the following steps.
Step 3: Cut Out the Splashpan Shape
Put on your safety equipment and use tin snips to cut along the outlined shape of your splash pan. This may take some time, depending on the thickness of the metal sheet, so be patient and work carefully. Start by cutting along the outer circumference, followed by the sides. Make sure to follow your markings precisely to achieve a consistent shape.
Once you’ve completed cutting out the splashpan’s outline, check for any rough edges or uneven cuts that could affect its functionality. Use sandpaper or a file to smooth out any imperfections before proceeding.
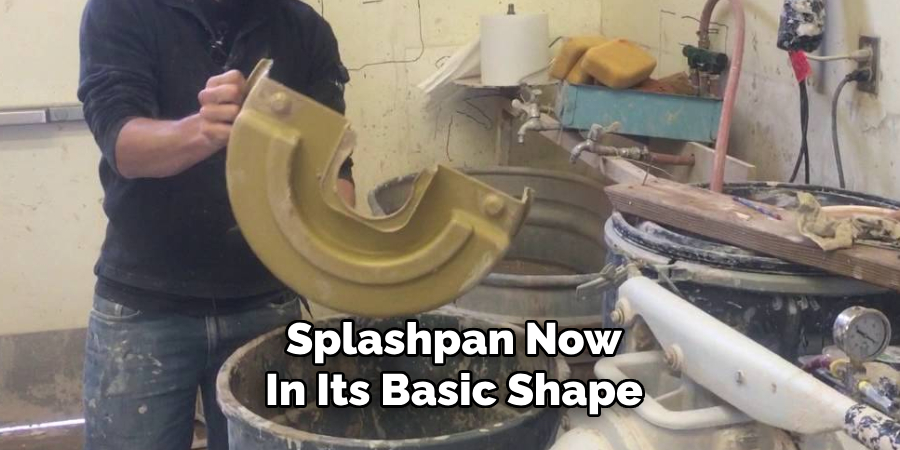
Step 4: Bend and Shape the Splashpan
With your splashpan now in its basic shape, it’s time to bend and shape the sides. Use a bending tool or clamps to create a 90-degree angle at each of the marked side lines. This will give your splashpan its desired height and shape.
You can also use pliers or other tools to carefully bend and adjust any uneven areas of the splash pan, ensuring that it fits snugly around your wheel.
Step 5: Attach Splashpan to Pottery Wheel
Once you’ve completed shaping your splashpan, place it around the base of your pottery wheel. Adjust as needed to ensure a perfect fit, with the sides resting comfortably on the wheel head. You may need to trim down certain areas of the splashpan for a better fit, so make sure to have tin snips on hand.
If desired, you can also use adhesive or clamps to secure the splashpan. This is particularly useful for larger wheels or if you plan on moving your wheel frequently.
Step 6: Test Your Splashpan
Before moving on to the final steps, it’s important to test your splashpan’s functionality. Add some water and clay residue to your wheel and begin throwing as usual. The splashpan should effectively catch any excess materials, keeping your workspace clean and reducing mess.
If you notice any areas where the splashpan is not catching properly, make necessary adjustments until it functions smoothly.
Step 7: Secure the Splashpan in Place
To ensure that your splashpan stays securely in place while working, use clamps or screws to attach it directly to the wheel or workbench. This will prevent any accidental shifting or movement that could lead to a messy workspace.
Although this step is optional, it can provide added stability and peace of mind while throwing pottery.
Step 8: Personalize Your Splashpan
Now comes the fun part – personalizing your splashpan! You can choose to leave it as is, or get creative and add designs, patterns, or even your name. Use paint, decals, stickers, or other materials to make your splashpan unique and reflect your personality.
Following these step-by-step instructions on how to make splashpans, you can create a custom splashpan that fits your pottery wheel perfectly and helps keep your workspace clean. Don’t forget to regularly clean and maintain your splashpan for optimal functionality and durability. Happy potting!
Additional Tips

- When measuring and cutting the metal sheet, leave a little extra room for adjustments. It’s easier to trim down excess material than it is to add more.
- To ensure an even bend at the sides of the splashpan, use a bending tool or clamp in multiple places along the line instead of just one spot.
- If using adhesive to secure your splashpan, make sure it is heat-resistant since it will be placed near the pottery wheel’s motor.
- For added protection, consider adding a splashpan liner or covering the metal with a waterproof sealant. This can help prevent rusting and make cleaning even easier.
- If you’re not confident in your metalworking skills, don’t hesitate to ask for assistance from a friend or professional. Safety should always come first when working with potentially hazardous materials.
- Keep spare pieces of the metal sheet on hand in case you need to replace or repair your splash pan in the future.
- If desired, you can also add drainage holes to your splashpan to prevent excess water from pooling at the bottom.
- Consider making multiple splash pans of different sizes to fit various pottery wheels or for use with specific throwing techniques.
- Don’t limit yourself to just a plain metal splashpan – get creative and use other materials such as wood, plastic, or even recycled items to make your custom splashpan. Just make sure they are durable and saf.e for use around pottery materials and tools. So go ahead and have fun making your own splashpan while enhancing your pottery experience! Happy potting!
Frequently Asked Questions
Q: Can I Make a Splashpan Without Using Metal Sheets?
A: Yes, you can use other materials such as plastic or wood to create a splashpan. However, metal is the most durable and long-lasting option for containing wet clay and water. The steps may vary slightly when using different materials, so make sure to research and follow appropriate instructions.
Q: How Often Should I Clean My Splashpan?
A: It’s recommended to clean your splashpan after every pottery session or whenever it becomes visibly dirty. This will prevent any buildup of clay residue or bacteria that could affect the functionality of your splashpan.
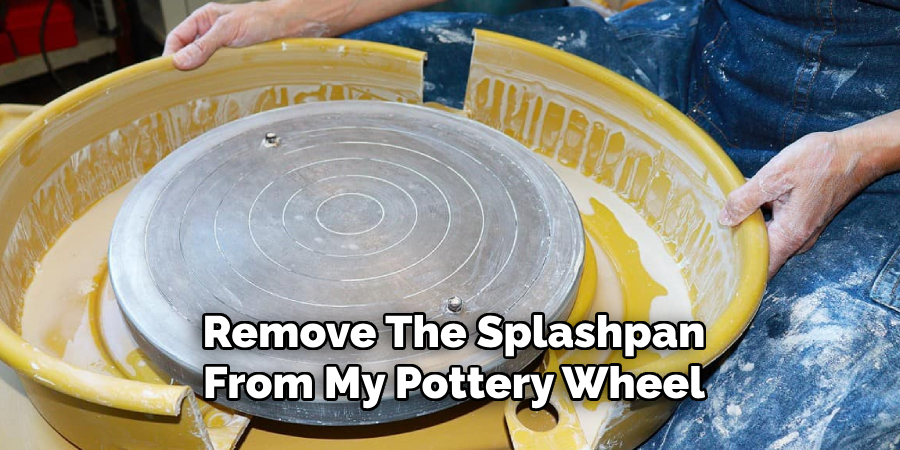
Q: Can I Remove the Splashpan from My Pottery Wheel?
A: Yes, you can easily remove the splashpan for cleaning or if you need more room while throwing larger pieces. However, make sure to properly secure it in place before resuming pottery work. Remember to regularly check for any damages or wear and tear on your splashpan and make necessary repairs or replacements to keep it functioning effectively. With proper care, your custom-made splashpan will last for many pottery sessions to come.
Conclusion
Making your own splashpan not only saves you money but also allows you to customize it to your specific needs and preferences. With the right tools, materials, and step-by-step instructions on how to make splashpans, creating a functional splashpan for your pottery wheel is easy and rewarding.
Remember to always prioritize safety while handling sharp metal sheets and follow the measurements accurately for the best fit. Have fun personalizing your splashpan, and enjoy a cleaner pottery workspace! Keep on creating beautiful pieces of pottery with your new custom-made splashpan!
Professional Focus
Harry Ciotti is a highly skilled kiln operator with a sharp eye for detail and an in-depth understanding of the firing process. His expertise ensures that each ceramic piece reaches its full potential, perfectly balancing strength and beauty. Harry takes pride in overseeing the final stage of pottery creation, transforming raw clay into durable and stunning works of art.
About the Author
Harry Ciotti is a dedicated kiln operator and ceramic artist who brings passion and precision to every piece he fires. With a deep commitment to craftsmanship, Harry ensures that every ceramic creation is fired to perfection, from delicate vases to robust sculptures. He not only operates the kiln, but understands the unique needs of each piece, ensuring it reaches its full artistic potential. Through his work, Harry blends precision with artistry, making every firing a story of transformation.
Education History
University: California College of the Arts
Degree: Master of Fine Arts in Ceramics
Harry’s advanced education in ceramics has refined his technical skills, particularly in kiln operation, firing processes, and ceramic artistry. His educational background equips him to produce top-quality ceramic pieces that reflect both technical excellence and artistic expression.
Expertise:
- Kiln Operation and Firing Techniques
- Ceramics Creation (Functional and Artistic)
- Precision Craftsmanship
- Glazing and Texture Techniques
- Ceramic Artistry and Storytelling