Reglazing ceramics is a rewarding process that can breathe new life into old or worn pieces. Whether you are looking to restore a treasured family heirloom or update the appearance of a ceramic item, learning how to reglaze ceramics can be both an economical and creative endeavor.
This guide will walk you through the necessary steps and provide useful tips to achieve a smooth and professional finish. By understanding the materials and techniques involved, even beginners can successfully transform their ceramic pieces into beautiful new creations.
What is Reglazing?
Reglazing is the process of applying a new glaze layer to a ceramic piece, essentially giving it a fresh finish and renewed durability. This method involves cleaning the ceramic thoroughly, sanding away any imperfections, and then applying a new coat of glaze, which is subsequently fired in a kiln to harden and develop its color and sheen.
Reglazing can restore items that have become dull, chipped or have lost their original luster over time. It’s an essential technique for ceramic artists and enthusiasts looking to revamp pieces for aesthetic or functional purposes.
Needed Materials
Before diving into the reglazing process, it’s important to gather all the necessary materials. This includes:
- Ceramic Piece to Be Reglazed
- Sandpaper (Various Grits)
- Cleaning Solution (Such as Dish Soap or White Vinegar)
- Sponge or Cloth
- Paintbrushes (Various Sizes)
- Glaze of Choice
- Kiln
8 Steps on How to Reglaze Ceramics
Step 1: Preparation
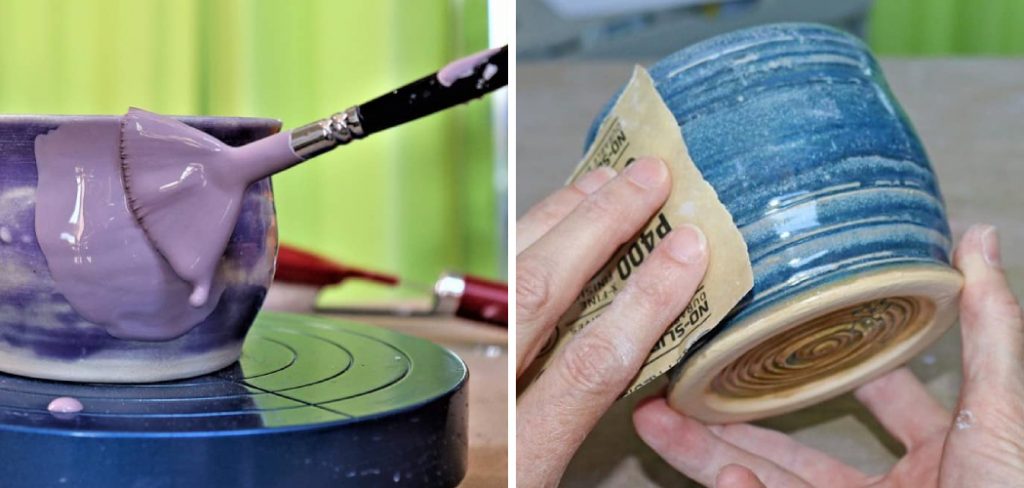
The first step in the reglazing process is to prepare your ceramic piece thoroughly. Begin by inspecting the item to identify any cracks, chips, or imperfections that need attention. Clean the piece meticulously using a cleaning solution, such as dish soap or white vinegar, and a sponge or cloth to remove dirt, grime, and old glaze remnants. Once clean, rinse the ceramic under warm water and allow it to dry completely.

After drying, use sandpaper with various grits to gently sand the surface, ensuring a smooth and even texture that helps the new glaze adhere better. Make sure to wipe away any dust particles with a clean cloth before moving on to the next step. Proper preparation sets the foundation for a successful reglazing process.
Step 2: Choosing the Right Glaze
Selecting the right glaze is crucial to achieve the desired finish. There are different types of glazes available, such as clear, glossy, matte, and textured. Some glazes may require multiple coats for a more vibrant color, while others provide better coverage with just one coat. Consider the final look you want to achieve before choosing your glaze.
But don’t be afraid to experiment with different glazes and techniques to create unique effects. Keep in mind that some glazes may not react well together, so it’s best to test them on a small piece before applying them to your main project.
Step 3: Applying the Glaze
Using a clean paintbrush, apply the first coat of glaze evenly across the entire ceramic piece. Make sure to avoid any drips or brush strokes by using smooth and even strokes. Allow each layer of glaze to dry completely before adding another coat. The number of coats required depends on the type of glaze used and the desired effect.
To achieve a more professional finish, consider using spray-on glazes or an airbrush for a smoother application. Once you are satisfied with the coverage and color, set aside the piece to dry completely before firing it.
Step 4: Loading the Kiln
Once your glazed ceramic piece is completely dry, it is time to fire it in the kiln. Begin by carefully placing the ceramic on a kiln shelf. Ensure that there is enough space between pieces if you are firing multiple items, as glazes can sometimes drip or expand slightly during firing. Do not allow any glazed areas to touch the kiln shelf or other ceramics, as this could cause the glaze to fuse to those surfaces, ruining the piece.
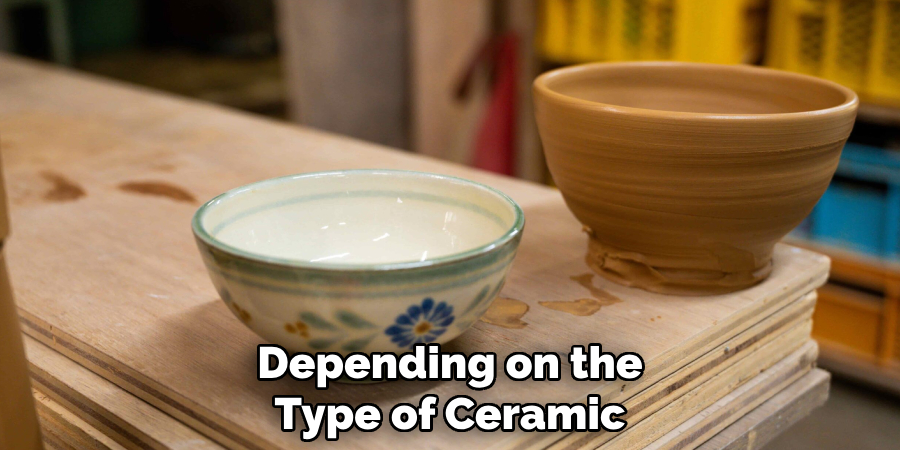
Double-check that the kiln shelves and kiln stilts (if used) are properly positioned to maximize airflow and even heat distribution. Depending on the type of glaze and ceramic, adjust the kiln’s temperature settings and firing schedule accordingly. Always consult the glaze manufacturer’s instructions for specific firing temperatures and cooling times. Loading the kiln correctly is crucial for achieving a flawless, professional finish on your reglazed ceramics.
Step 5: Firing the Kiln
Once your kiln is loaded and ready, it’s time to fire it up! Depending on the type of ceramic and glaze used, firing times can vary from a few hours to several days. It’s important to monitor the kiln throughout this process to ensure that everything is going according to plan. Keep an eye on the temperature settings and make any adjustments if necessary.
If you are new to firing a kiln, it is recommended to have someone with experience assist you or take a class before attempting it yourself.
Step 6: Cooling Down
After the firing cycle is complete, turn off the kiln’s heat source and allow it to cool down completely before opening. Any sudden temperature changes could cause your ceramic piece to crack or shatter.
Once the kiln has cooled, carefully remove the pieces and inspect them for any imperfections or cracks. If everything looks good, then congratulations – you have successfully reglazed your ceramics!
Step 7: Touch-Ups
If you notice any imperfections or areas that did not turn out as desired, don’t panic. You can still make touch-ups by sanding away rough spots and adding another coat of glaze. Just be sure to fire the piece again in the kiln once the touch-ups are complete.
The touch-up process may take a bit of trial and error, but it’s all part of the learning experience. And don’t forget to document your results for future reference!
Step 8: Enjoy Your Newly Reglazed Ceramic Piece
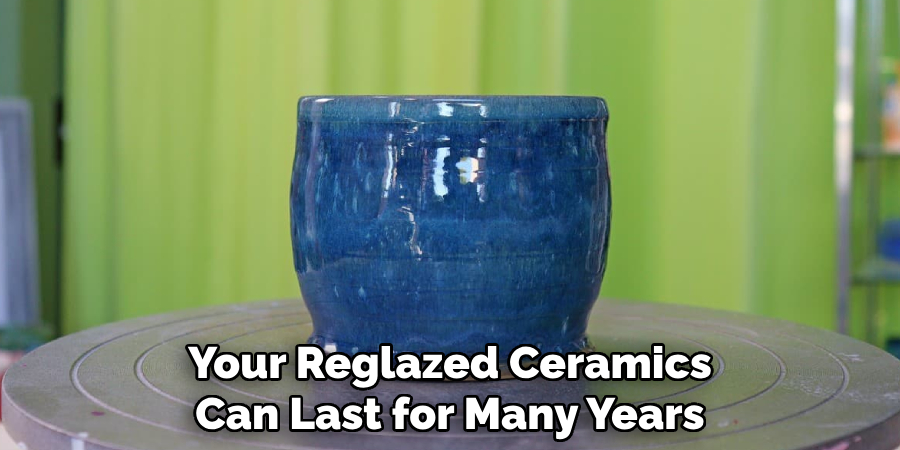
After all the hard work and patience, it’s time to enjoy your newly reglazed ceramic piece! Display it proudly or use it for its intended purpose. With proper care and maintenance, your reglazed ceramics can last for many years to come.
Following these steps on how to reglaze ceramics can help you achieve professional-looking results in your reglazing projects. But remember, practice makes perfect, so don’t be afraid to experiment and try new techniques to create unique and beautiful ceramic pieces. And most importantly, have fun with it! – Ceramic Piece to Be Reglazed
Additional Tips
Safety First
Always use appropriate safety gear, including gloves, goggles, and a mask, especially when handling glazes and firing the kiln. Some materials can be hazardous if inhaled or come into contact with skin.
Clean Up Thoroughly
Properly dispose of any leftover glaze or cleaning materials and make sure to clean up your workspace thoroughly. This helps prevent potential accidents and keeps your workspace organized for future projects.
Experiment with Colors and Techniques
Don’t be afraid to try out different colors, techniques, and glaze combinations to create unique effects. Remember, there are no rules when it comes to art, so have fun and let your creativity run wild!
Seek Professional Help if Needed
If you are new to reglazing ceramics or unsure about certain steps, it’s always a good idea to seek help from an experienced professional. They can offer valuable advice and guidance to ensure that your project is a success.
Remember, practice makes perfect, so don’t give up if your first attempt doesn’t turn out as expected. With time and experience, you will become more confident and skilled in reglazing ceramics. So go ahead and give it a try – you may just discover a new passion for this versatile art form!
Frequently Asked Questions
Q: Can All Ceramics Be Reglazed?
A: No, some types of ceramic glazes are not compatible with other types and may react negatively when fired together. Always test a small piece before applying glaze to your main project. The type of kiln and firing temperature can also affect the success of reglazing.
Q: How Do I Clean My Glaze Brushes?
A: After each use, clean your brushes thoroughly with warm water and mild soap to remove any leftover glaze. Avoid getting water into the ferrule (metal part) of the brush as this can loosen the bristles over time. You can also use specialized brush cleaners for tougher stains or buildup.
Q: Can I Reglaze Over Already Fired Ceramics?
A: Yes, it is possible to reglaze already fired ceramics, but keep in mind that multiple firings can alter the shape and color of the piece. It’s best to plan and test your glaze combinations carefully before committing to a final firing.
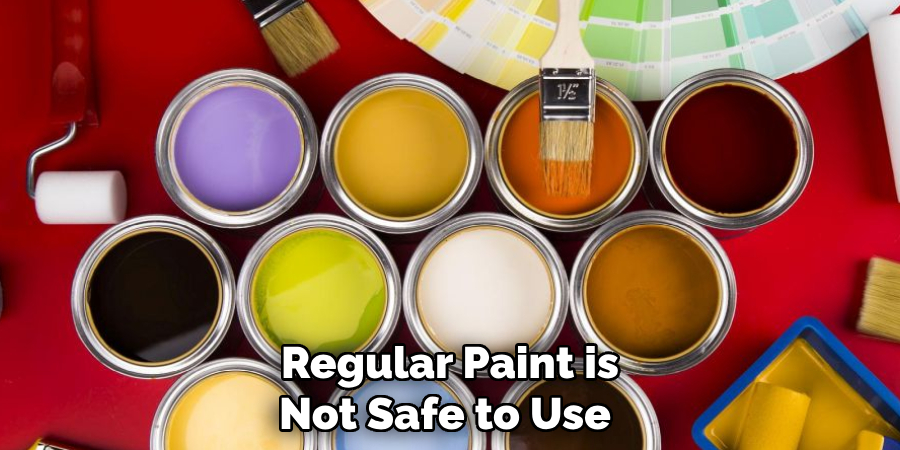
Q: Can I Use Regular Paint Instead of Ceramic Glaze?
A: No, regular paint is not safe to use on ceramics as it can contain harmful chemicals that may leach into food or drink products. Always use specially formulated ceramic glazes for any food-safe pieces.
Q: How Do I Store Leftover Glaze?
A: Properly seal and store leftover glaze in its original container in a cool, dry place away from direct sunlight. Make sure the lid is tightly closed to prevent the glaze from drying out. Some glazes may have a shelf life, so always check the manufacturer’s instructions for storage guidelines.
Conclusion
The art of reglazing ceramics is a versatile skill that allows you to transform old or damaged pieces into beautiful works of art once again. By following these steps on how to reglaze ceramics and using the right tools and techniques, you can successfully reglaze your ceramics and enjoy them for many years to come. Remember to take your time, properly prepare the piece, choose the right glaze, and carefully fire and cool it in the kiln for best results.
With practice and patience, you can achieve professional-looking finishes on all your reglazing projects. So go ahead, pick up that old ceramic piece you’ve been meaning to restore, and give it a new life with reglazing!
Professional Focus
Harry Ciotti is a highly skilled kiln operator with a sharp eye for detail and an in-depth understanding of the firing process. His expertise ensures that each ceramic piece reaches its full potential, perfectly balancing strength and beauty. Harry takes pride in overseeing the final stage of pottery creation, transforming raw clay into durable and stunning works of art.
About the Author
Harry Ciotti is a dedicated kiln operator and ceramic artist who brings passion and precision to every piece he fires. With a deep commitment to craftsmanship, Harry ensures that every ceramic creation is fired to perfection, from delicate vases to robust sculptures. He not only operates the kiln, but understands the unique needs of each piece, ensuring it reaches its full artistic potential. Through his work, Harry blends precision with artistry, making every firing a story of transformation.
Education History
University: California College of the Arts
Degree: Master of Fine Arts in Ceramics
Harry’s advanced education in ceramics has refined his technical skills, particularly in kiln operation, firing processes, and ceramic artistry. His educational background equips him to produce top-quality ceramic pieces that reflect both technical excellence and artistic expression.
Expertise:
- Kiln Operation and Firing Techniques
- Ceramics Creation (Functional and Artistic)
- Precision Craftsmanship
- Glazing and Texture Techniques
- Ceramic Artistry and Storytelling